 [/center]
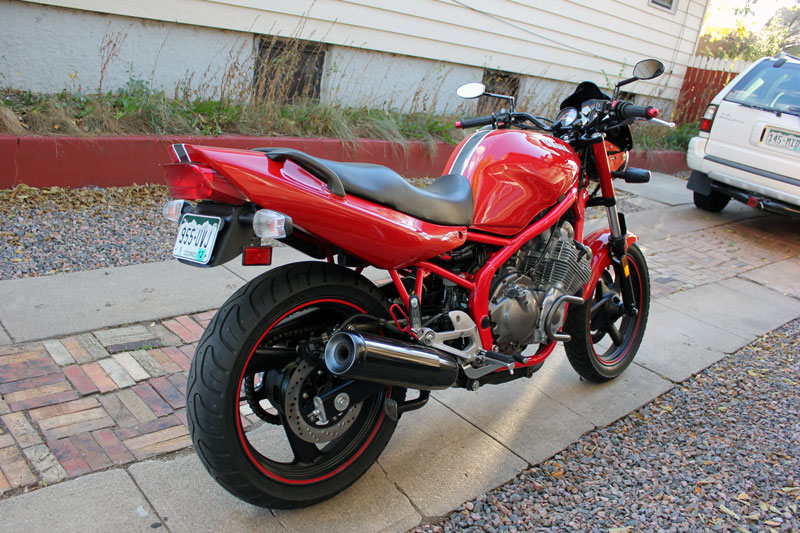
 I was digging through the photos on my computer and found some oldies so I decided to post up a progress thread for my Seca II similar to what others have done.
I bought the bike in Longmont in June of 2010 for $1300. I had recently put a drill bit through my left hand and couldn't test ride it (couldn't squeeze the clutch), but it sounded good, looked alright and the price was right.
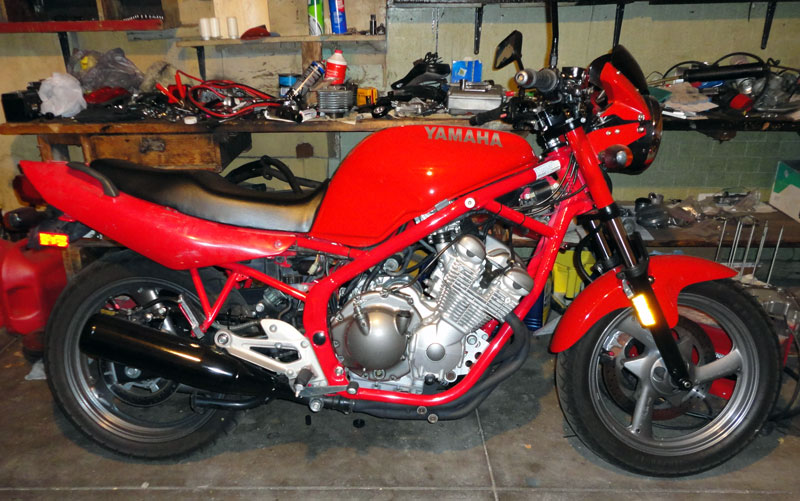
Here she is, as purchased:
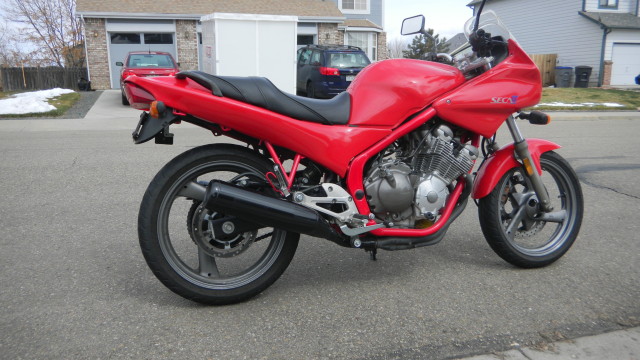
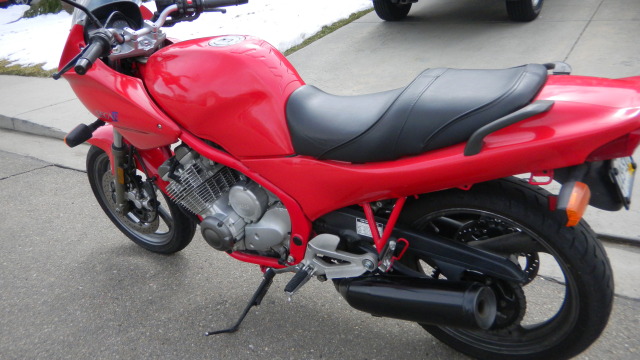
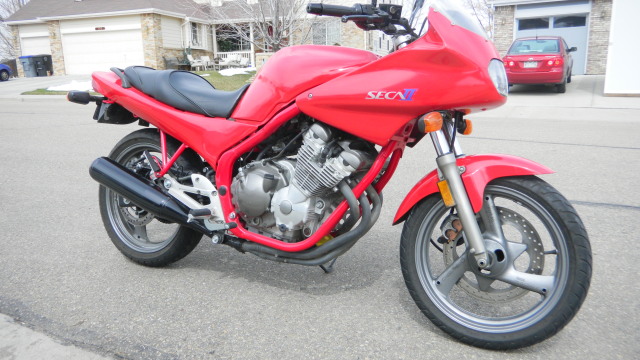
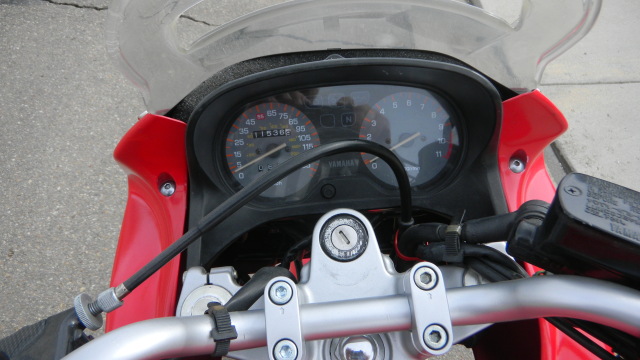
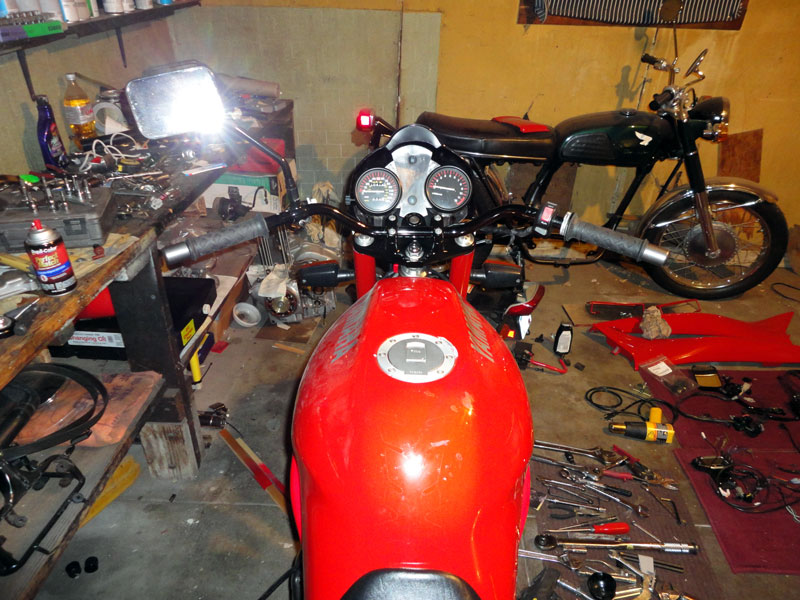
She ran well when I got her home but she needed quite a bit of cosmetic attention. At some point in her life, somebody crashed her hard on the right side. Hard enough to drive the handlebars through the outer and inner skins of the tank. I discovered this when trying to repainted the tank. The front fairing was cracked and most of the plastics had been badly repainted with Krylon. Even the handlebars had been painted at some point and the paint was cheap and poorly applied.
My first course of business was to remove the tank, strip it and refinish it. I dug out about 2" of bondo and found a large dent with holes that had been welded. I tried to repair this by welding on studs and using a slide hammer, but the tank was too badly damaged. I decided to scrap it.
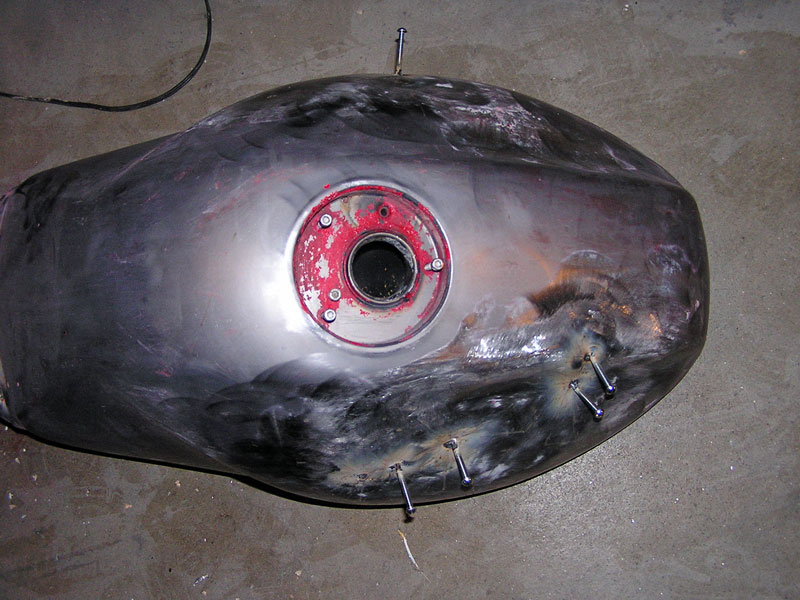
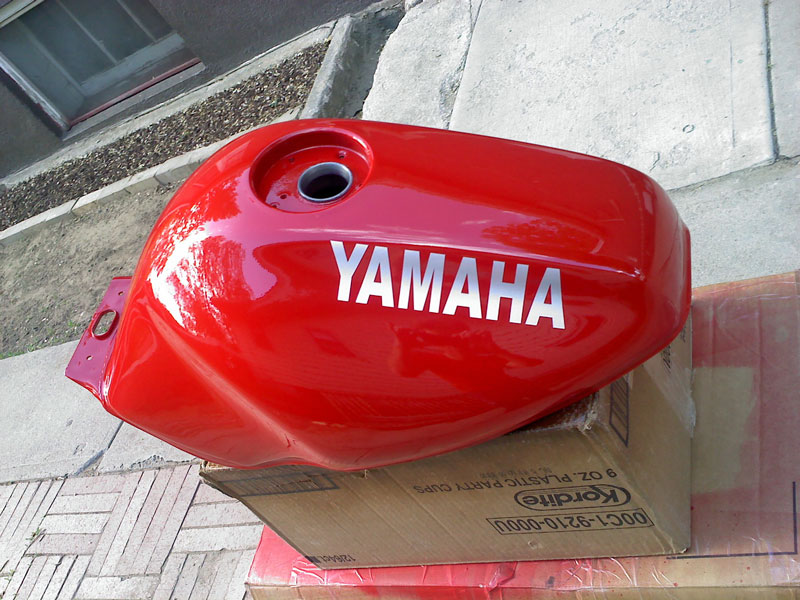
I sourced a replacement tank on EBay and when it arrived, it was so badly rusted that there were bubbles near the bottom back of the tank. I griped at the seller and got a full refund. I then bought another used tank. This one looked good and I cleaned it with phosphoric acid. This gave me three pinholes in the bottom of the tank. UGH. I welded these shut and painted the body parts. Here's the tank painted and cleared with Spraymax 2k Clear. This was my first time using this paint:
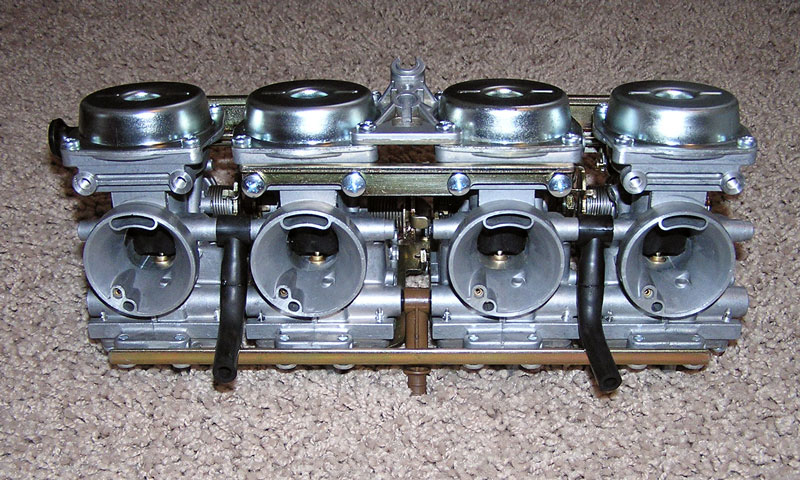
With the tank off, I decided to perform routine maintenance. I replaced the air filter, cleaned the carbs, installed new carb boots and replaced the spark plugs.
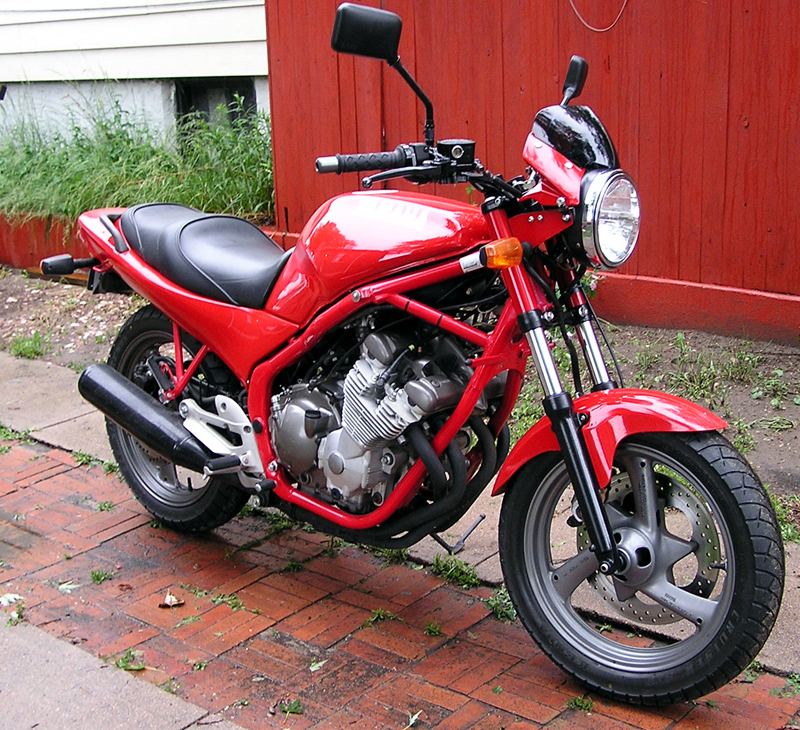
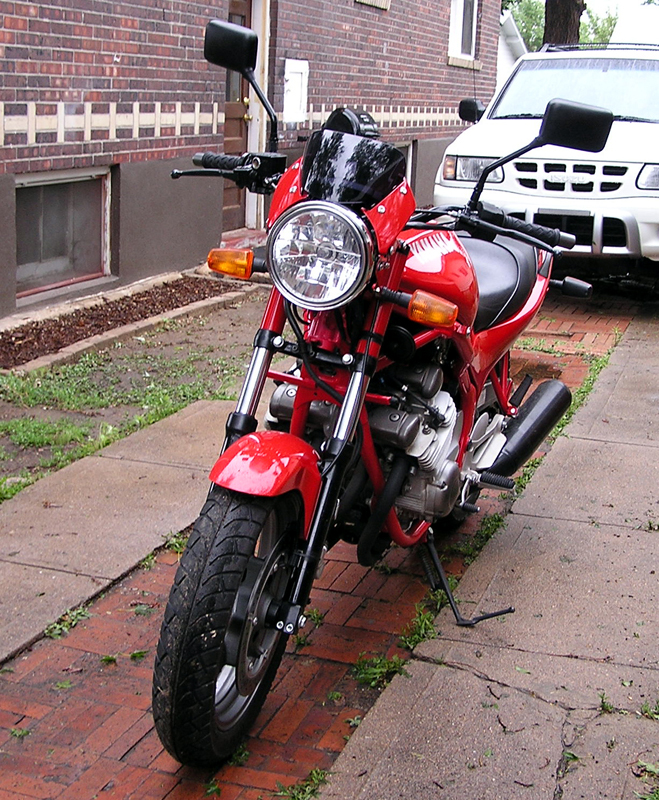
After drooling over XJ600N's online, I decided I wanted to convert my bike to a naked-style bike. I love bikes with wide handlebars as it offers good leverage and makes them a lot of fun to turn-in on curves. I sourced the necessary parts for the conversion: SV650 headlamp and fairing, Bikemaster European Bend handlebars, new grips, new tires (Kenda Cruisers) and a Trailtech Vapor speedometer assembly. I fabricated my own mounts for the Vapor and the headlamp and assembled the mess back into a bike. I painted all of the body parts with Duplicolor paint in Victory Red.
Here are the results at my first rework of the bike:
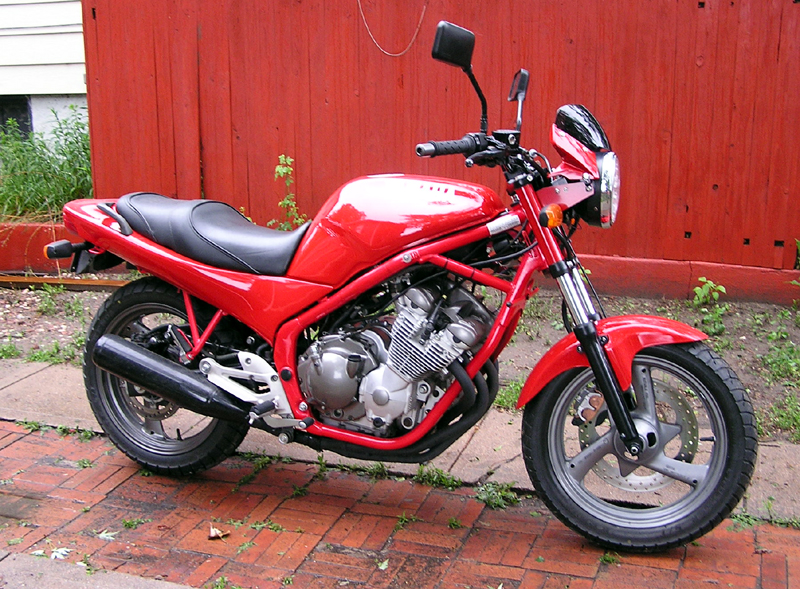

I did not like the aftermarket (Sargent) seat, so I sourced a replacement stock on EBay:

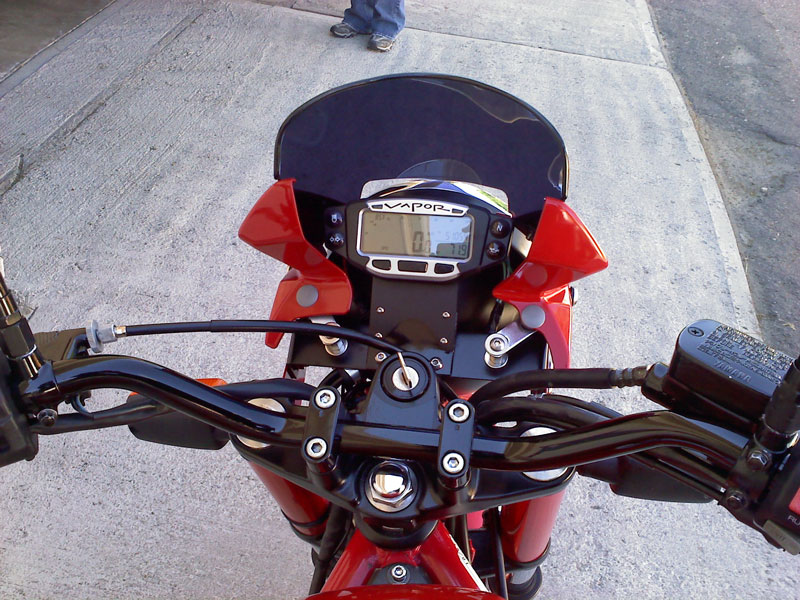
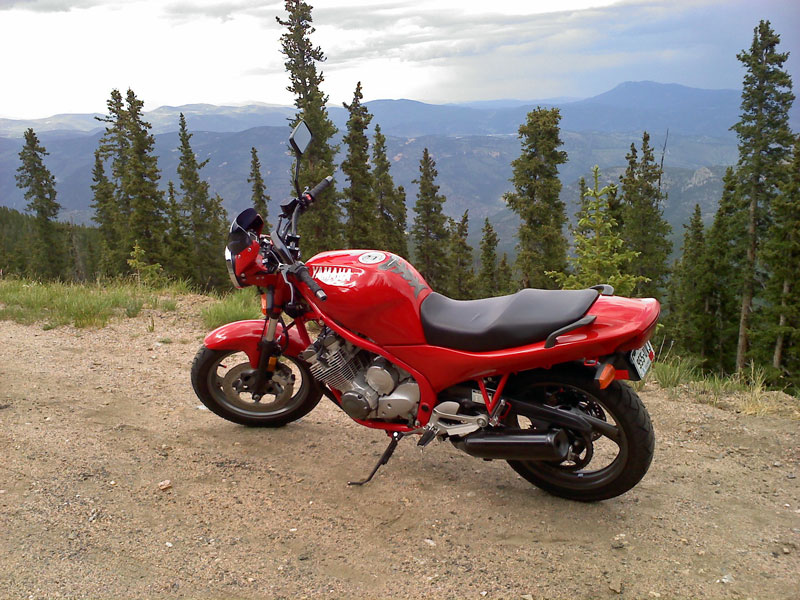
I was satisfied with the bike in this condition and rode it for nearly 2000 miles. Here it is near Mt. Evans on one of those trips:
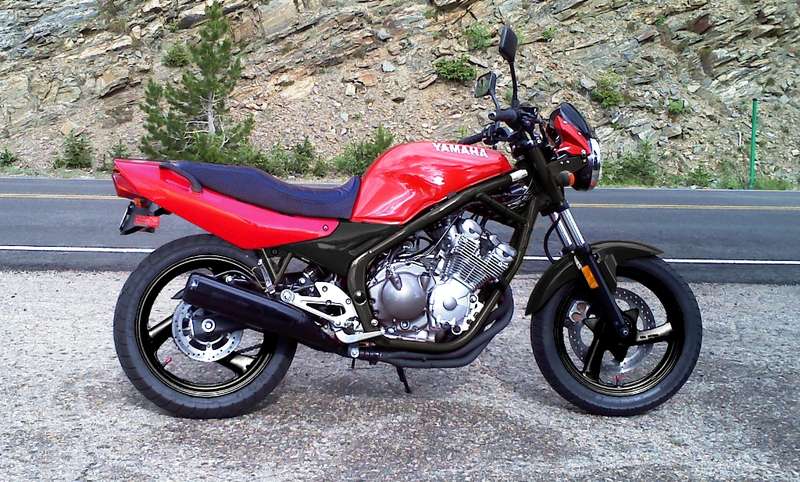
That winter, I was sick of the inaccurate tachometer on the Vapor gauges and I didn't like how high the headlamp sat up. It made the bike look like it was begging. I decided, after much work with Photoshop, that I would like to install a later style tail, build a custom set of gauges and tighten/clean up the bike a bit. Here's the Photoshop version of what I wanted the bike to look like:
I spent WAY too much money on EBay, sourcing a used tail from a '97 model. To mount it, I had to strip the bike down and weld on coupling nuts. At this time, I cut off the original fairing mounts and the horn mount.
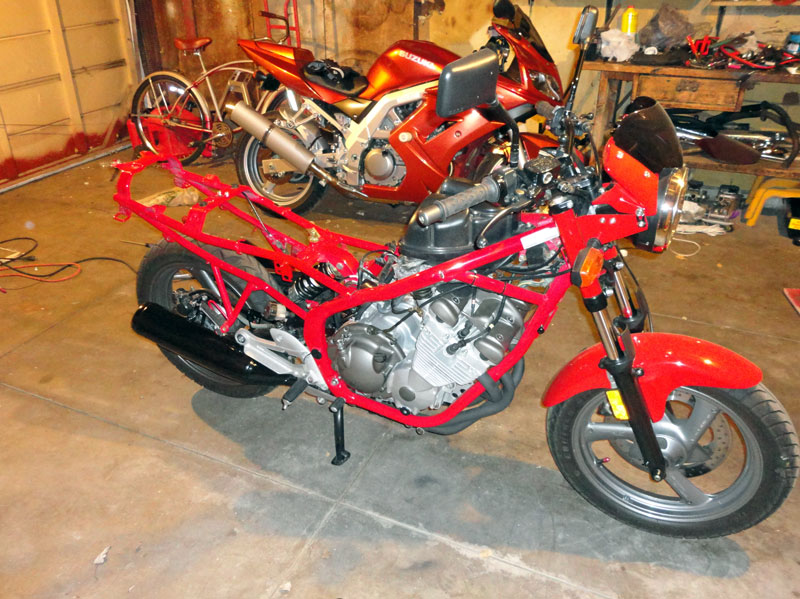
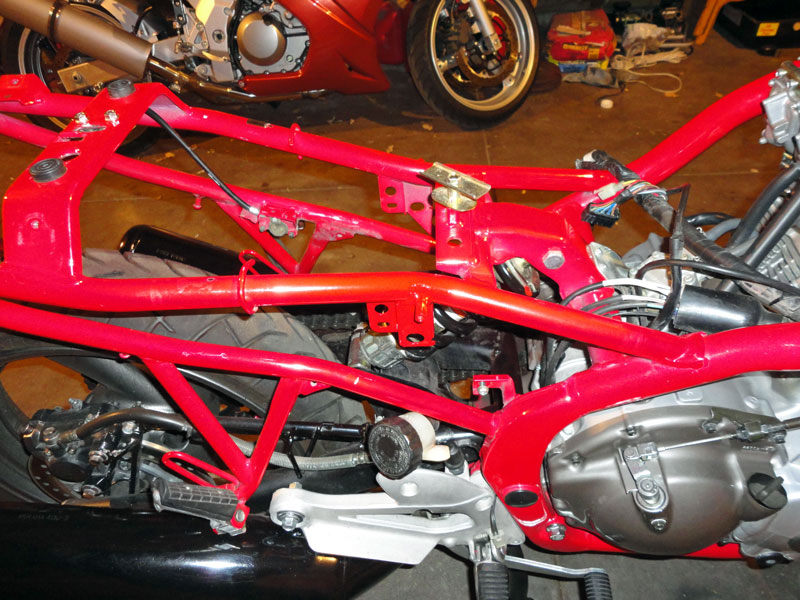
I assembled everything and tested the fit of the new tail. Nice. I like it! Okay, I'm stoked.
Now that I liked the tail, the next step was to fix the headlamp mounts. I wanted to lower them about 2" and extend them forward about an inch. Here's my first prototype:
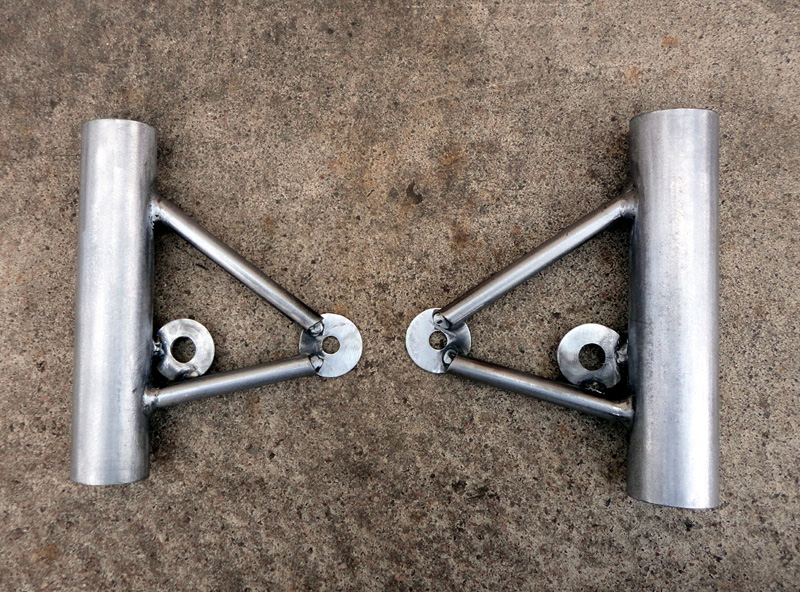
I installed these on the bike but couldn't get them to work out like I'd hoped. I scrapped them (shelved them, still have them if anyone wants them) and modified my first set but cutting and rewelding to lower the headlamp. This proved to work well.
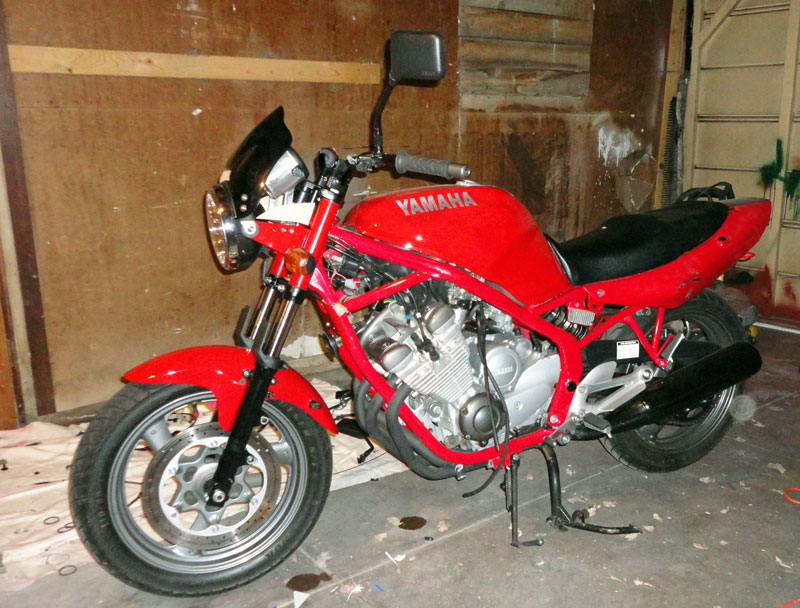
I also fabricated custom mounts for the FZR600 gauge and fitted a Holeshot Fairing. Here's the early prototype stages:
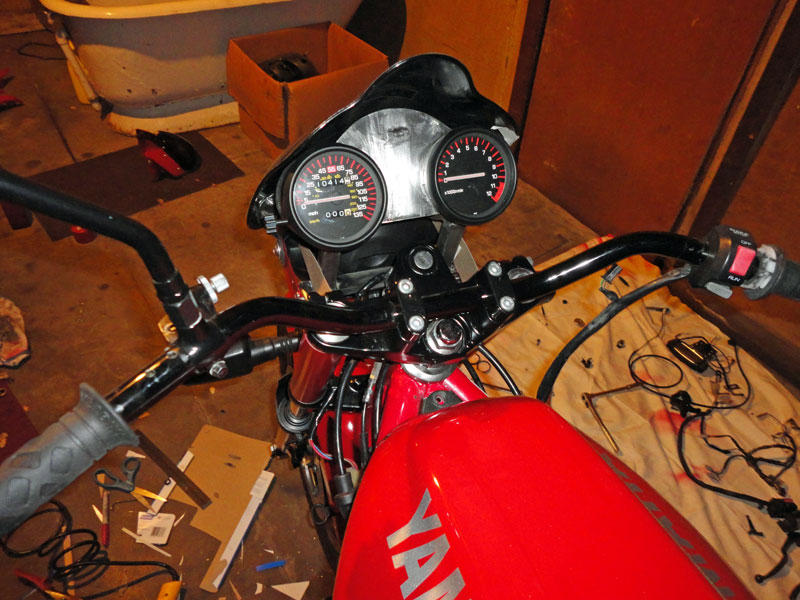
I wasn't feeling the gauge pod and decided to reshape it a bit to better suit the bike:
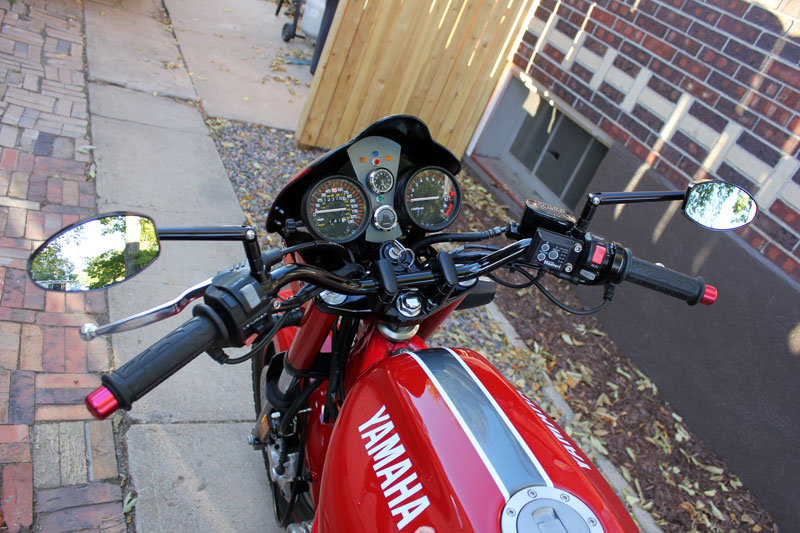
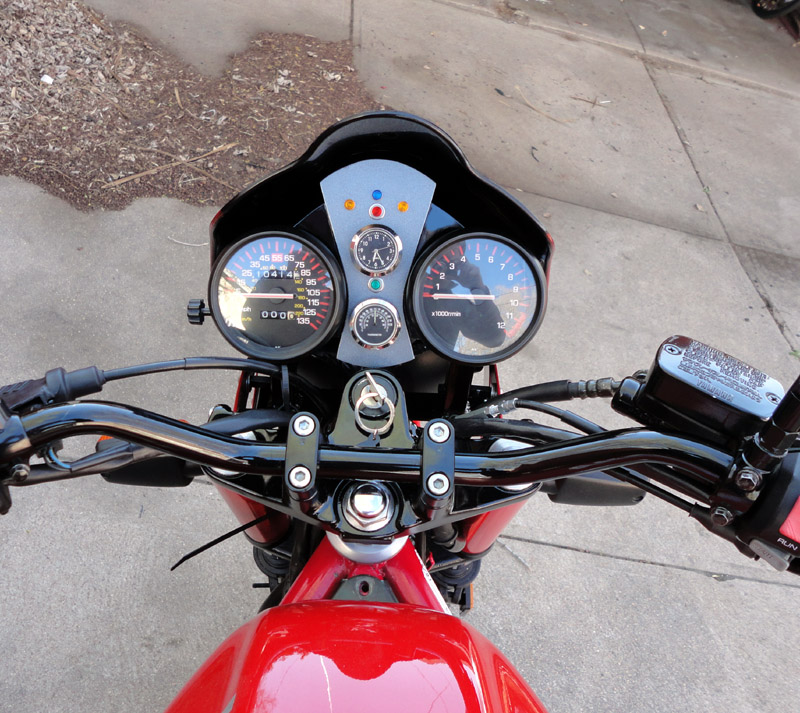
Here's the finished gauge assembly, all painted. I added a Stem Captain clock and Stem Captain temperature gauge. They're made for bicycles but worked well with a bit of ingenuity. I used LED's for the indicator lights and added directionals. Lots of work. I wanted something a bit different and very easy to read.
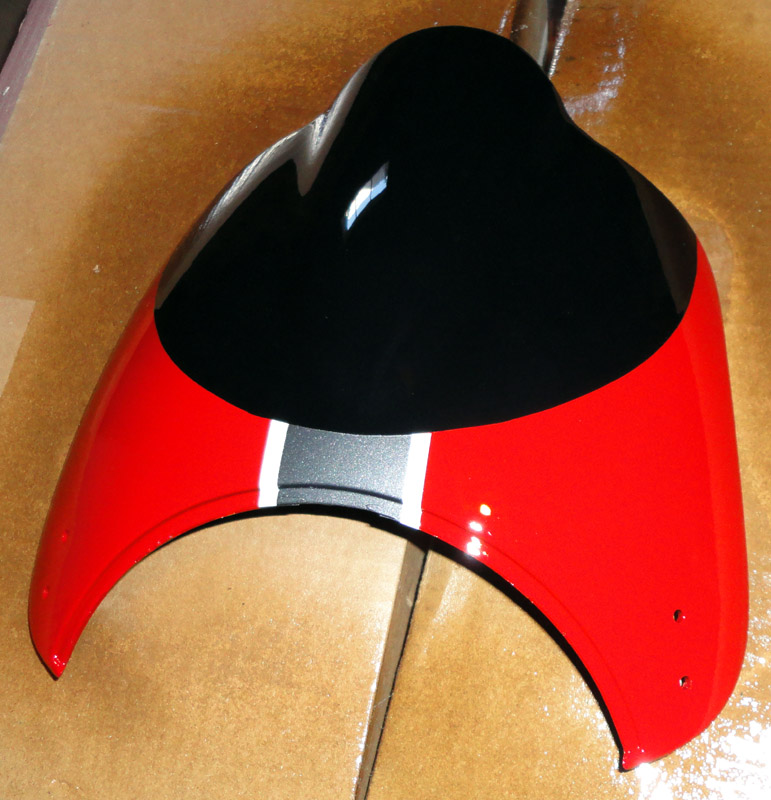
At this same time, I managed to ruin the paint on the tank by letting a full fuel tank tip on it's side. The decision was made to repaint the bike and to add a stripe. I decided to try the scheme on the fairing and go from there. Here's the fairing with fresh paint:
I sanded down the tank and fixed/sanded the tail to prepare for paint. I used ABS Cement Glue to fix the damages to the tail:
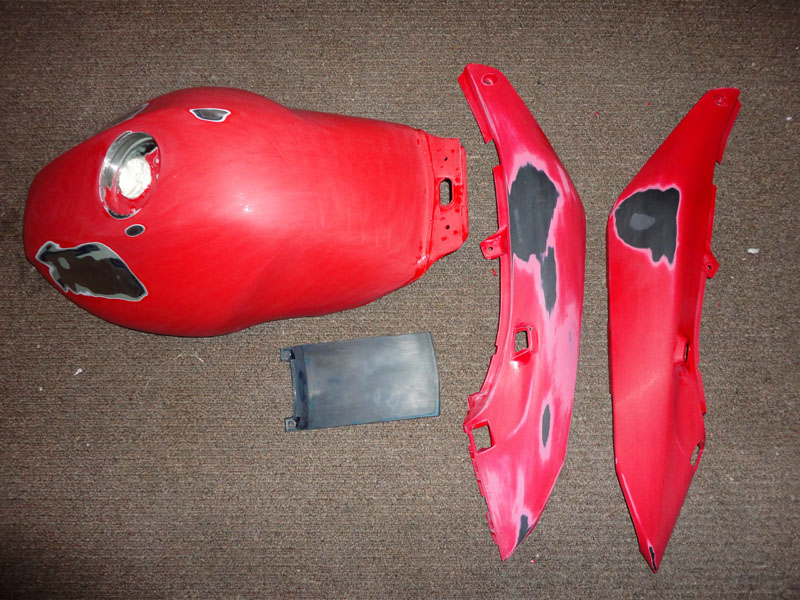
I gave all body parts a coat of Spraymax 2K (non isocyanatic) primer and then two coats of Victory Red and two coats of lacquer clear.
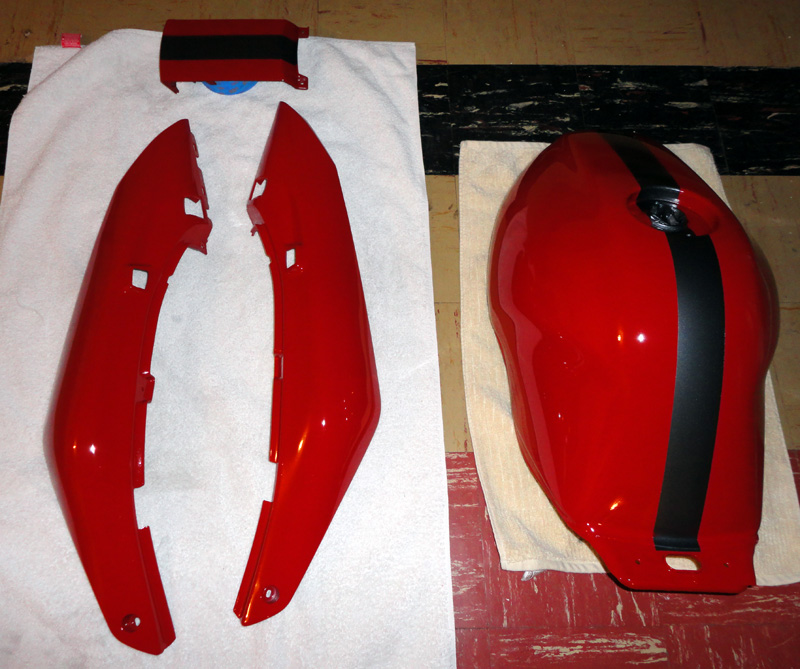
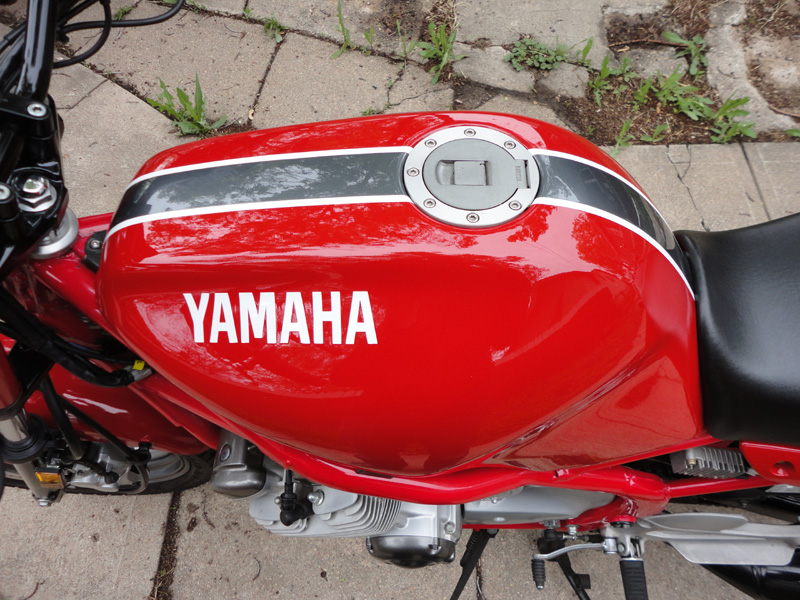
I let the lacquer paint cure about a week and then scuffed it with 1000 grit paper. I laid a vinyl stripe over the transition from red to grey and added the Yamaha logos. I then sprayed two coats of catalyzed Spraymax 2k clear:
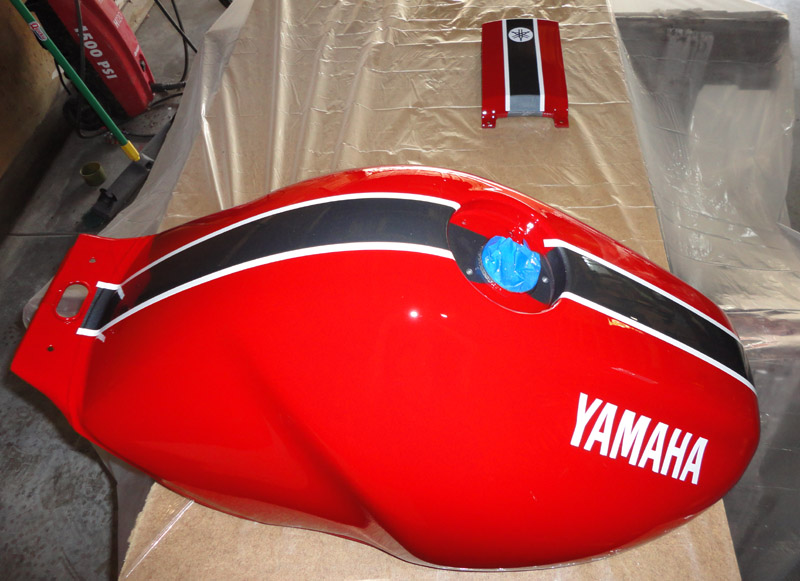
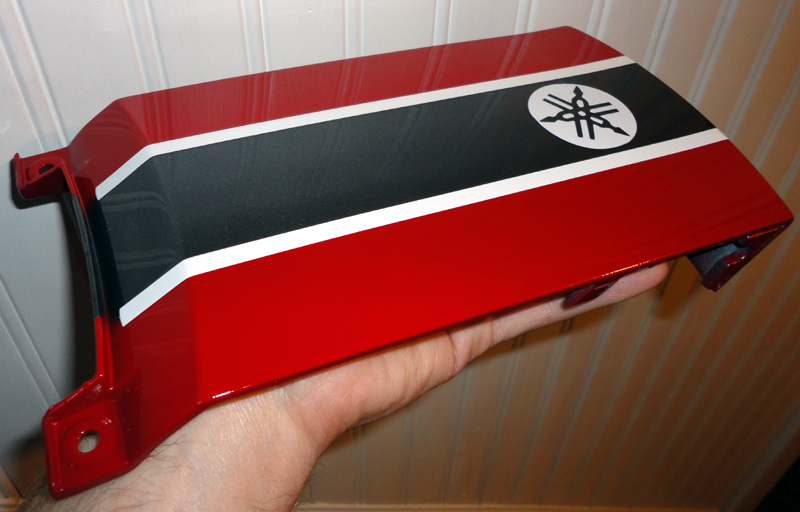
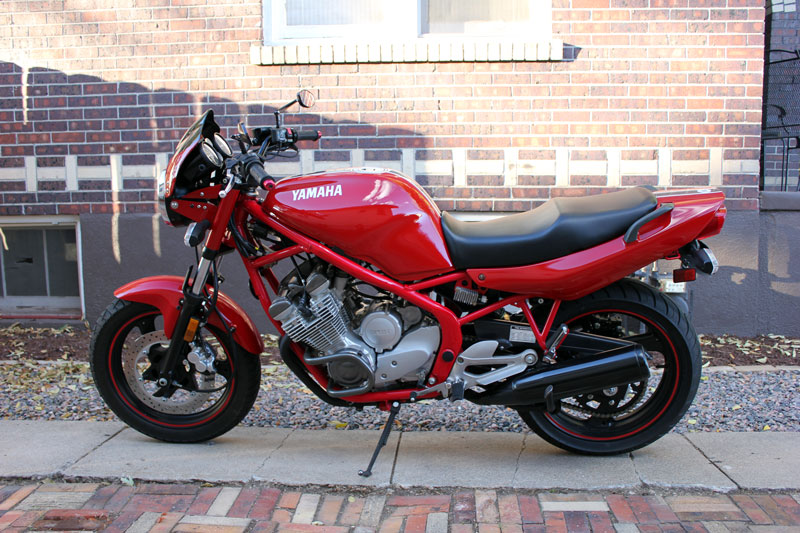
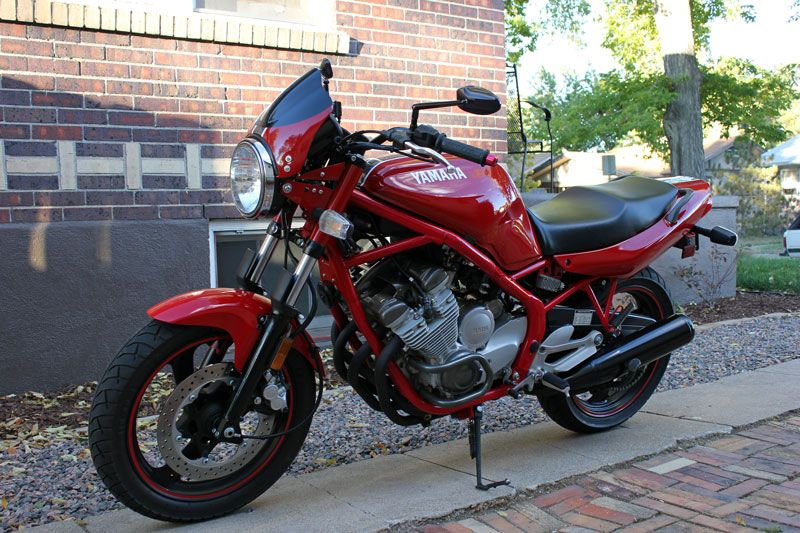
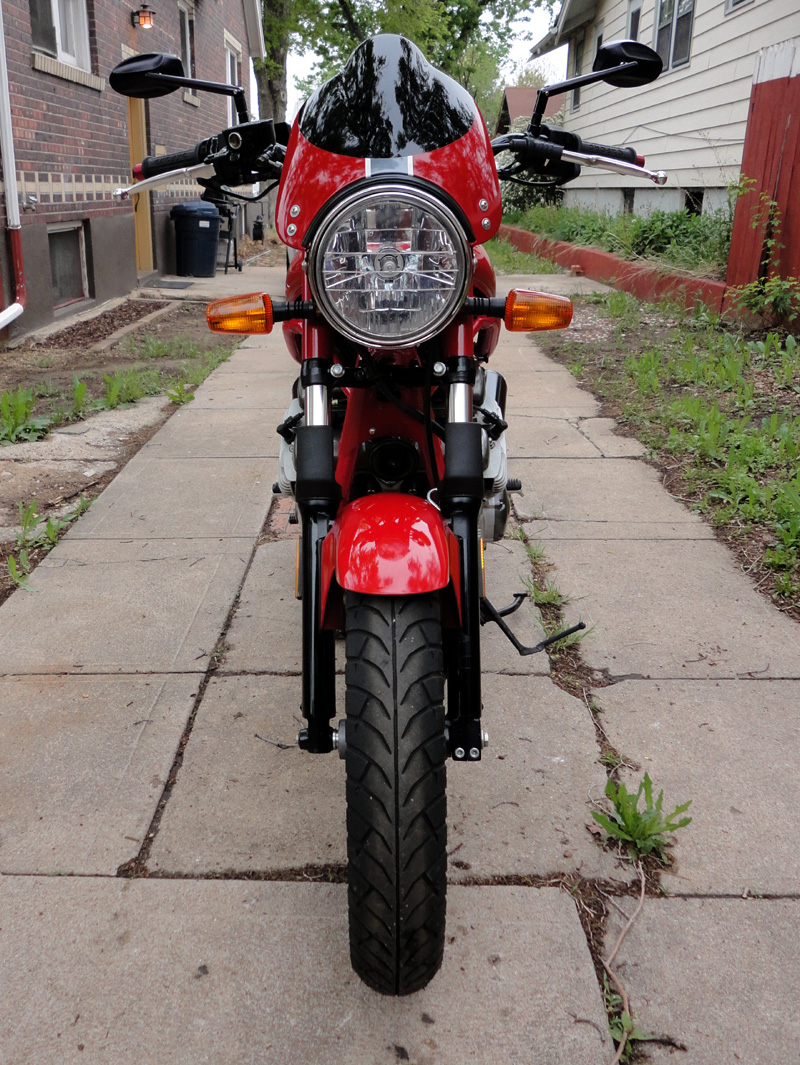
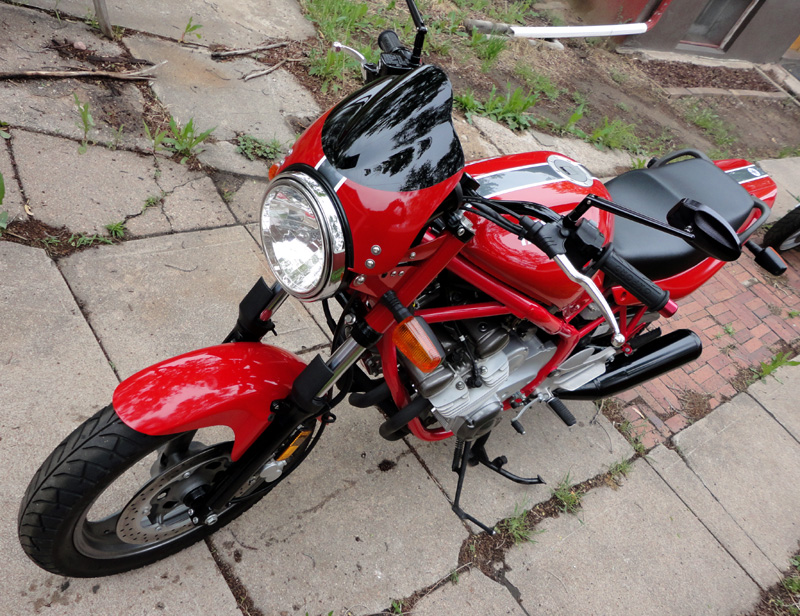
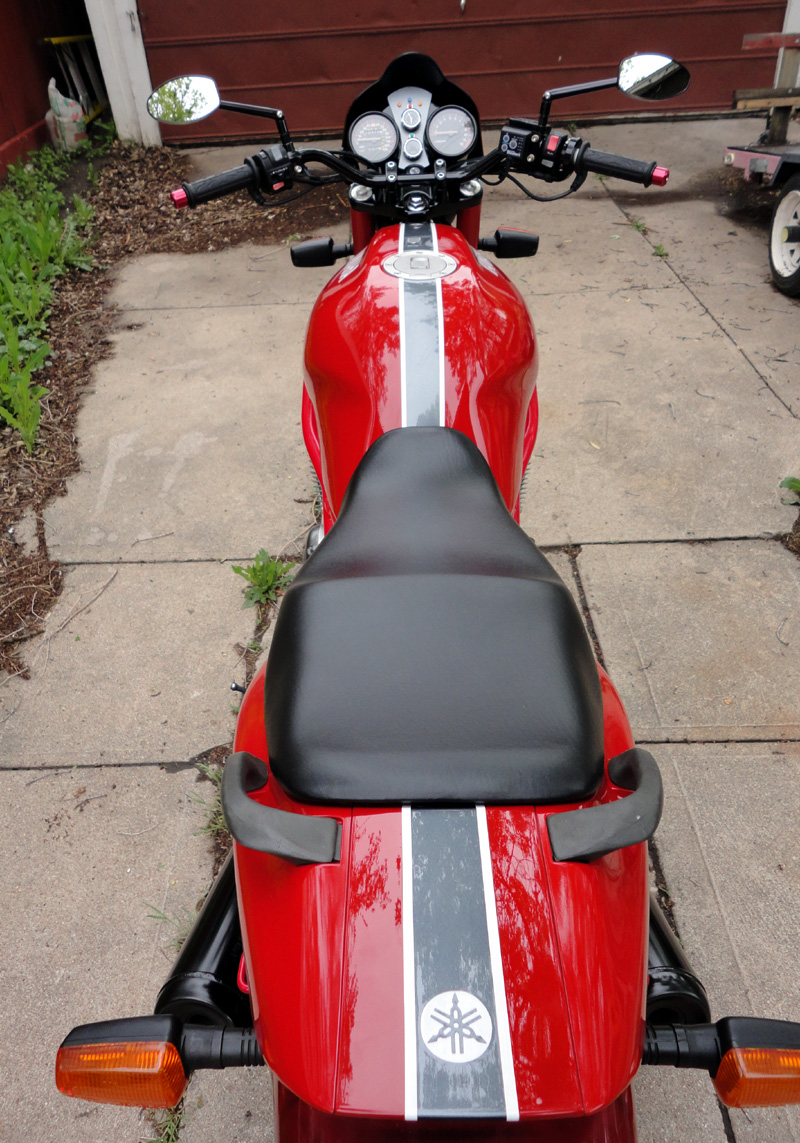
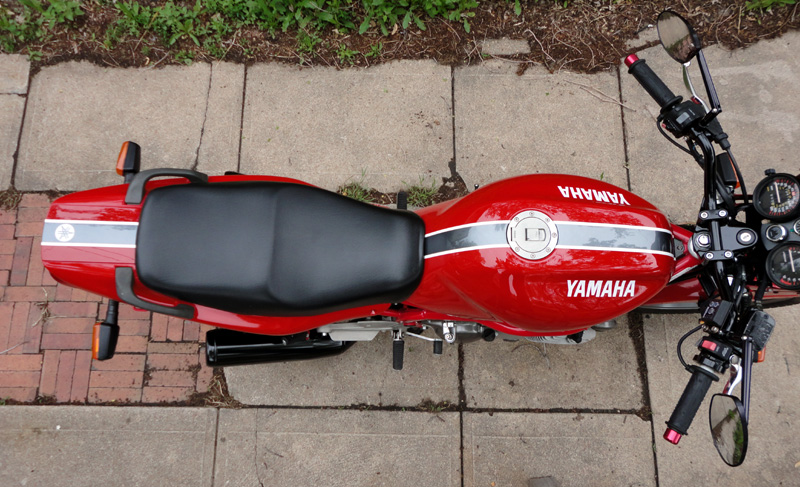
Here's the bike, assembled, with the new scheme:
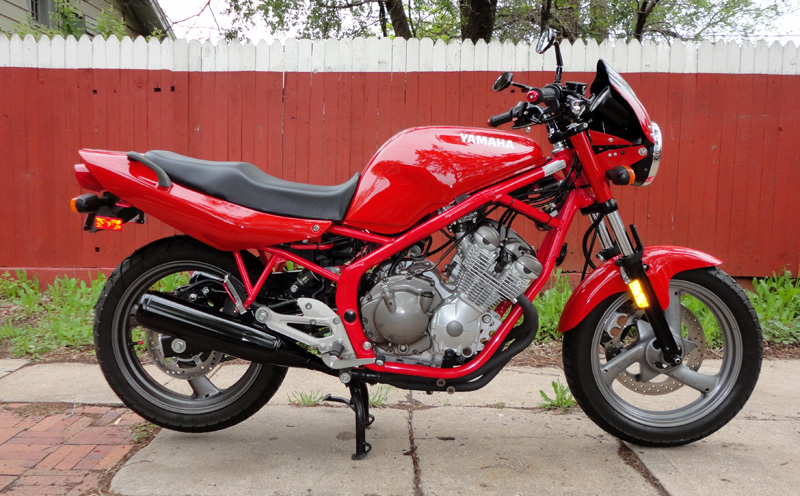
 \
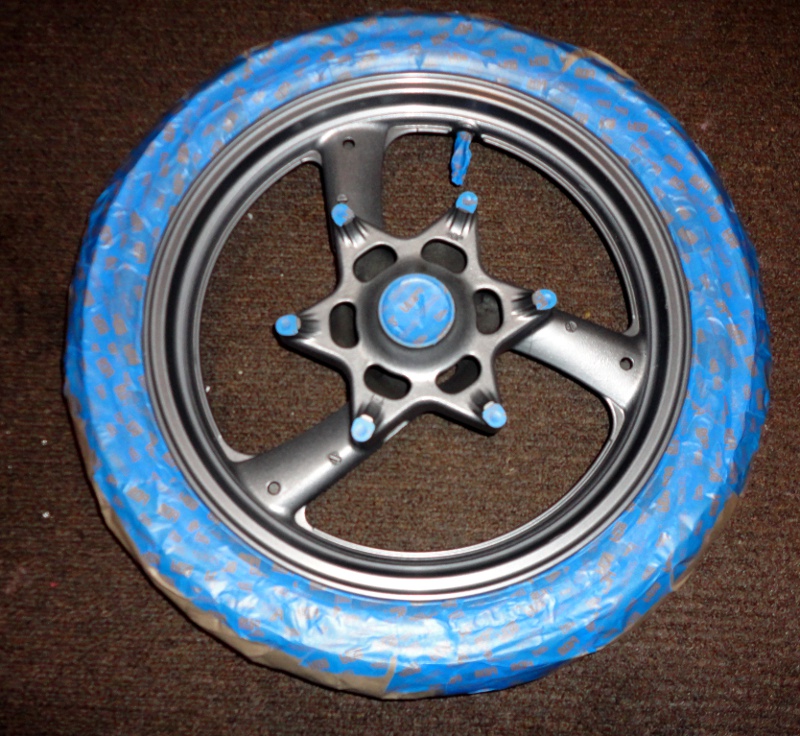
\At this point, I decided I'd like the wheels black with a red stripe. I masked the wheels and sprayed them with Duplicolor Engine Enamel in Low Gloss Black:
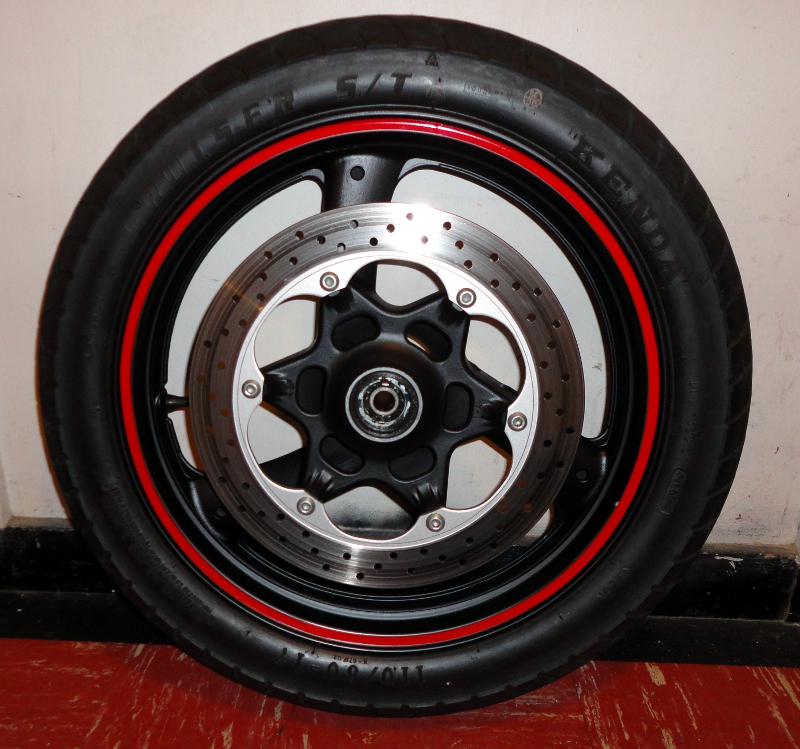
Here she is with the wheels back on. Nice!
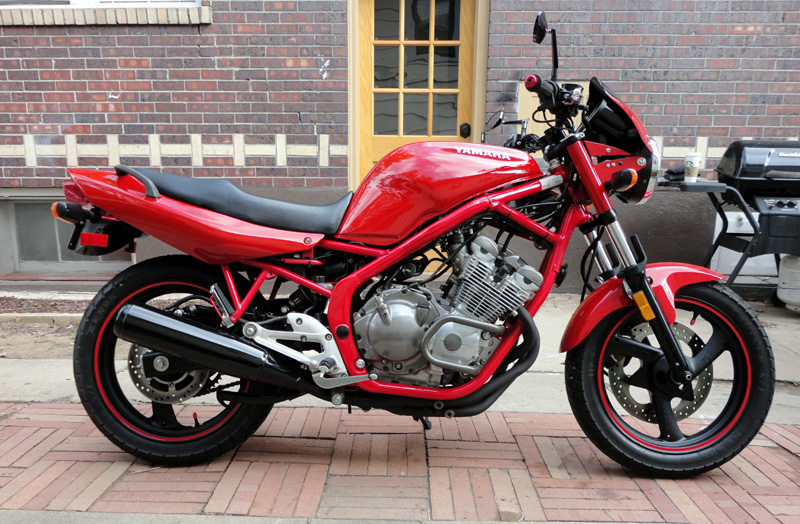
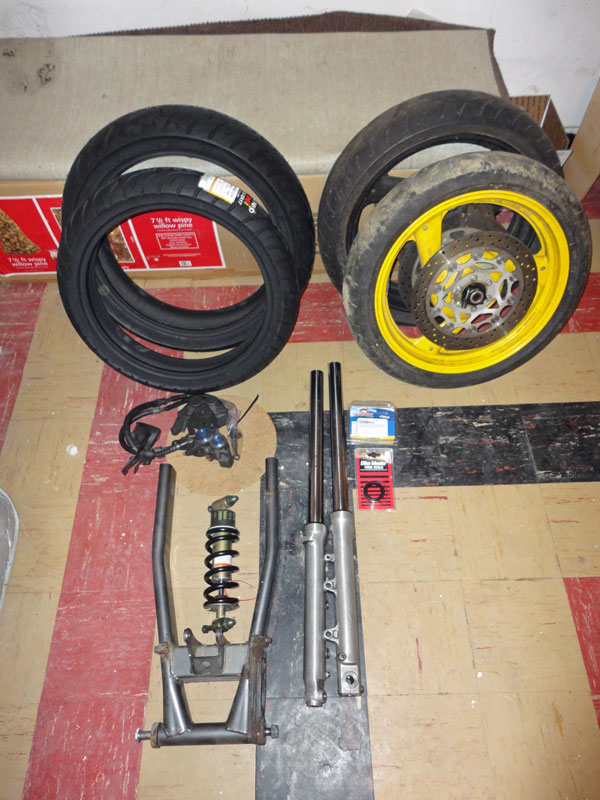
I proceeded to put another 2000 miles on her in this condition. At this point, I was tired of the worn rear shock and I was wanting a bit more from the front brakes, when riding two up. I decided to swap in an FZR600 front end and FZR600 wheels. I bought all the necessary bits and a pair of Shinko Podium tires.
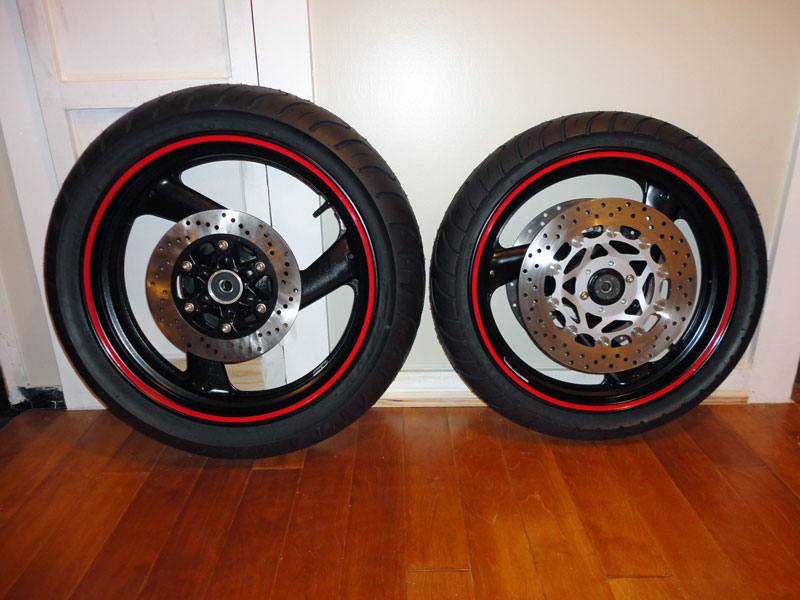
I began by rebuilding the wheels. I installed new All Balls bearings and painted the wheels black, this time with Duplicolor Wheel Paint in Satin Black. I fitted the Shinko tires and reconditioned the brake rotors. The rear tire got a new Brembo rotor:
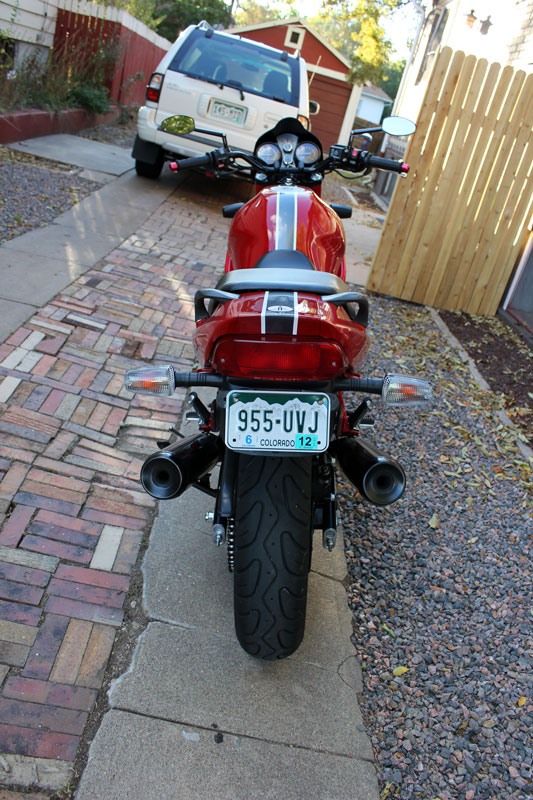
Fitted the rear wheel without trouble. While surfing EBay, I came across a set of clear signal lenses. I had to have em!
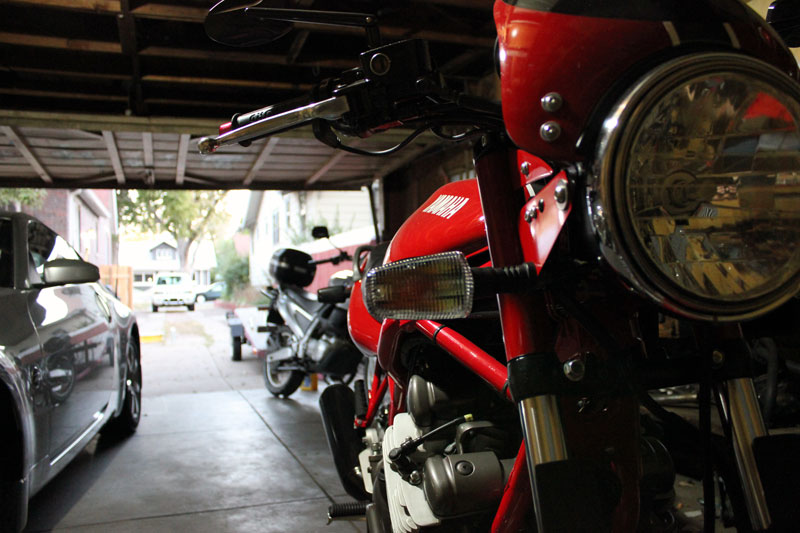
Here's how she sits now, waiting on me to finish rebuilding the FZR600 forks and R6 calipers so I can complete the FZR600 front end conversion:
