Before you start I would recommend taking the new friction plates and soaking them in some fresh engine oil while you go about disassembling the clutch.
Warm the bike up for a few minutes or ride around the block to warm the engine and with the bike supported on the center stand or a similar fashion drain the oil. Remove the oil filter if you're going to be putting a new one on when done.
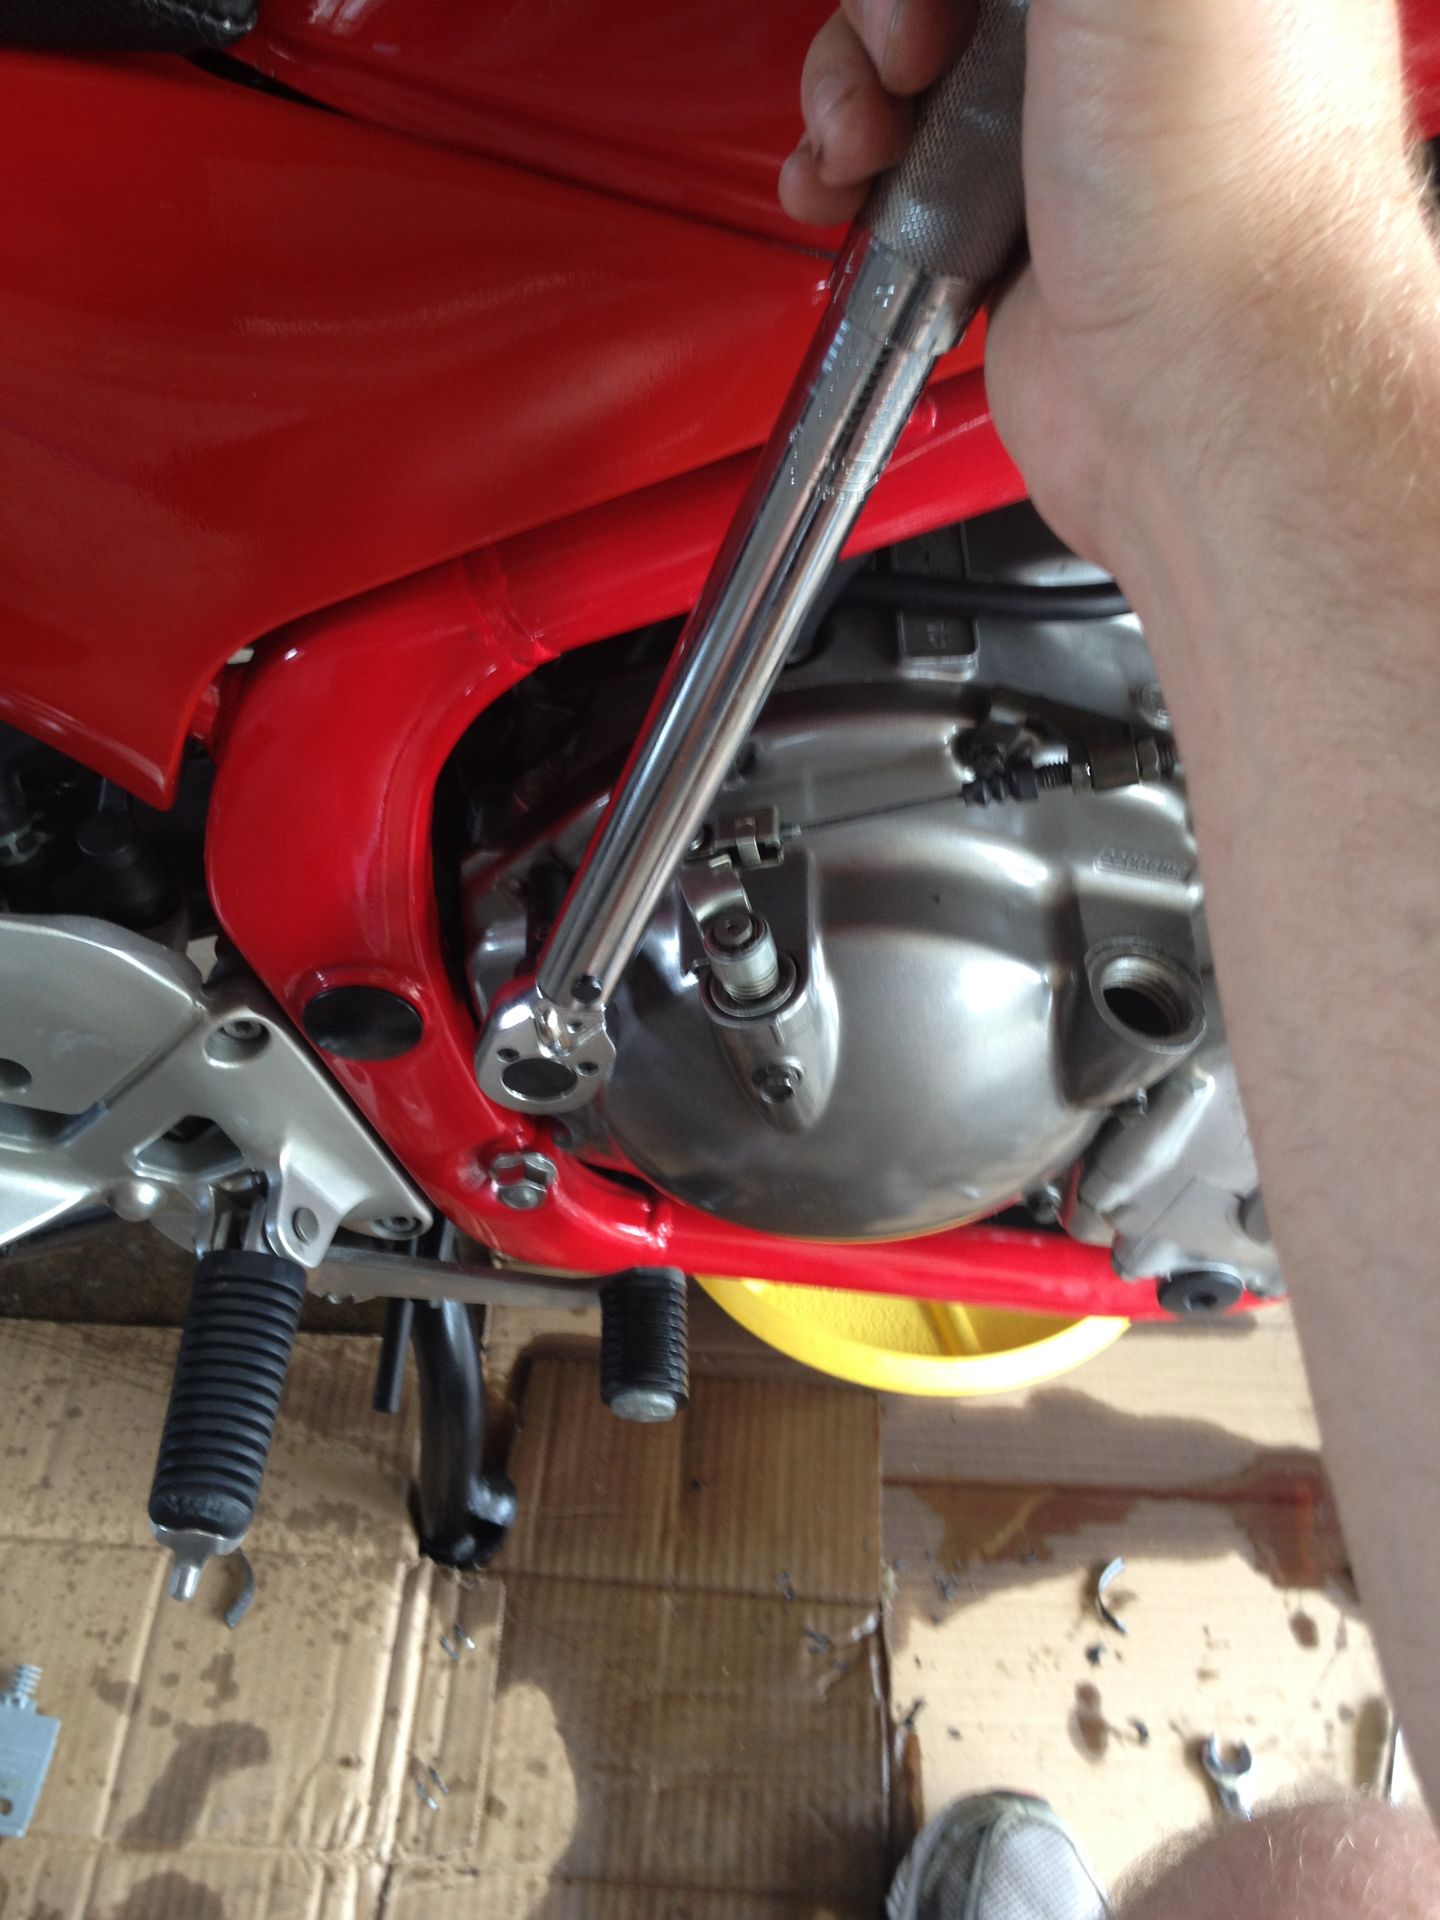
The first thing you will want to do is loosen the clutch cable at the handle bars and remove it from the lever so there is plenty of slack at the clutch cover.
Then remove the clutch cable from the holder assembly. You may have to bend the tab down slightly to fully remove the clutch cable end.
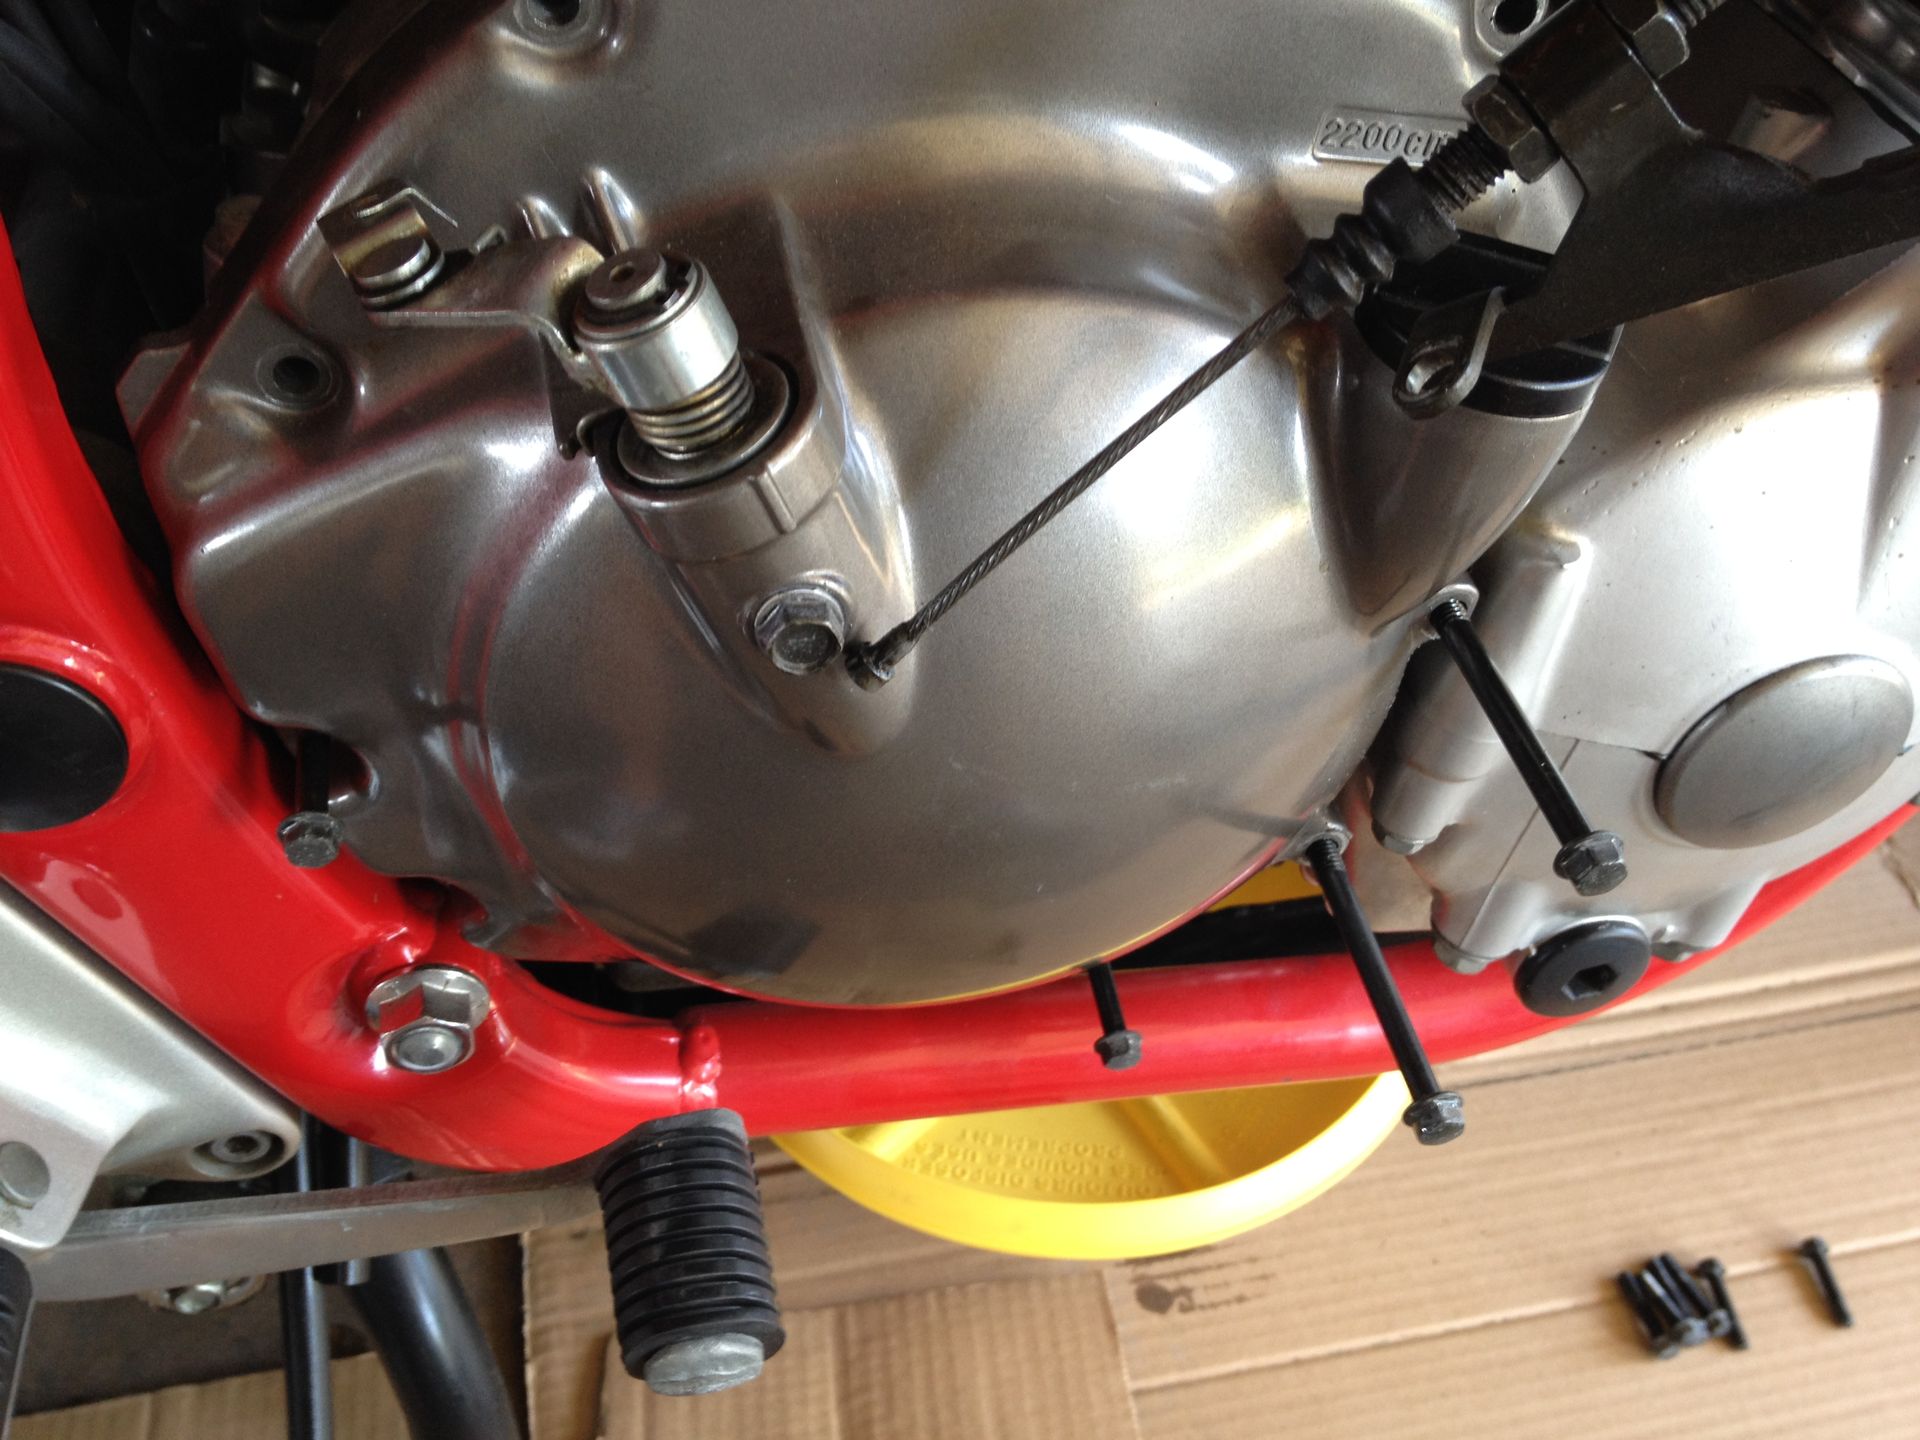
Remove the 10 bolts that hold the clutch cover on. They are 8mm hex head. Two of them will be holding the clutch cable guide in place and there are 4 that are longer then the rest, 2 really long, two a bit long. This picture shows were those long bolts go.
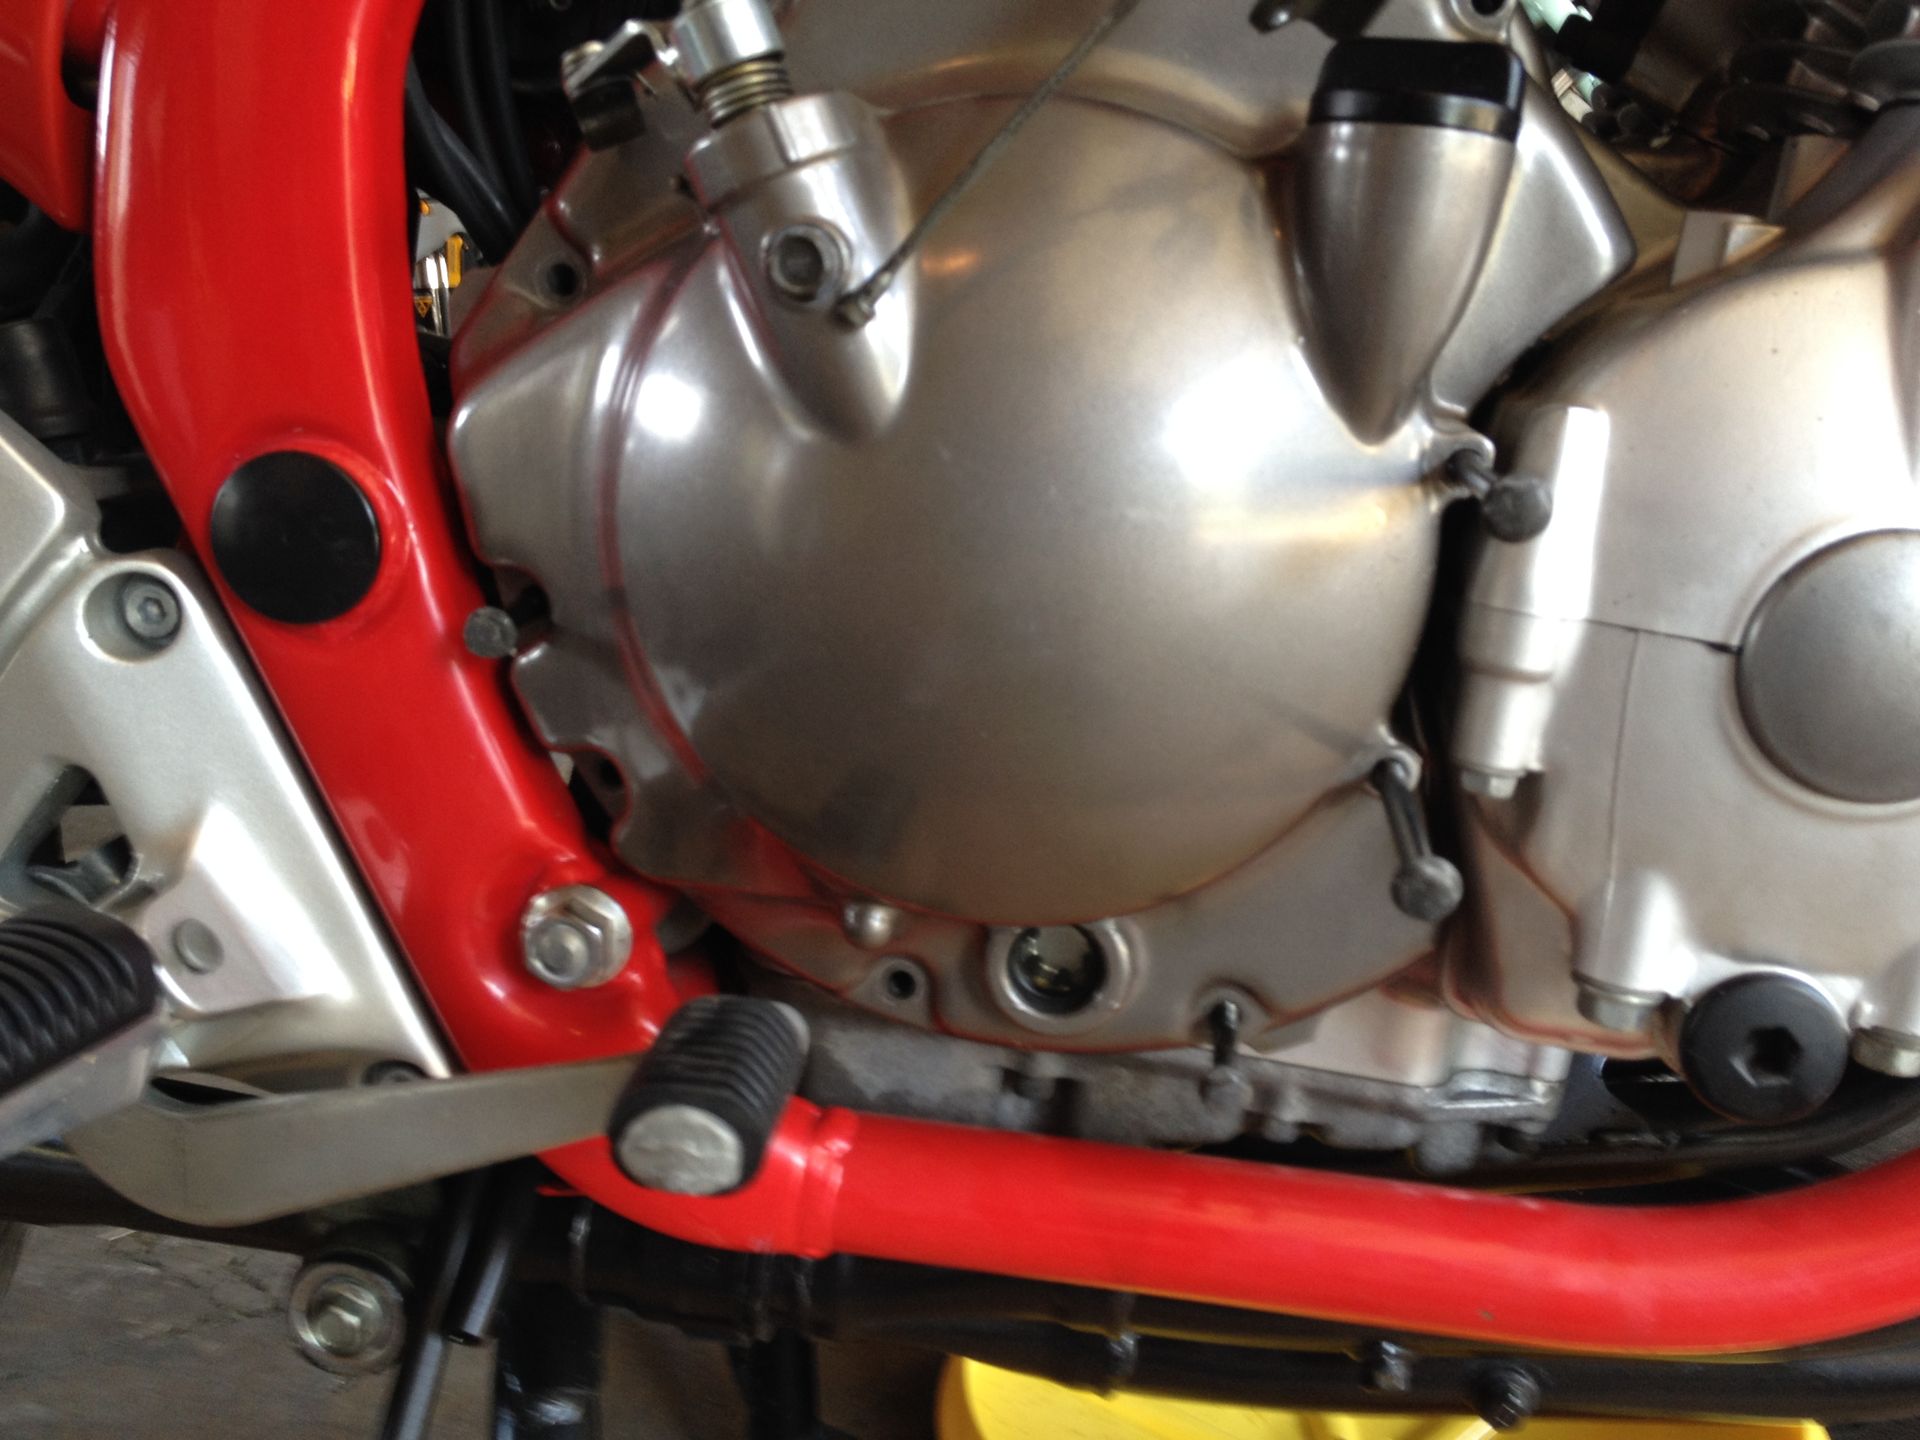
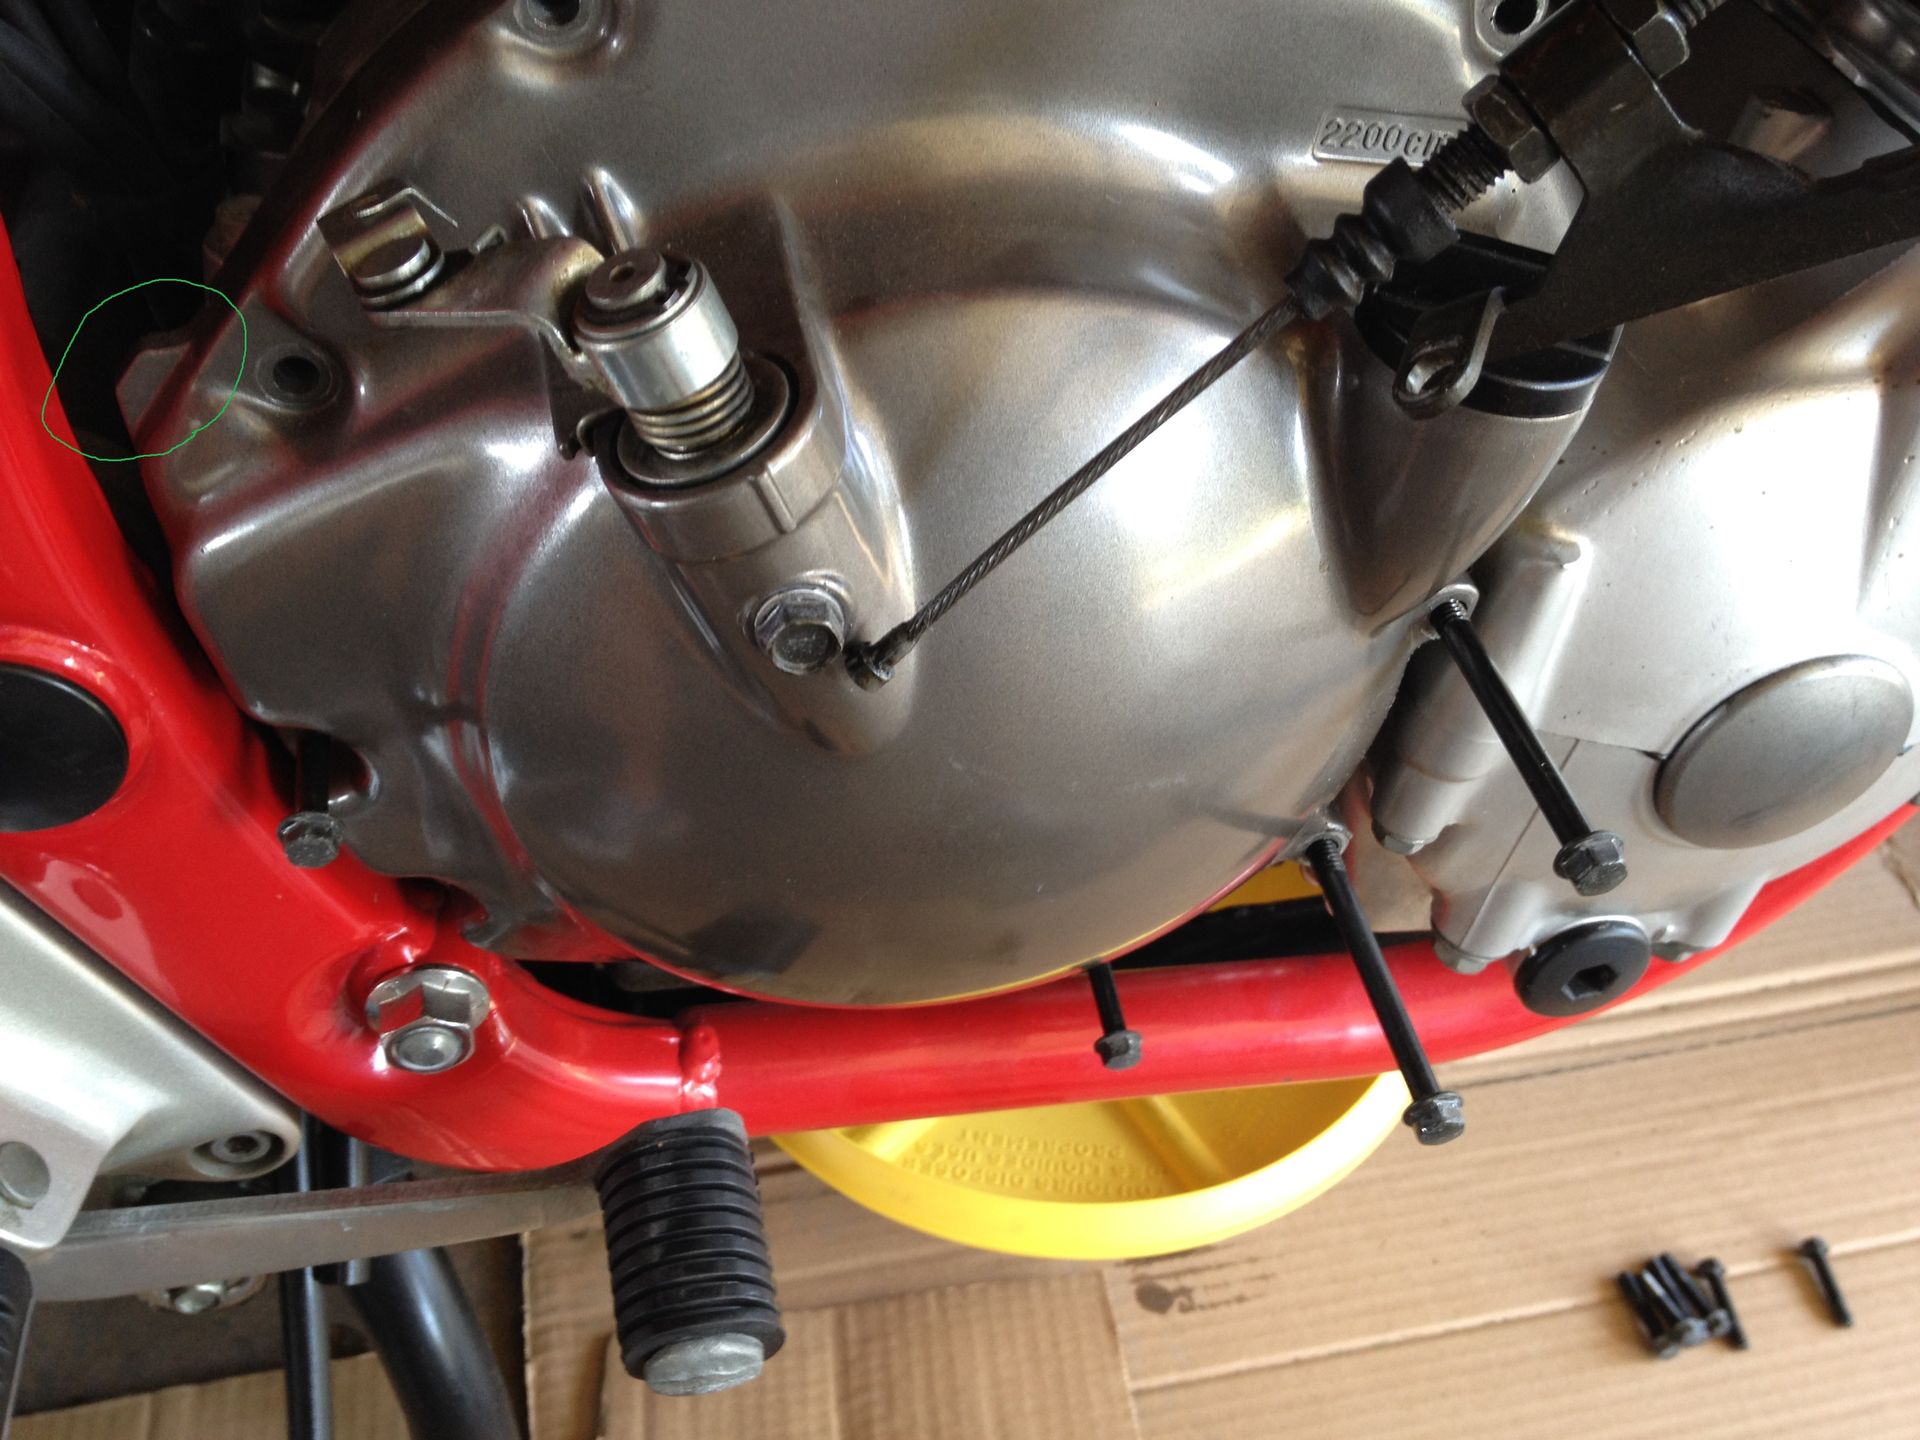
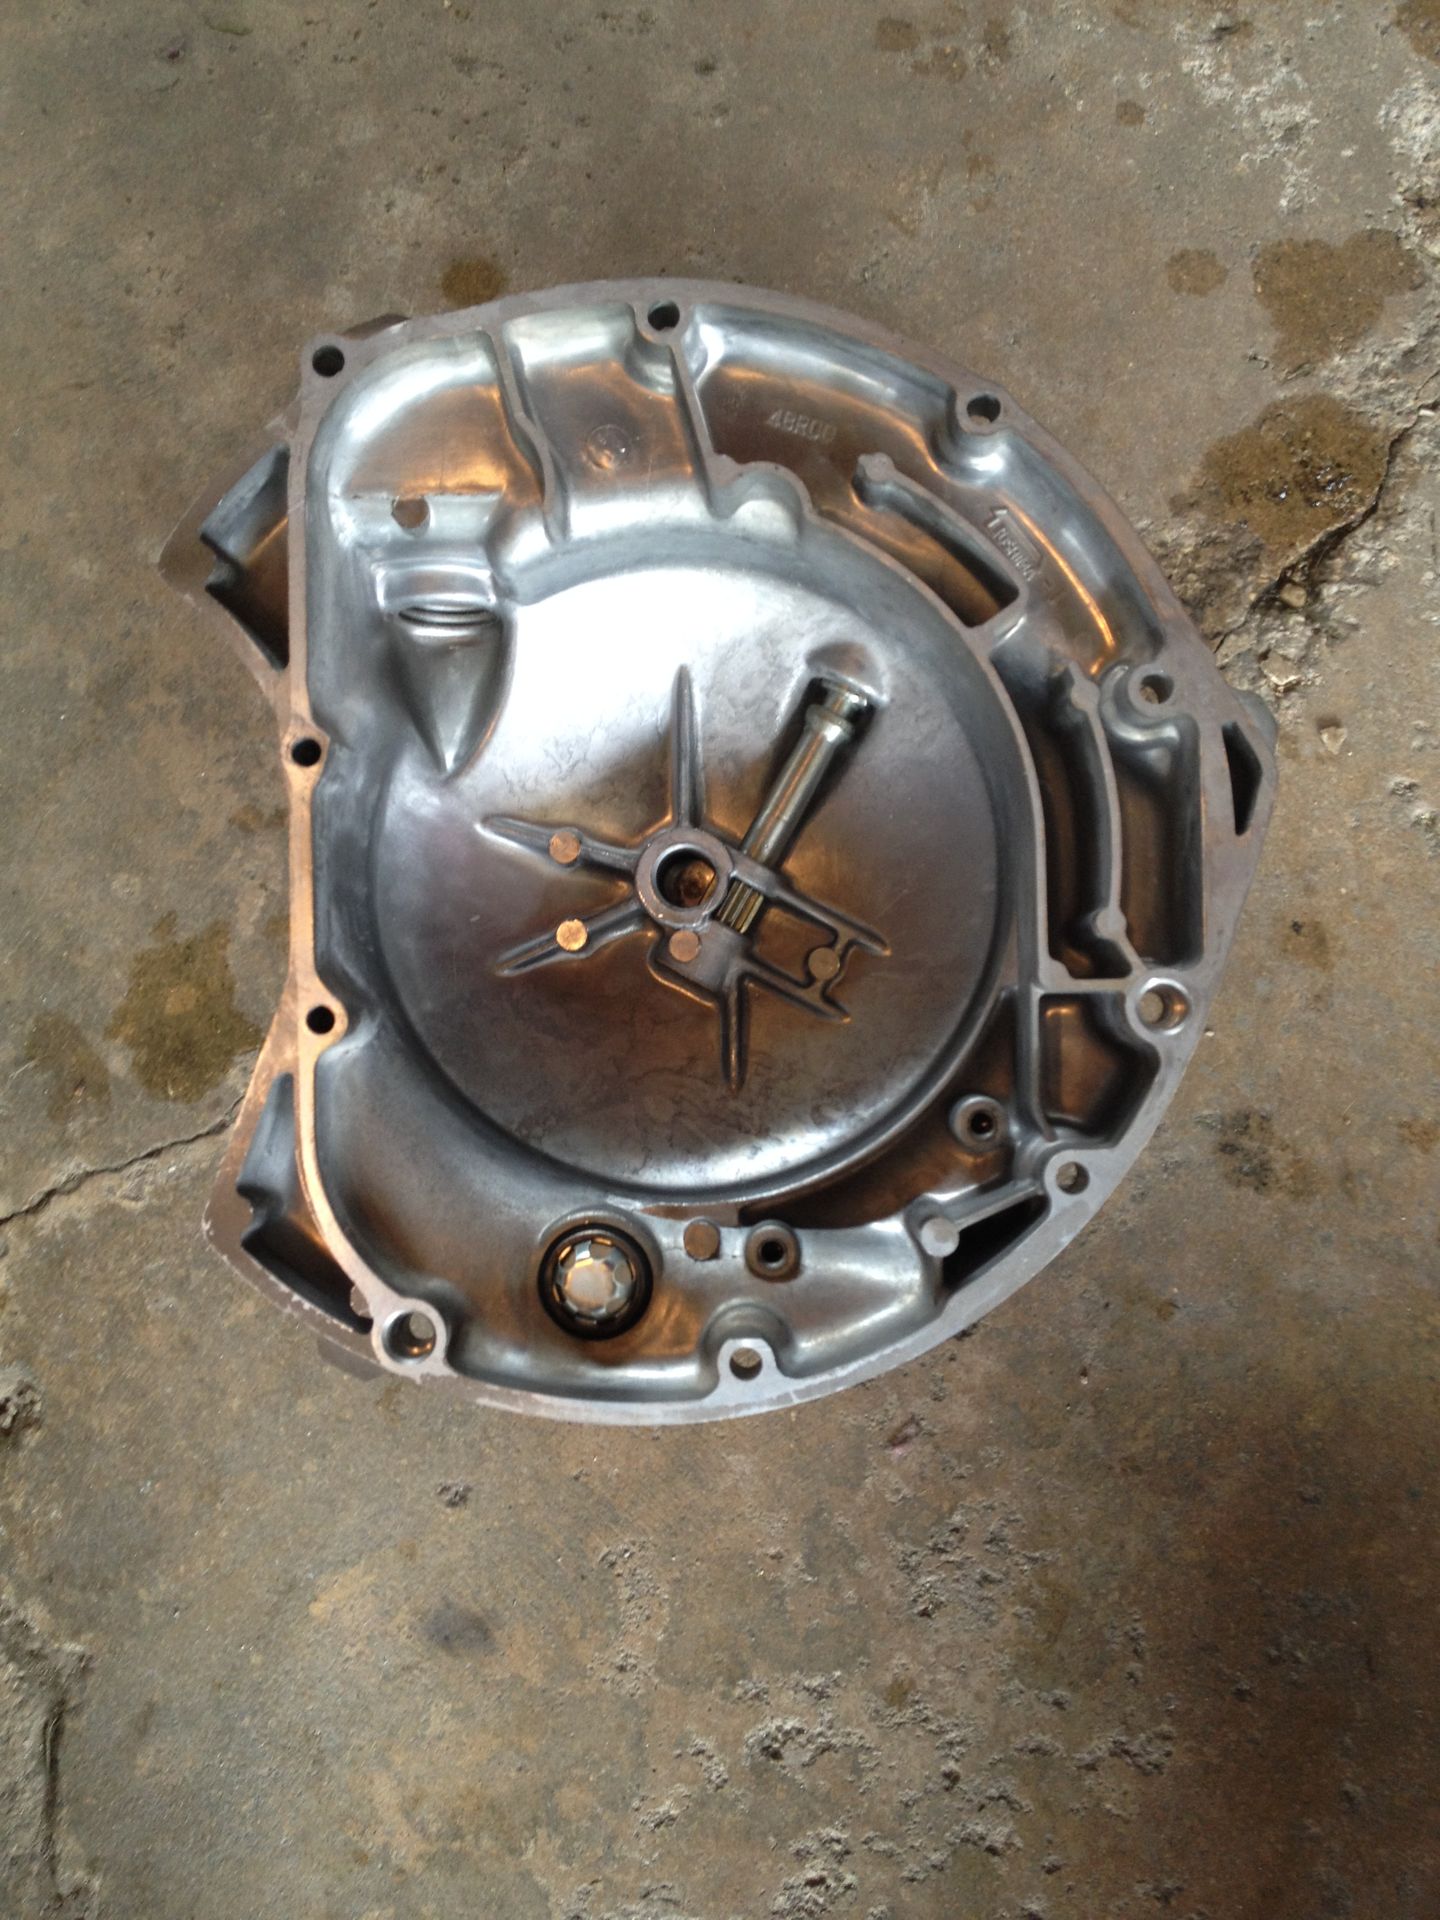
Once you have the bolts out you should be able to pull the clutch cover away from the bike. It may be stuck on there but there is small tab that is there to pry on to get the cover off. I circled it in green. I also pulled with my finger in the oil fill hole and tapped lightly with a rubber mallet on the cover.
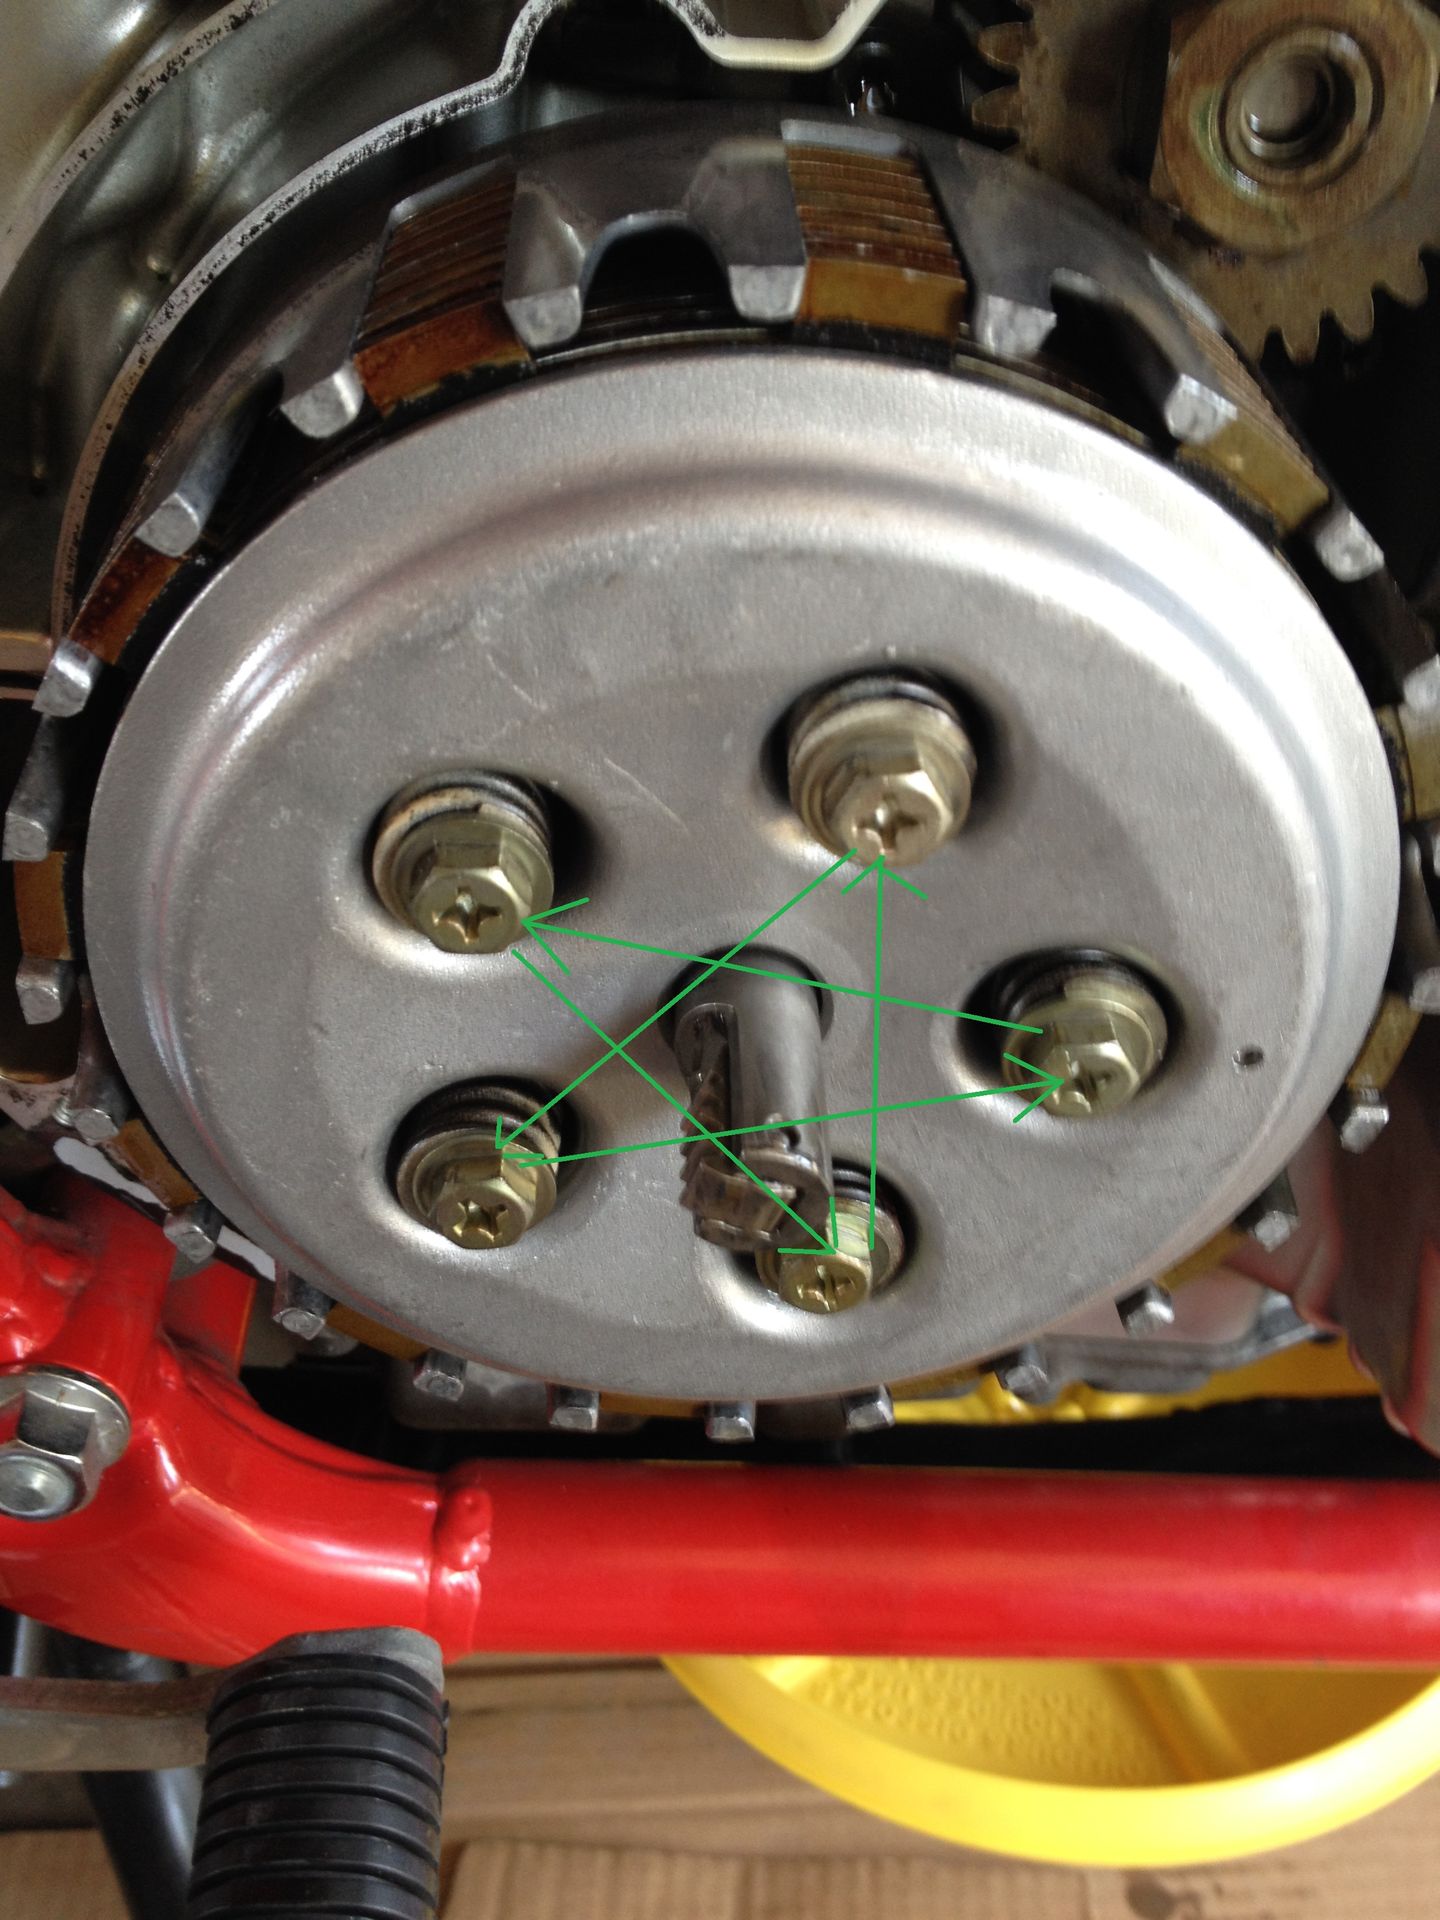
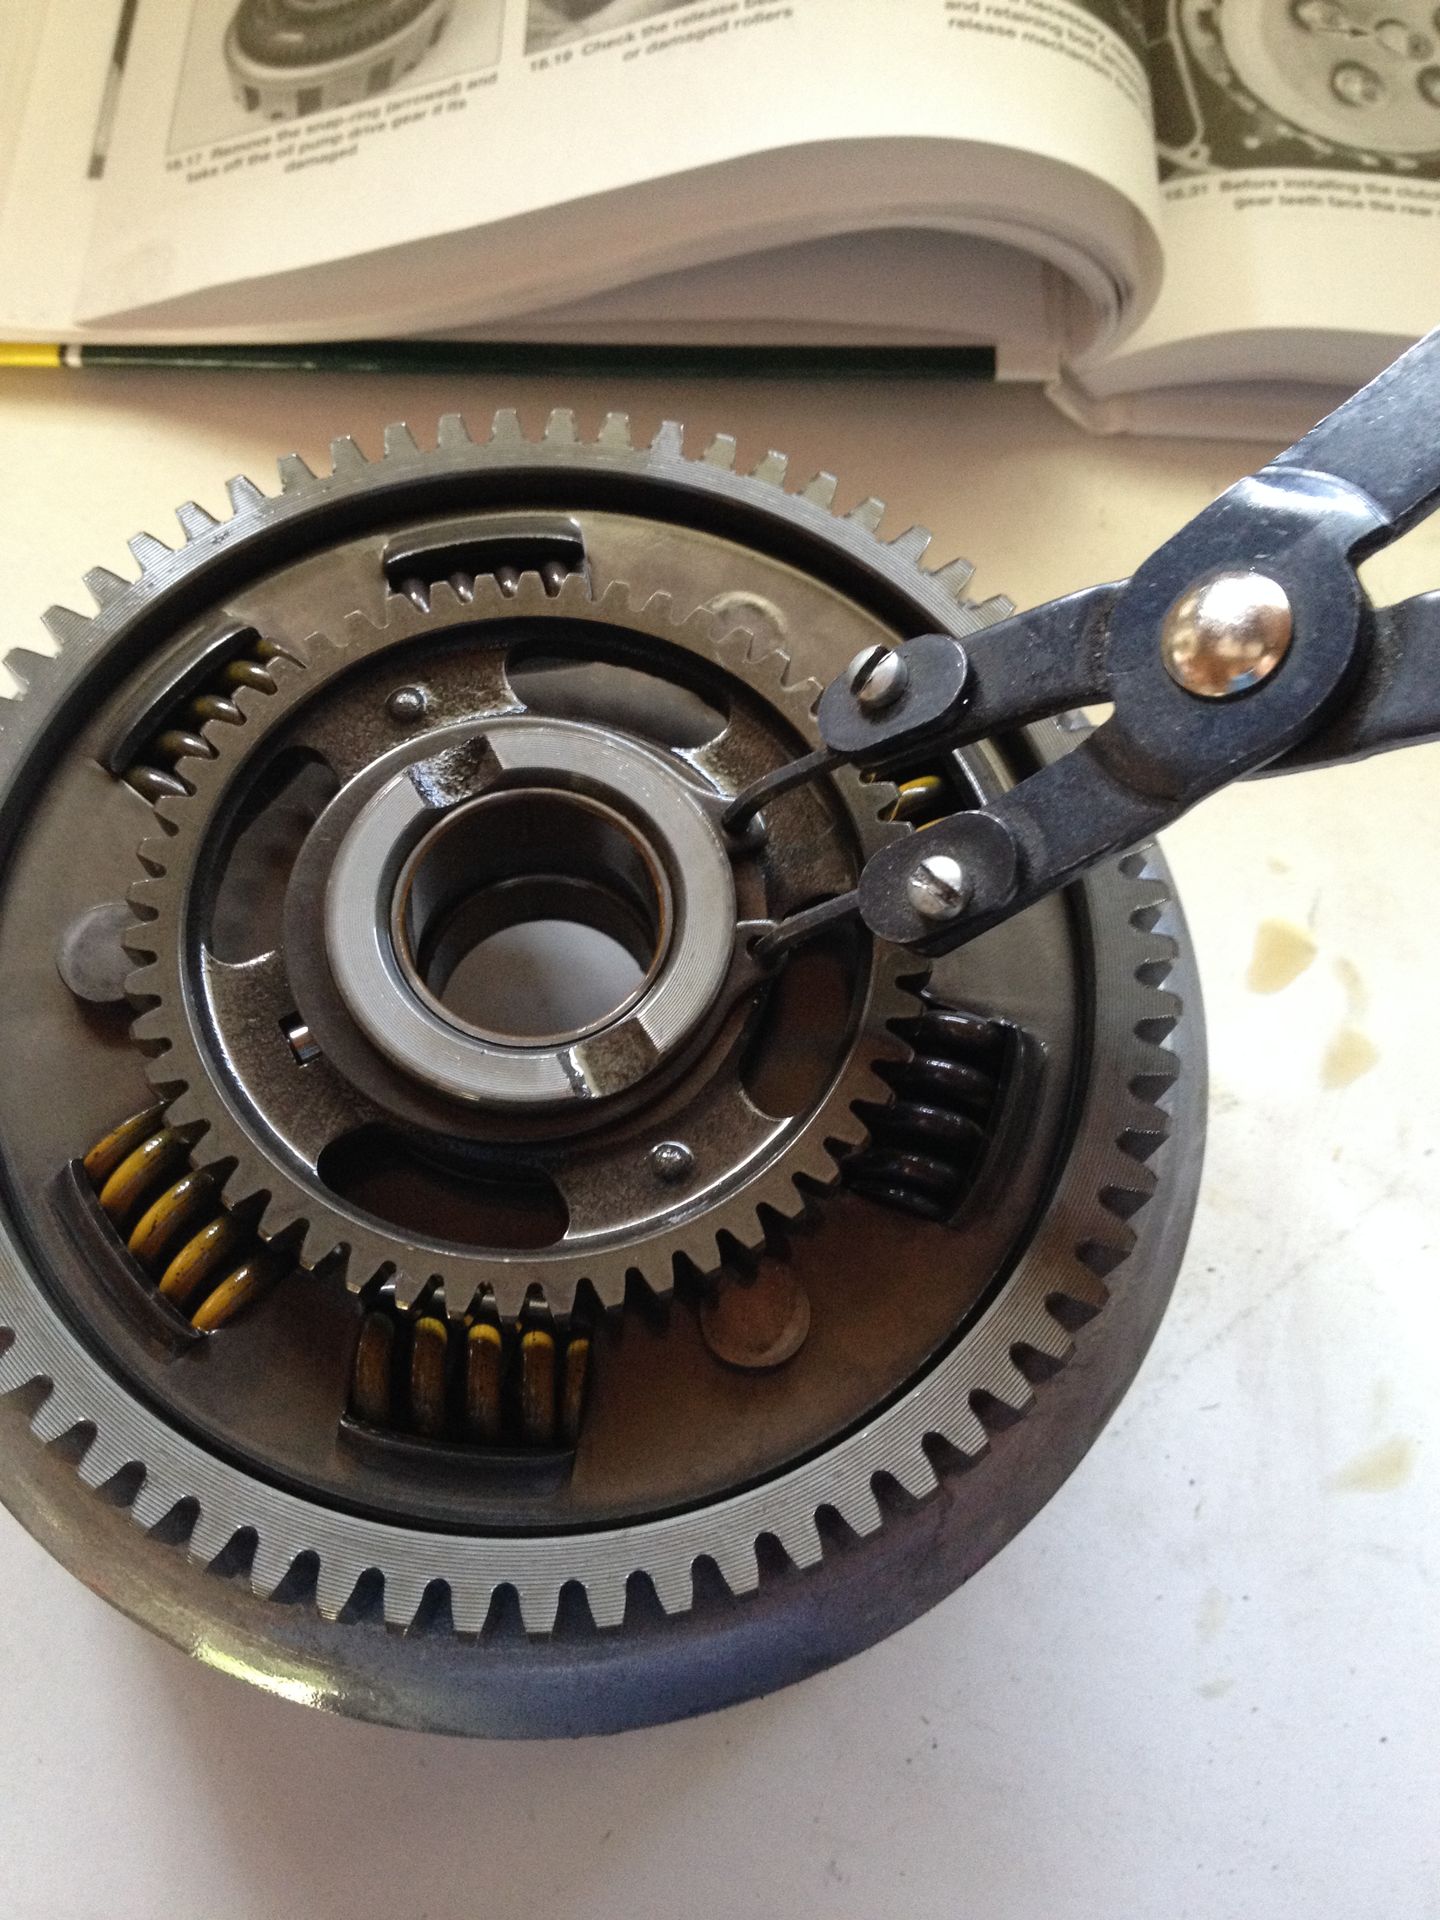
Behind the cover you will find the clutch! Surprise, surprise. There are 5 bolts that hold the springs and the clutch plate assembly in place, they also have a Philips in them. These need to be removed carefully. You want to loosen each one little by little so that pressure remains constant around the assembly. Loosen them in a "star" pattern like you would wheel lug nuts, giving each one a few turns until all the load is off the springs. Then remove the bolts, washers and the springs.
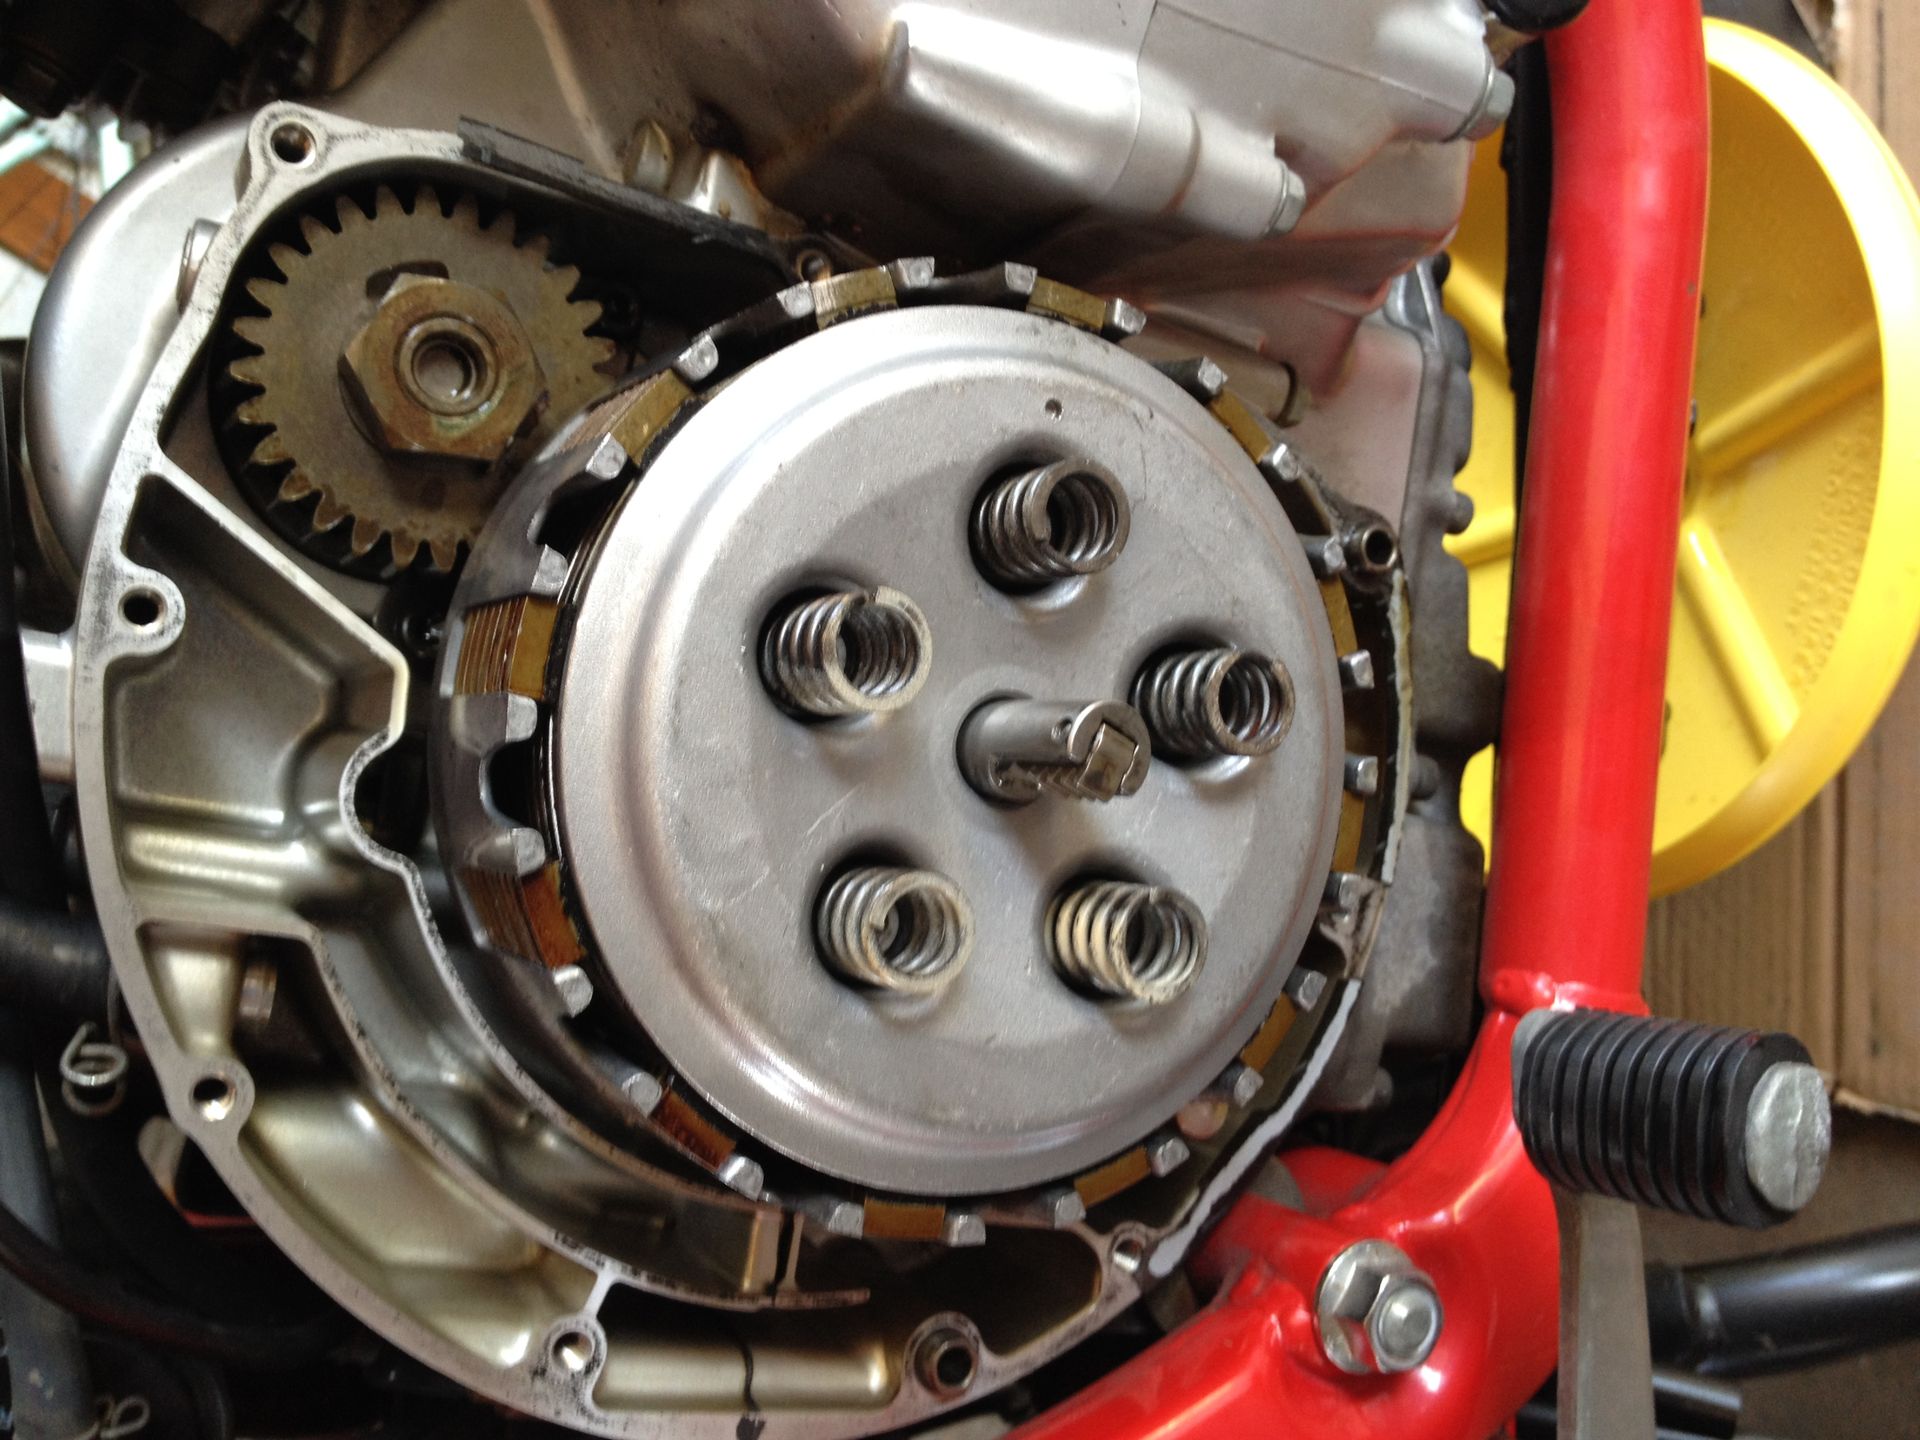
All the bolts and washers removed:
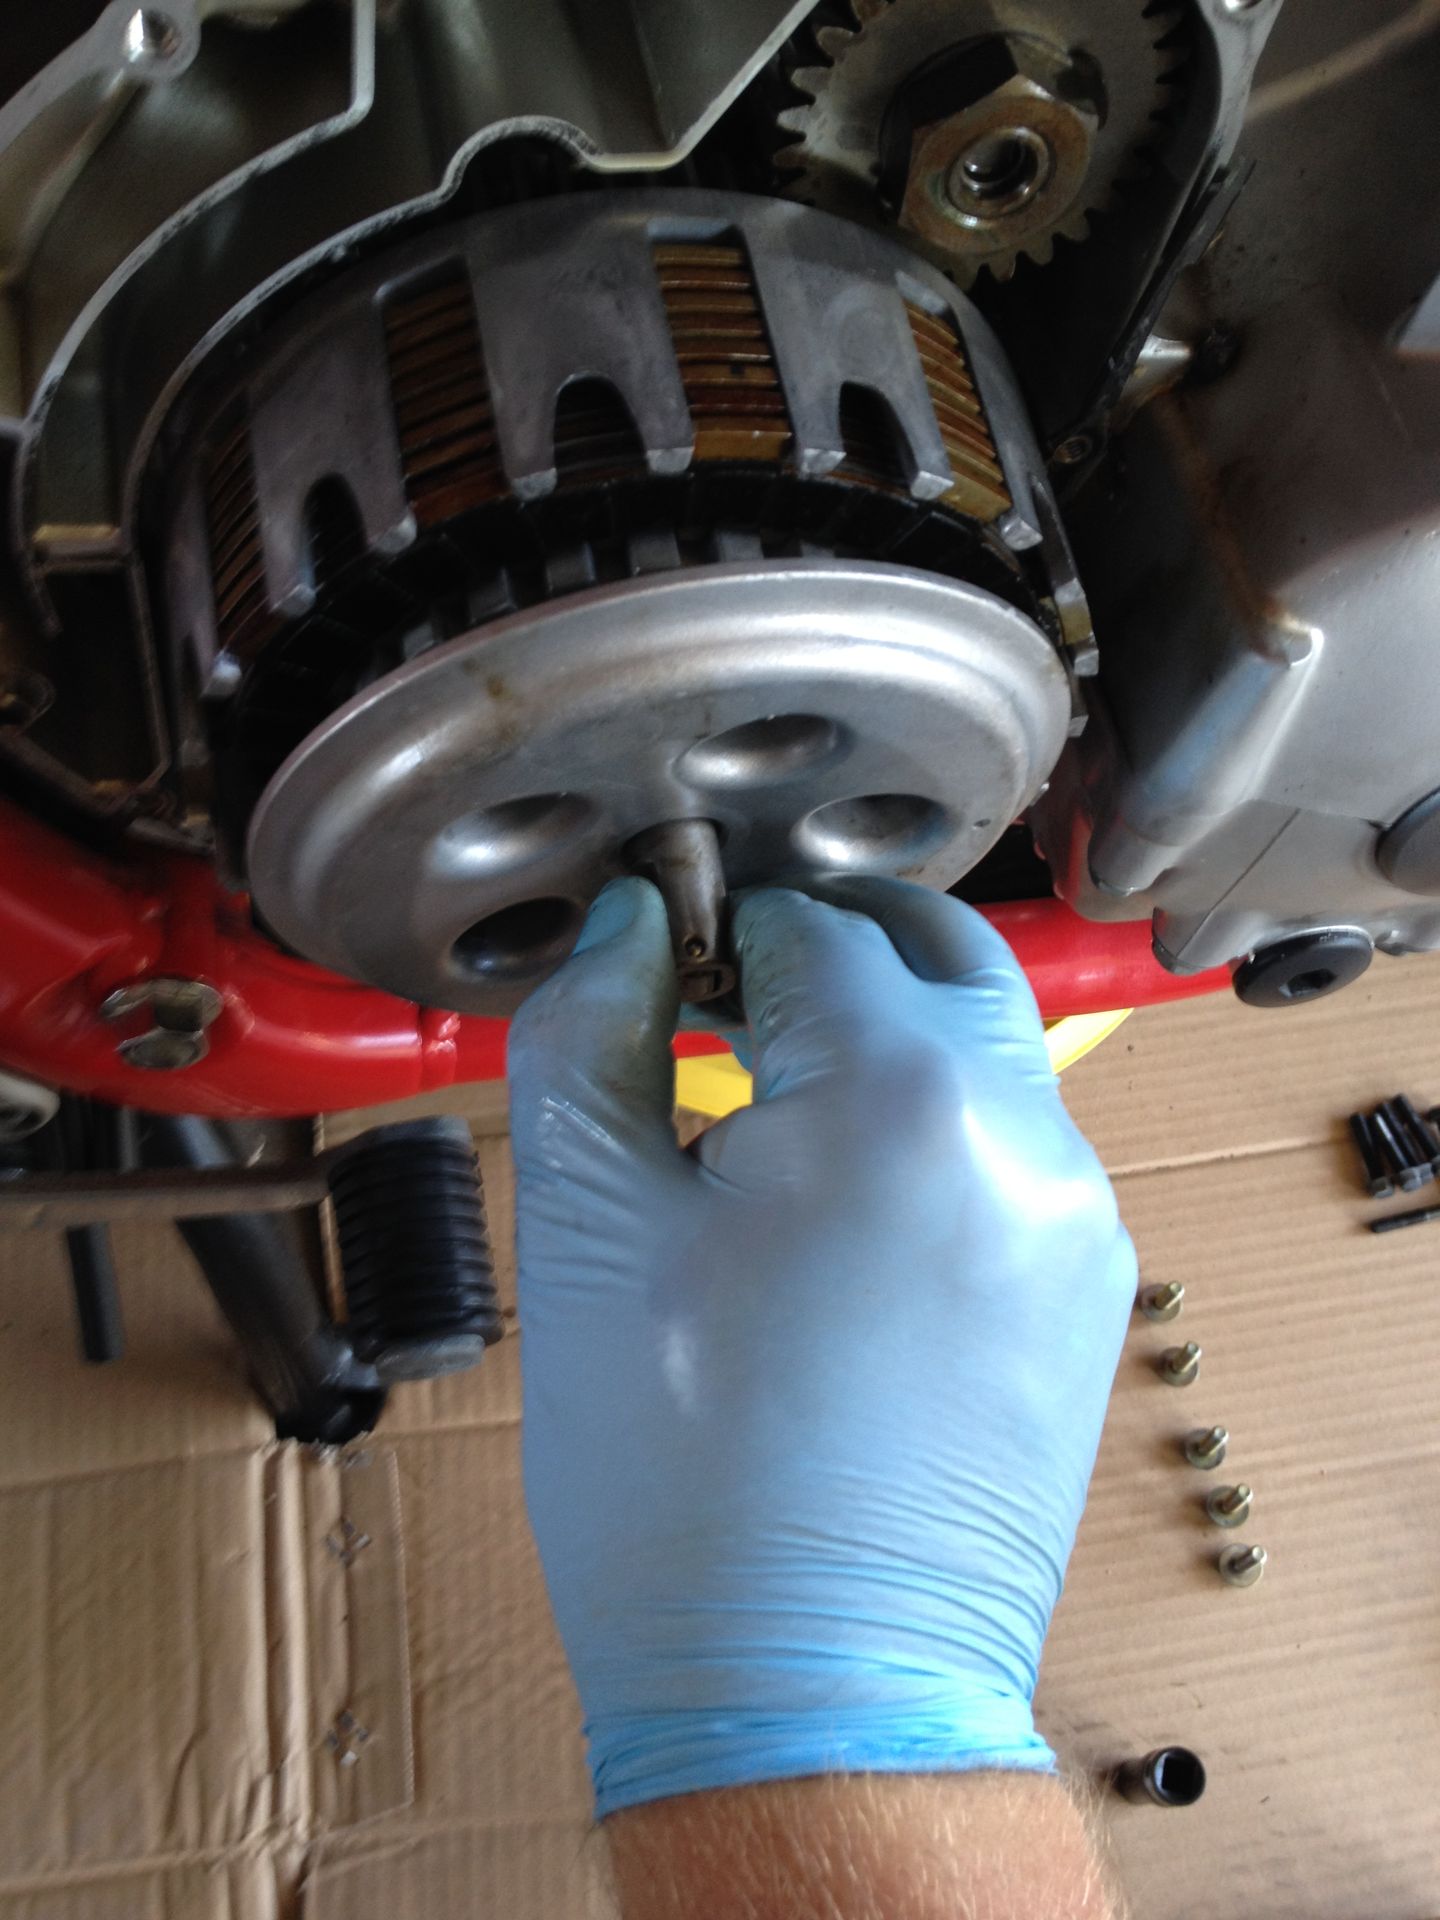
Grab a hold of the push rod assembly and pull it outward to remove the pressure plate and the push rod.
This is the back side of the push rod assemble and pressure plate. The release bearing is in between the push rod and pressure plate. Check for any damage and wipe clean these parts.
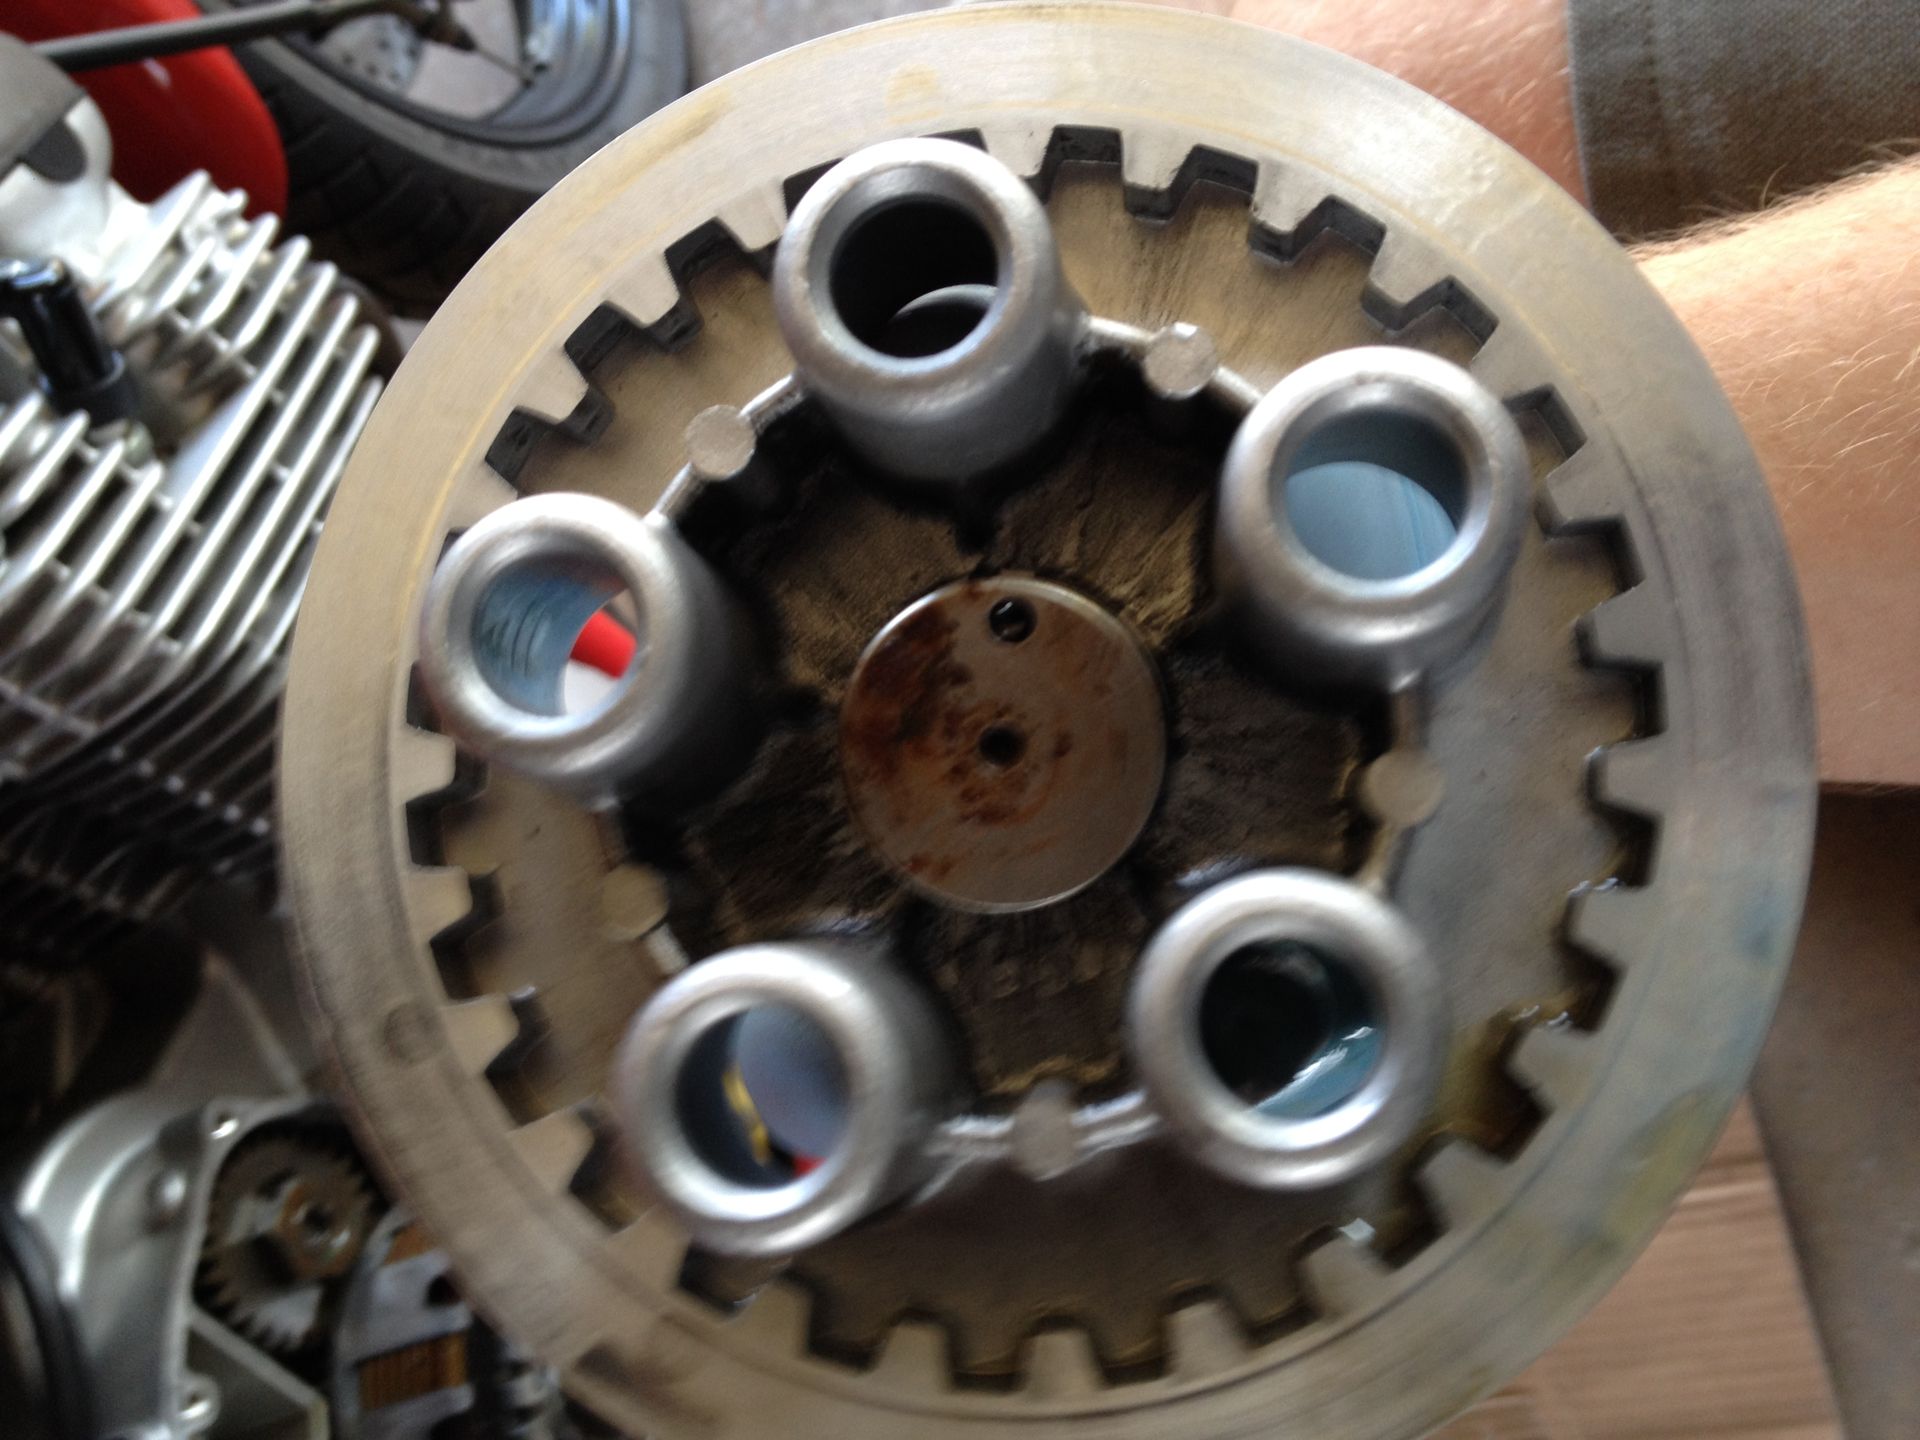
The next step is to remove the clutch plates and the friction disks. These are easy to remove as a whole bunch and should just slide right out. I didn't take a picture of that part as my hands where full of oil. Set them aside. If you're re-using the metal clutch plates, remove them (every other one) from the stack and check for warpage by trying slip a feeler gauge between the plate and flat surface (a piece of glass is what I used). Check several spots around each plate with the feeler gauge at the same thickness as the warpage limit spec. Spec limit is 0.15mm or .006 inches.
If all you are doing is replacing the friction discs, this is as far as you need to go. Take the freshly soaked new friction plates and start stacking them back up in the clutch basket. Start with a friction plate then metal plate then friction plate and so on until they are all back in their place.
If you are going to be inspecting the oil pump drive gear for free play, continue on. You will need to remove the 30mm nut holding the clutch boss to the bike. The safety washers tabs need to be bent down out of the way to allow you to do this.
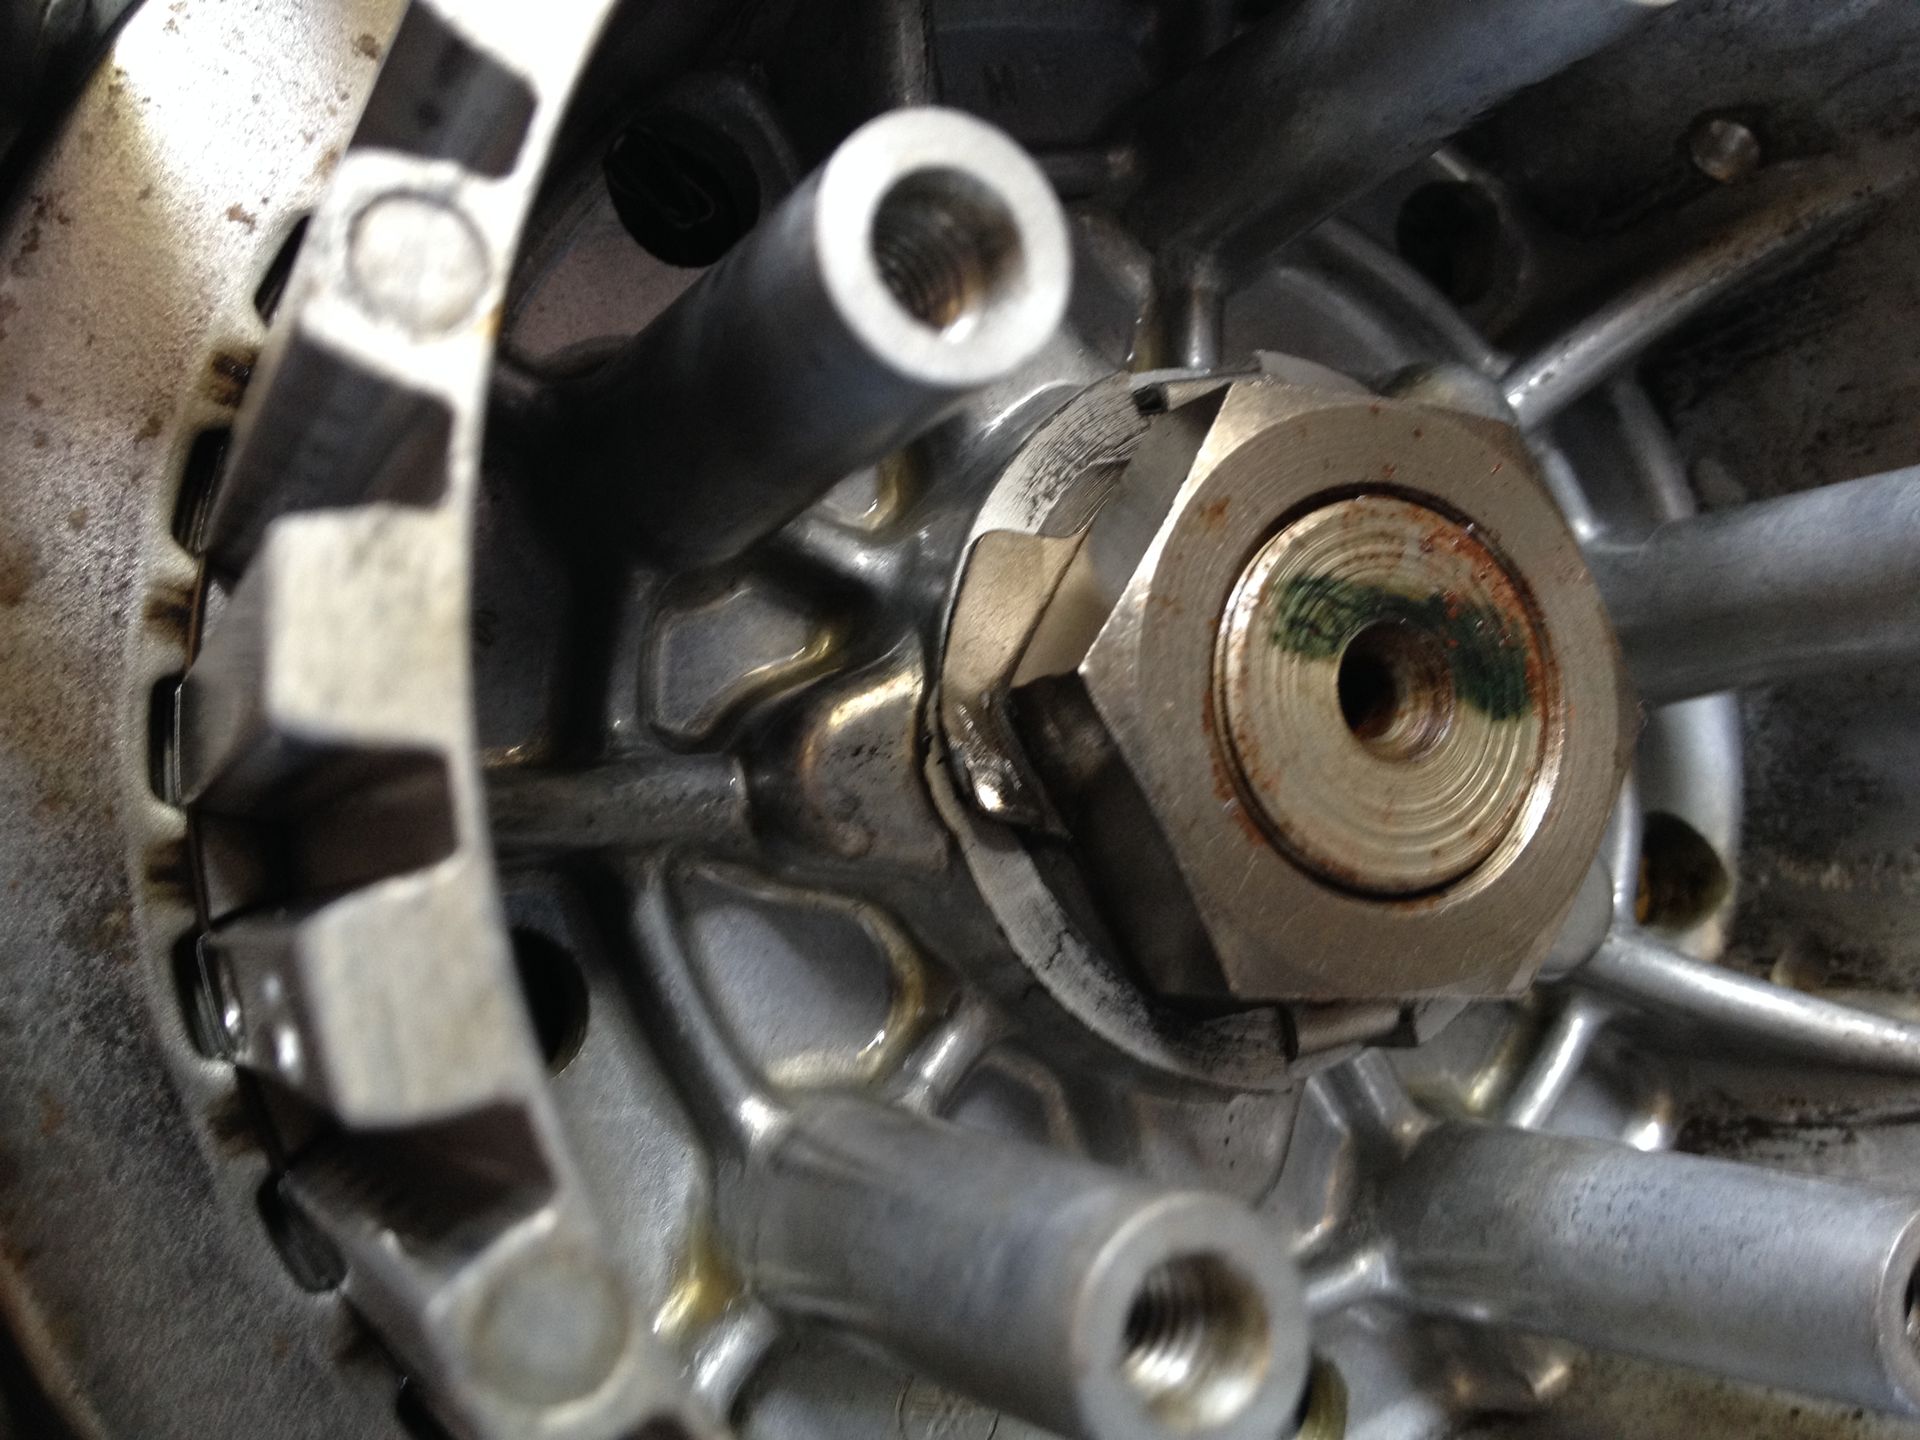
Now before you go and try to take that nut off you will need a way to hold the clutch boss from spinning. There is a tool that you can order, EBC Clutch Removal Tool CT008, for about $16 that will hold the basket in place. Or you can make one, like I did. I used a 3 foot long piece of steel flat bar 3/4" wide and 3/32" thick. I found this at my local hardware store for about $3.50. Cut the flat stock in half and bolt it together about 6" from the non-bent end. To make the bends at the other end I measured up about 1-3/4" from the end and placed them at that mark in my bench vise and bent them to a 90 degree angle. This is how the tool sits on the bike to hold the clutch boss from spinning.

With the tool in place you are now free to remove the 30mm nut and the clutch boss. Behind the clutch boss, on the shaft is a thrust washer that needs to be removed as well. Make sure you note what direction it comes off so you can put in on the same way. the "teeth" on the thrust washer are chamfered so make note of what way they go, they face out. Sorry the picture is blurry and you can't really tell from the pic.
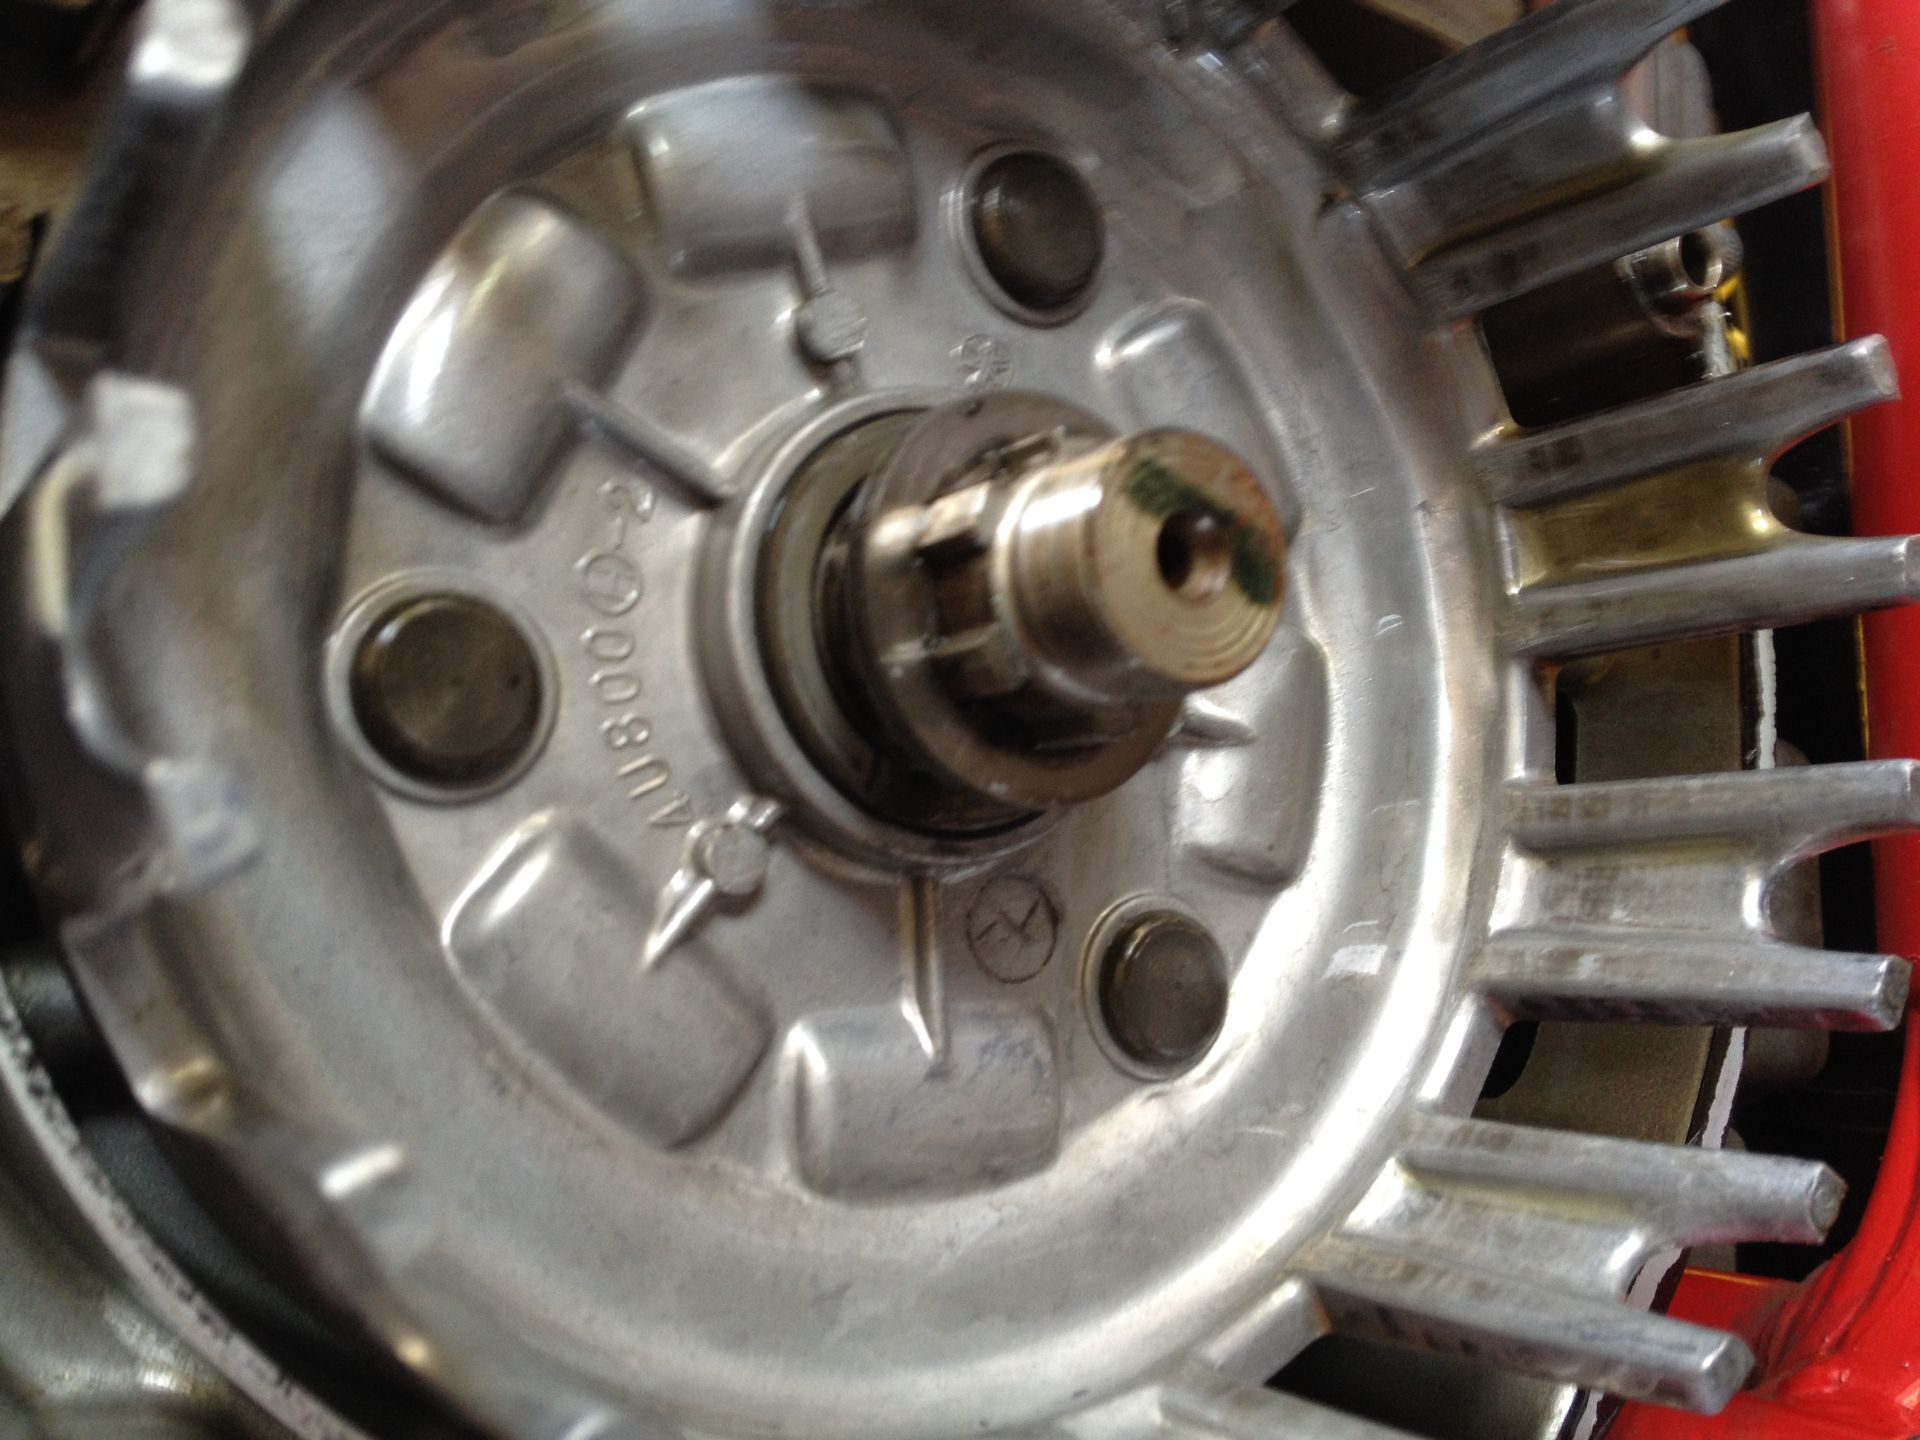
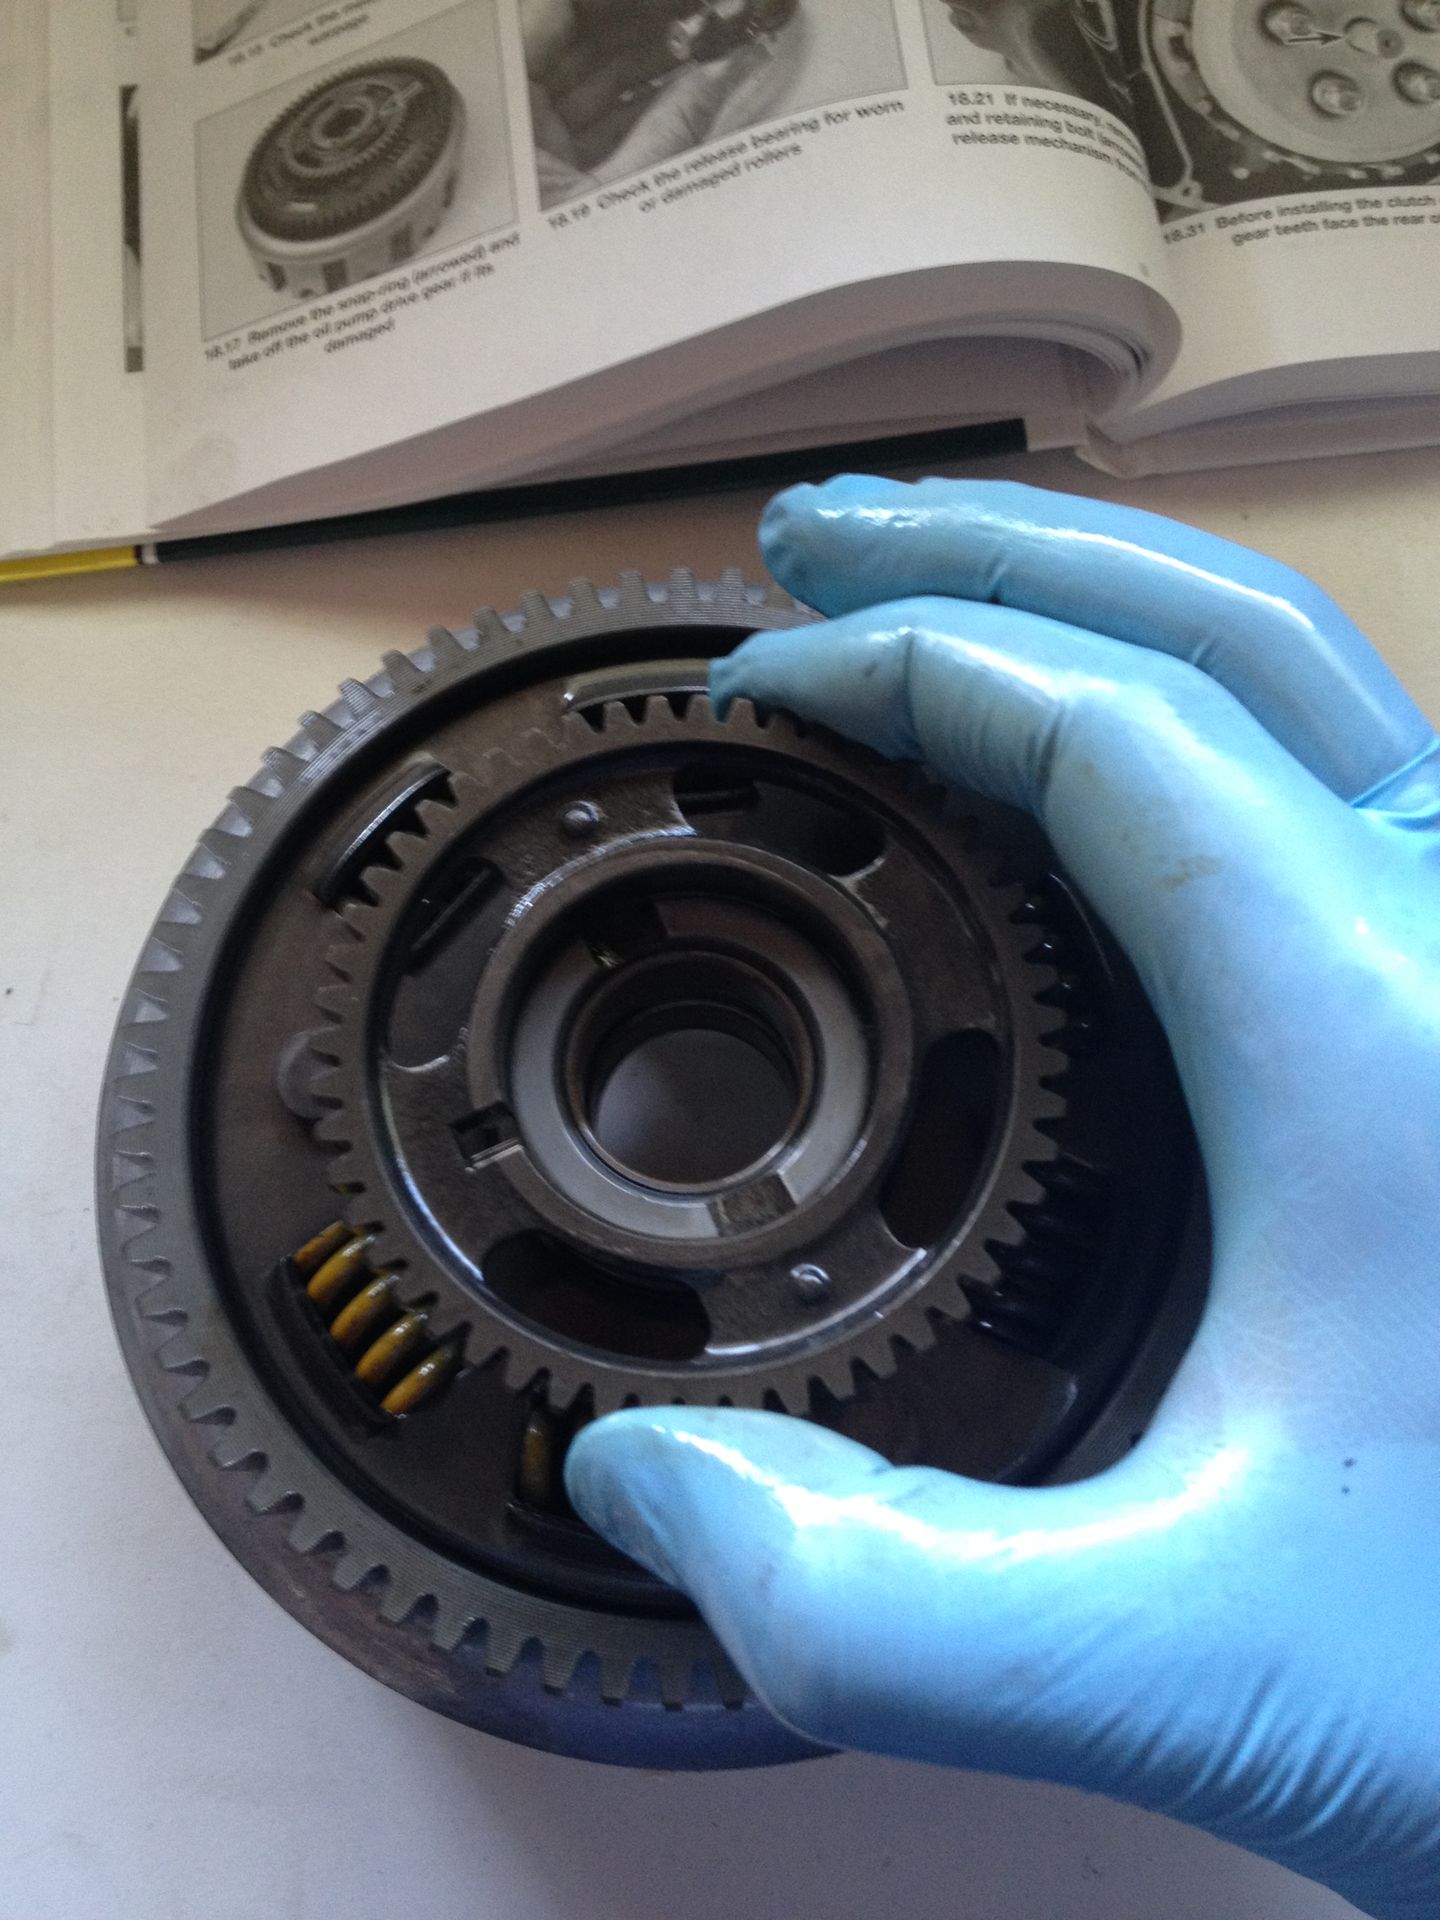
Once you have the clutch boss and thrust washer removed you can go ahead and pull the clutch housing off to get to the oil pump drive gear that is located on the back.
This is the problem that we are trying to fix! This gear should not move freely like it does and causes the "clutch rattle" so many of us are familiar with.
[youtube]8vLt43Z40yc[/youtube]
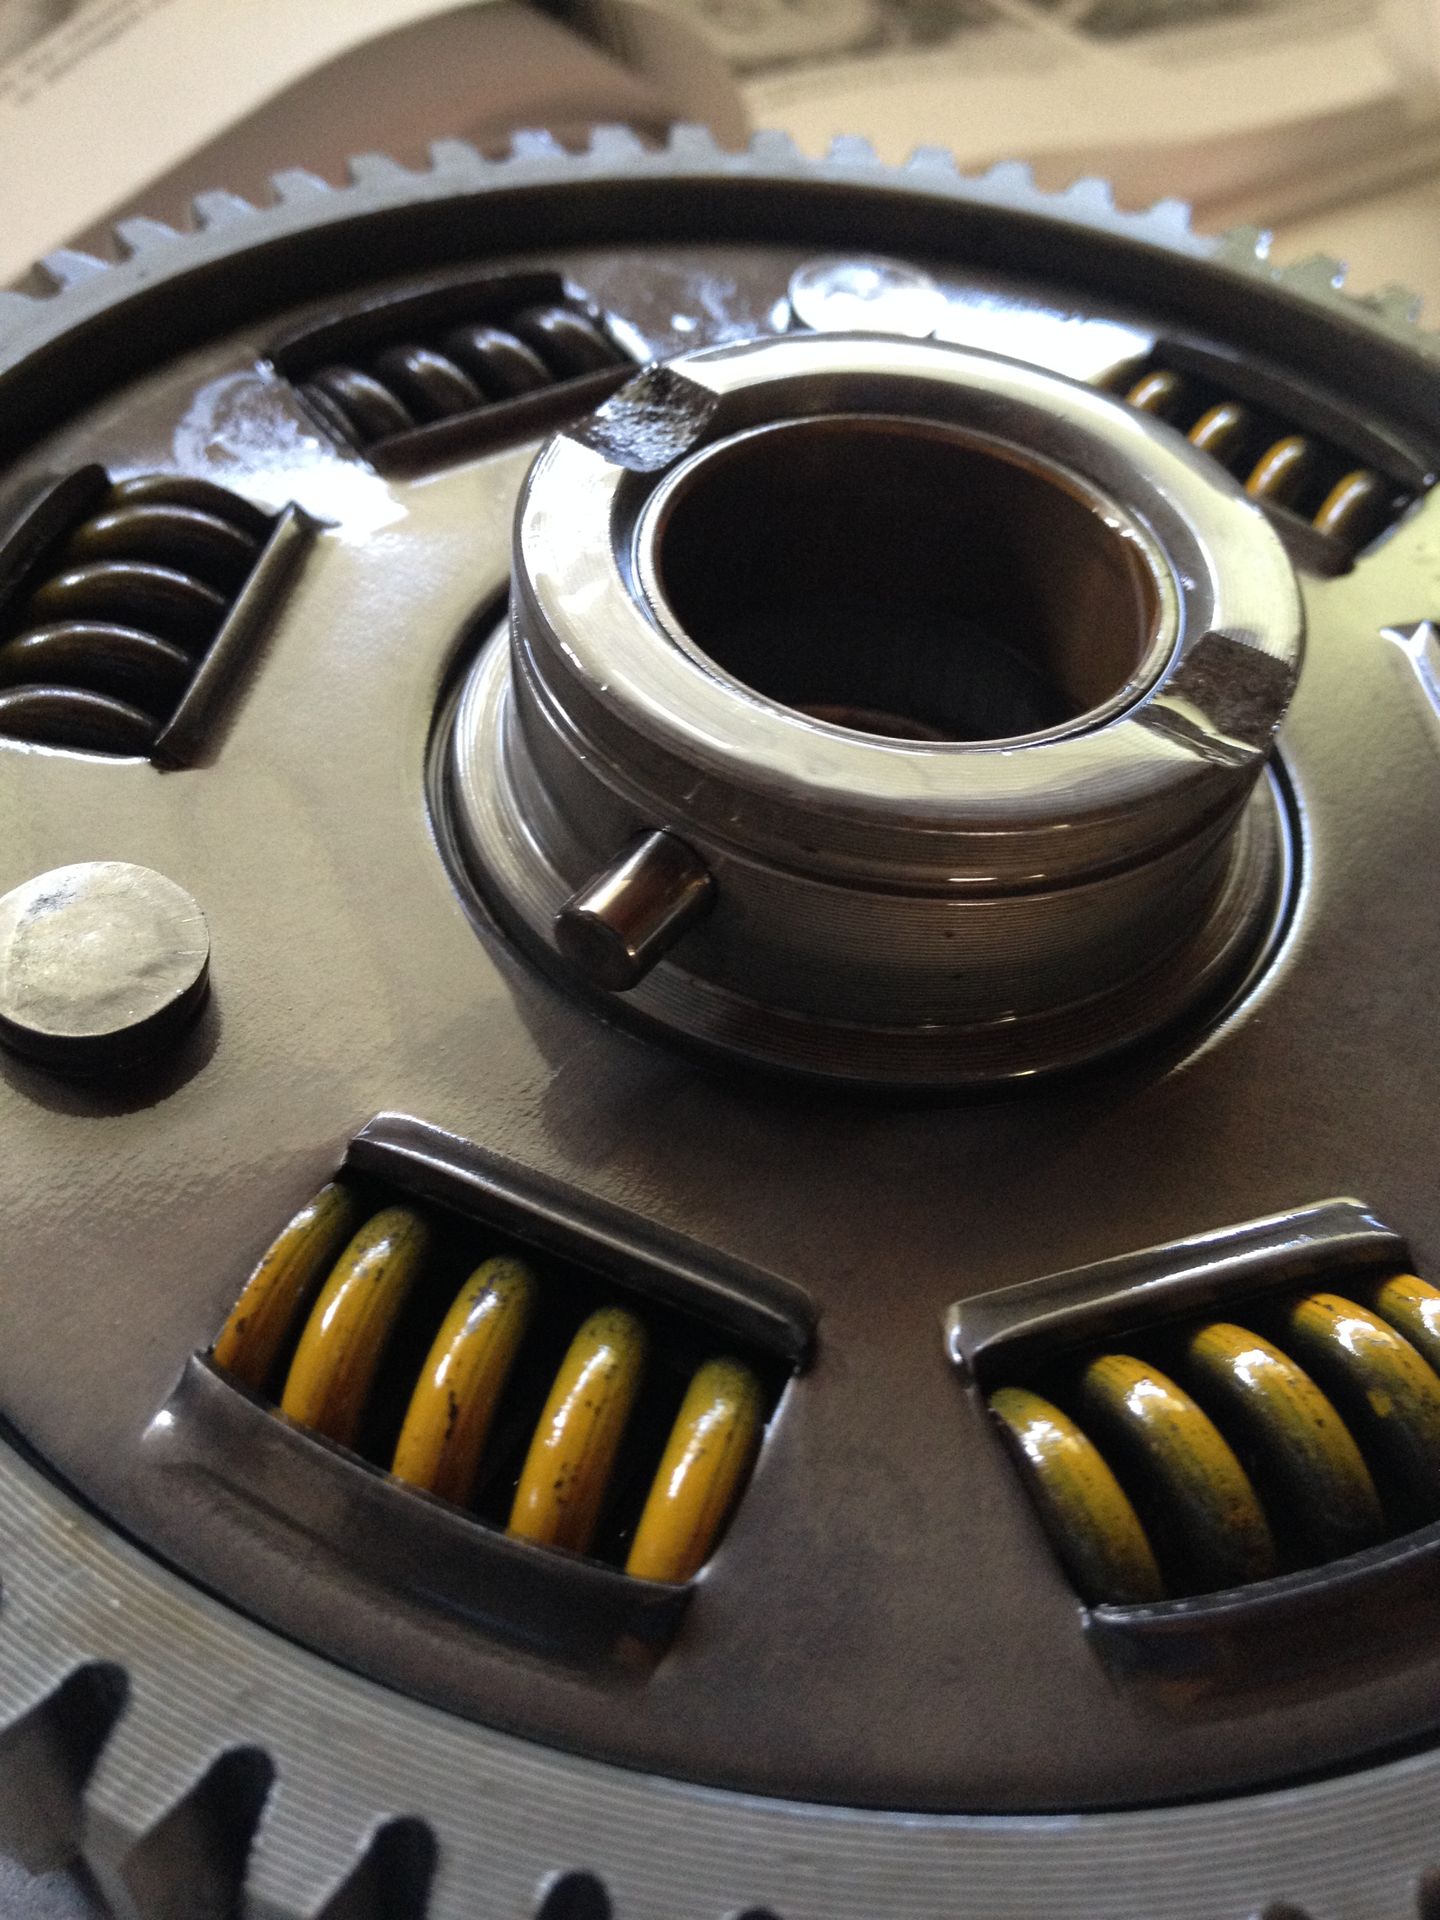
The oil pump drive gear is held on with a snap ring, remove that snap ring.
With the snap ring removed pull the oil pump drive straight up to remove it.
This is the little pin that needs to be replaced as it has elongated the hole it sits in creating the rattle and movement.
I used a steel spring pin and a tapered dowel pin to hold everything nice and tight. Commonly it's a 3/16" spring pin but I just took my clutch assembly to the hardware store and found what fit for me as my hole was bit bigger then 3/16"

With the new pin in place, put the oil pump drive gear back in place and check for any movement, there should be none. You will have to cut the roll pin and what ever you used to ram into the middle to the right length. I used a cut off wheel on my dremel to get it close and then a metal file to get is exact.
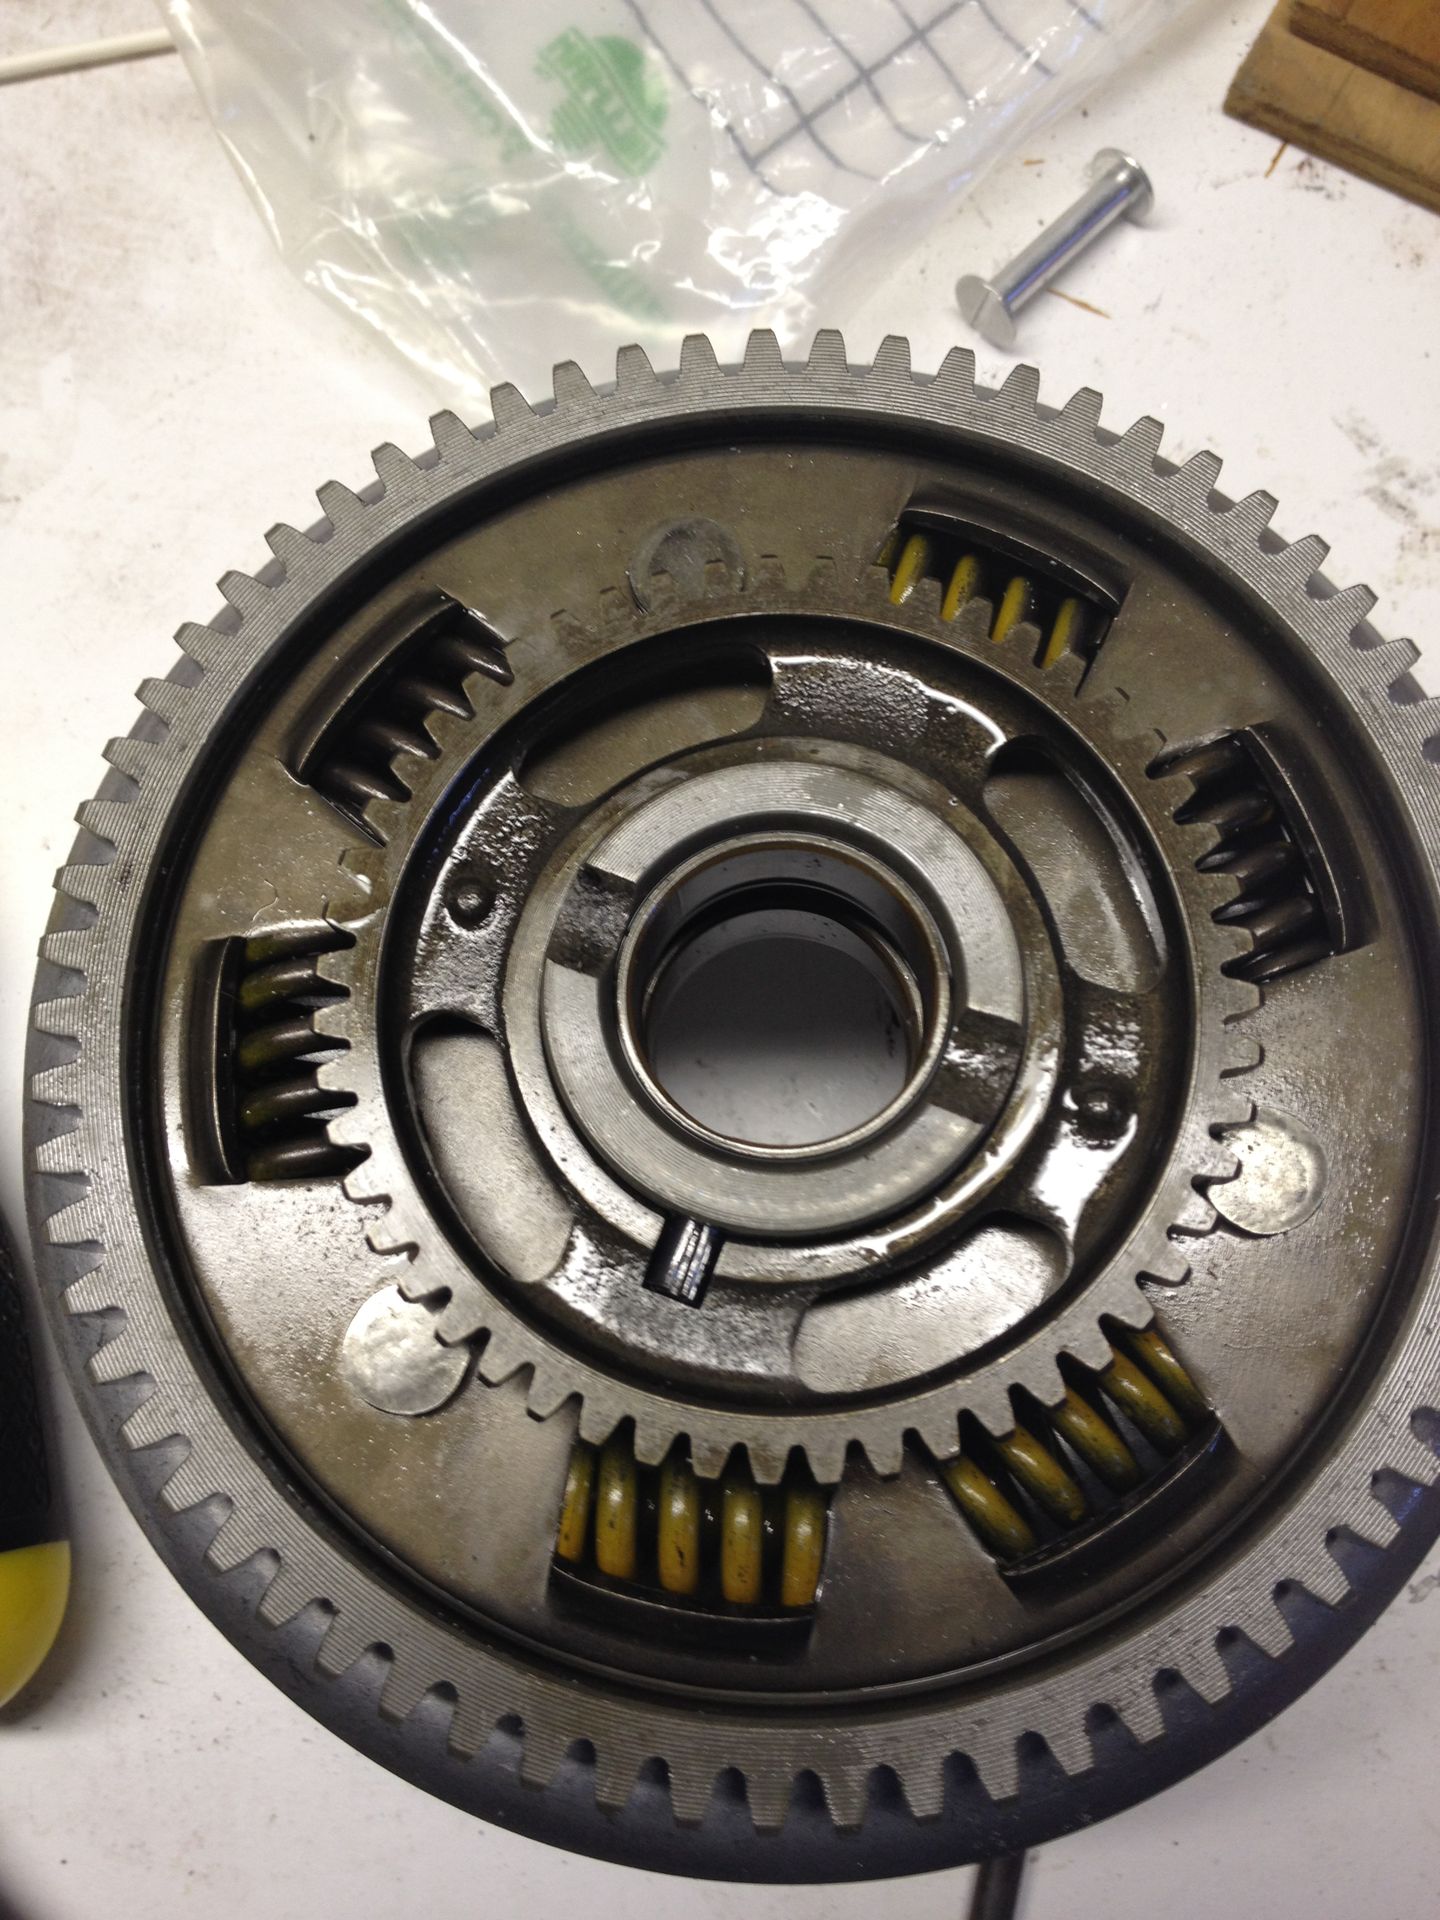
If all is good and you have zero movement, go ahead and re install the snap ring to hold it all together. We're almost done!
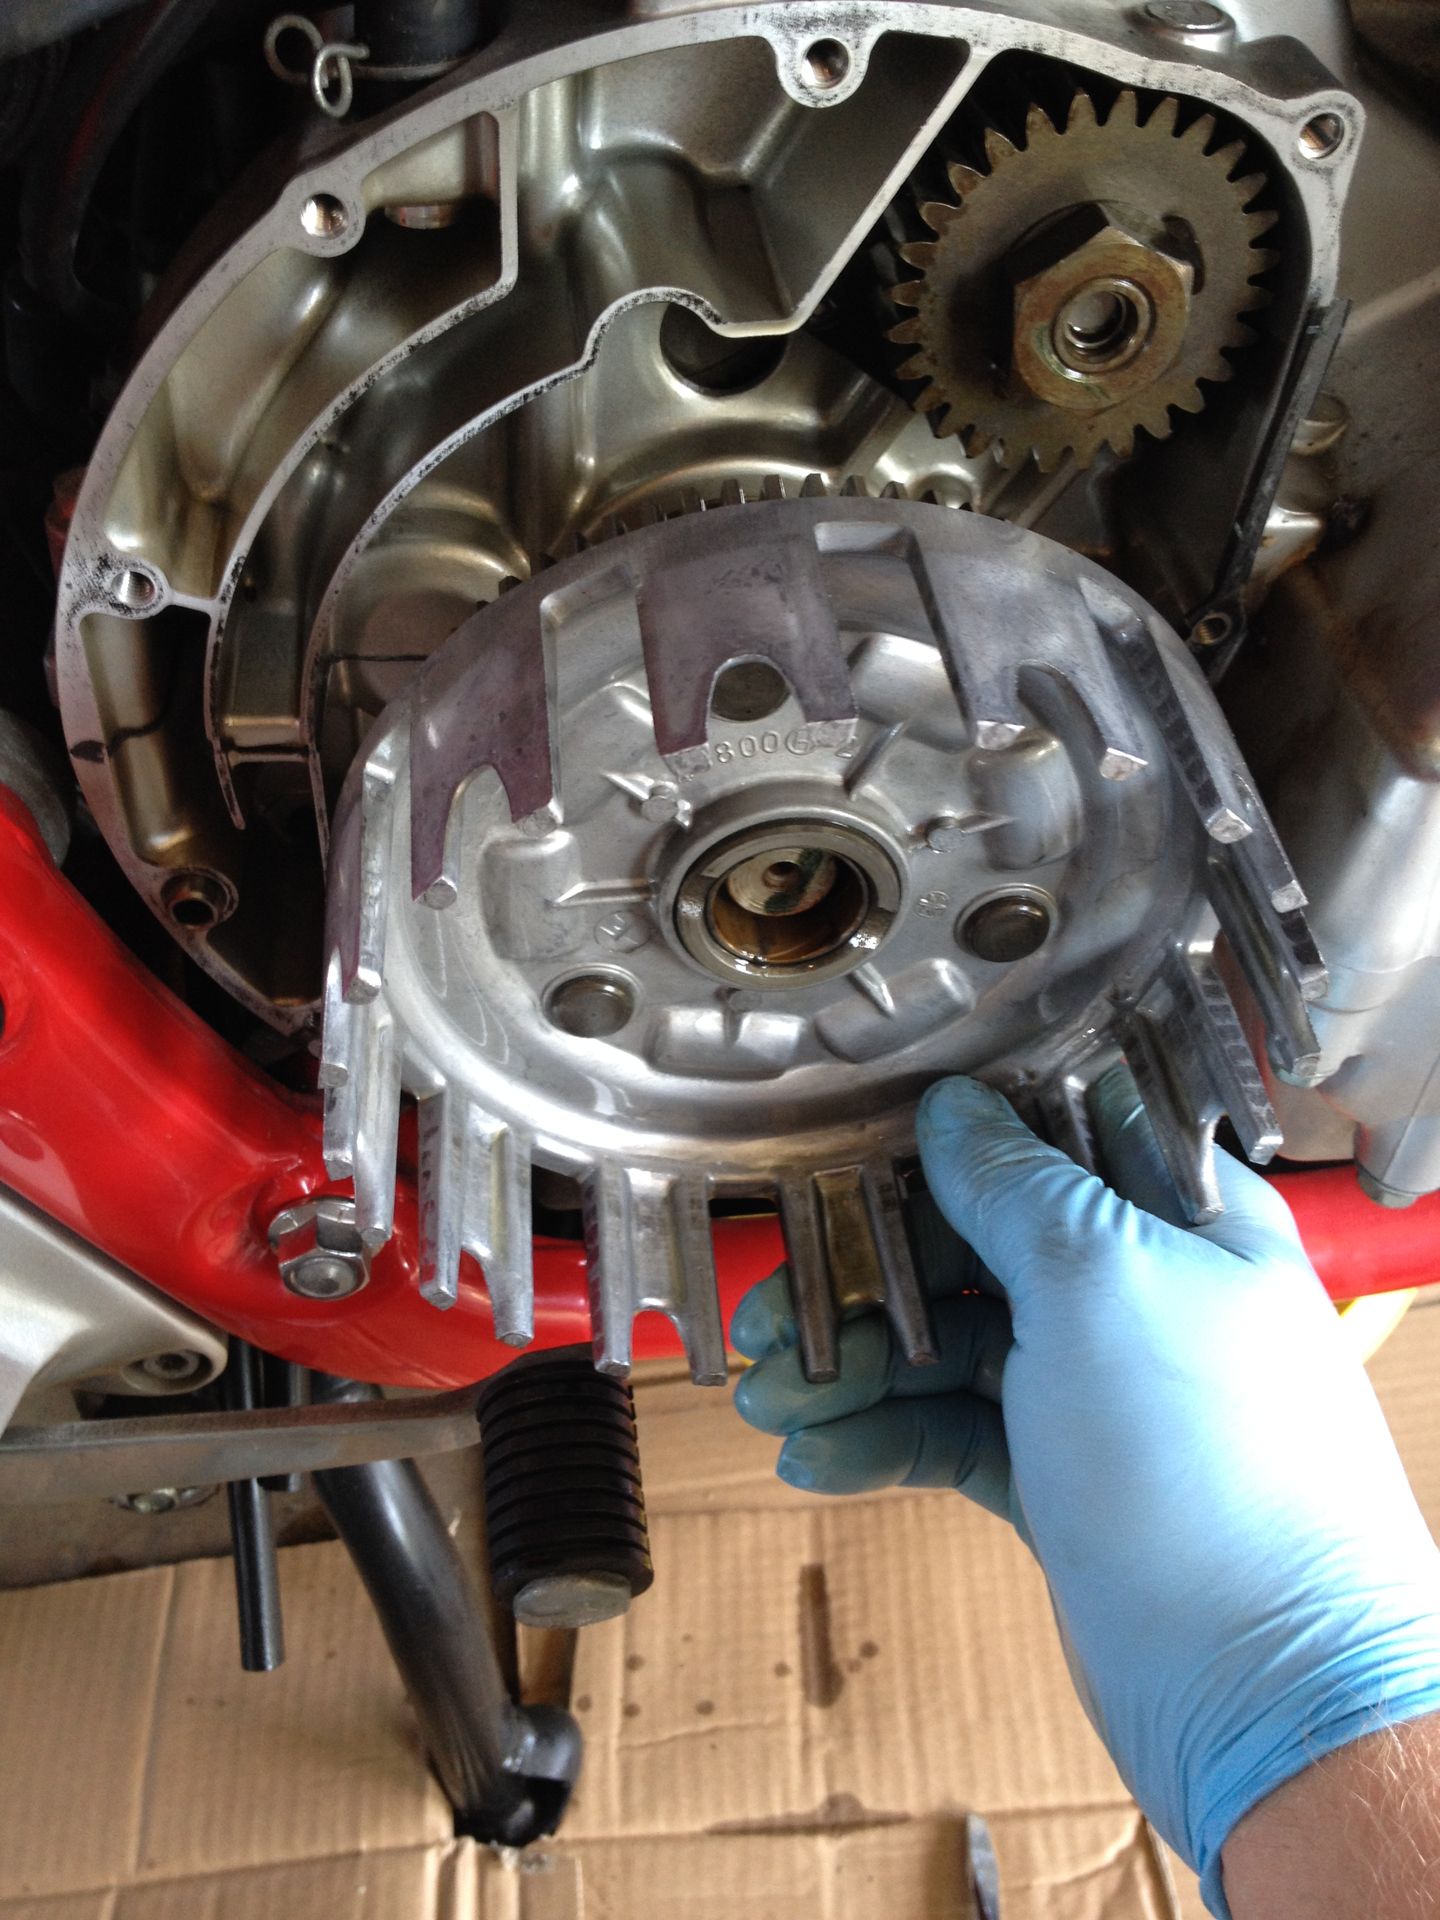
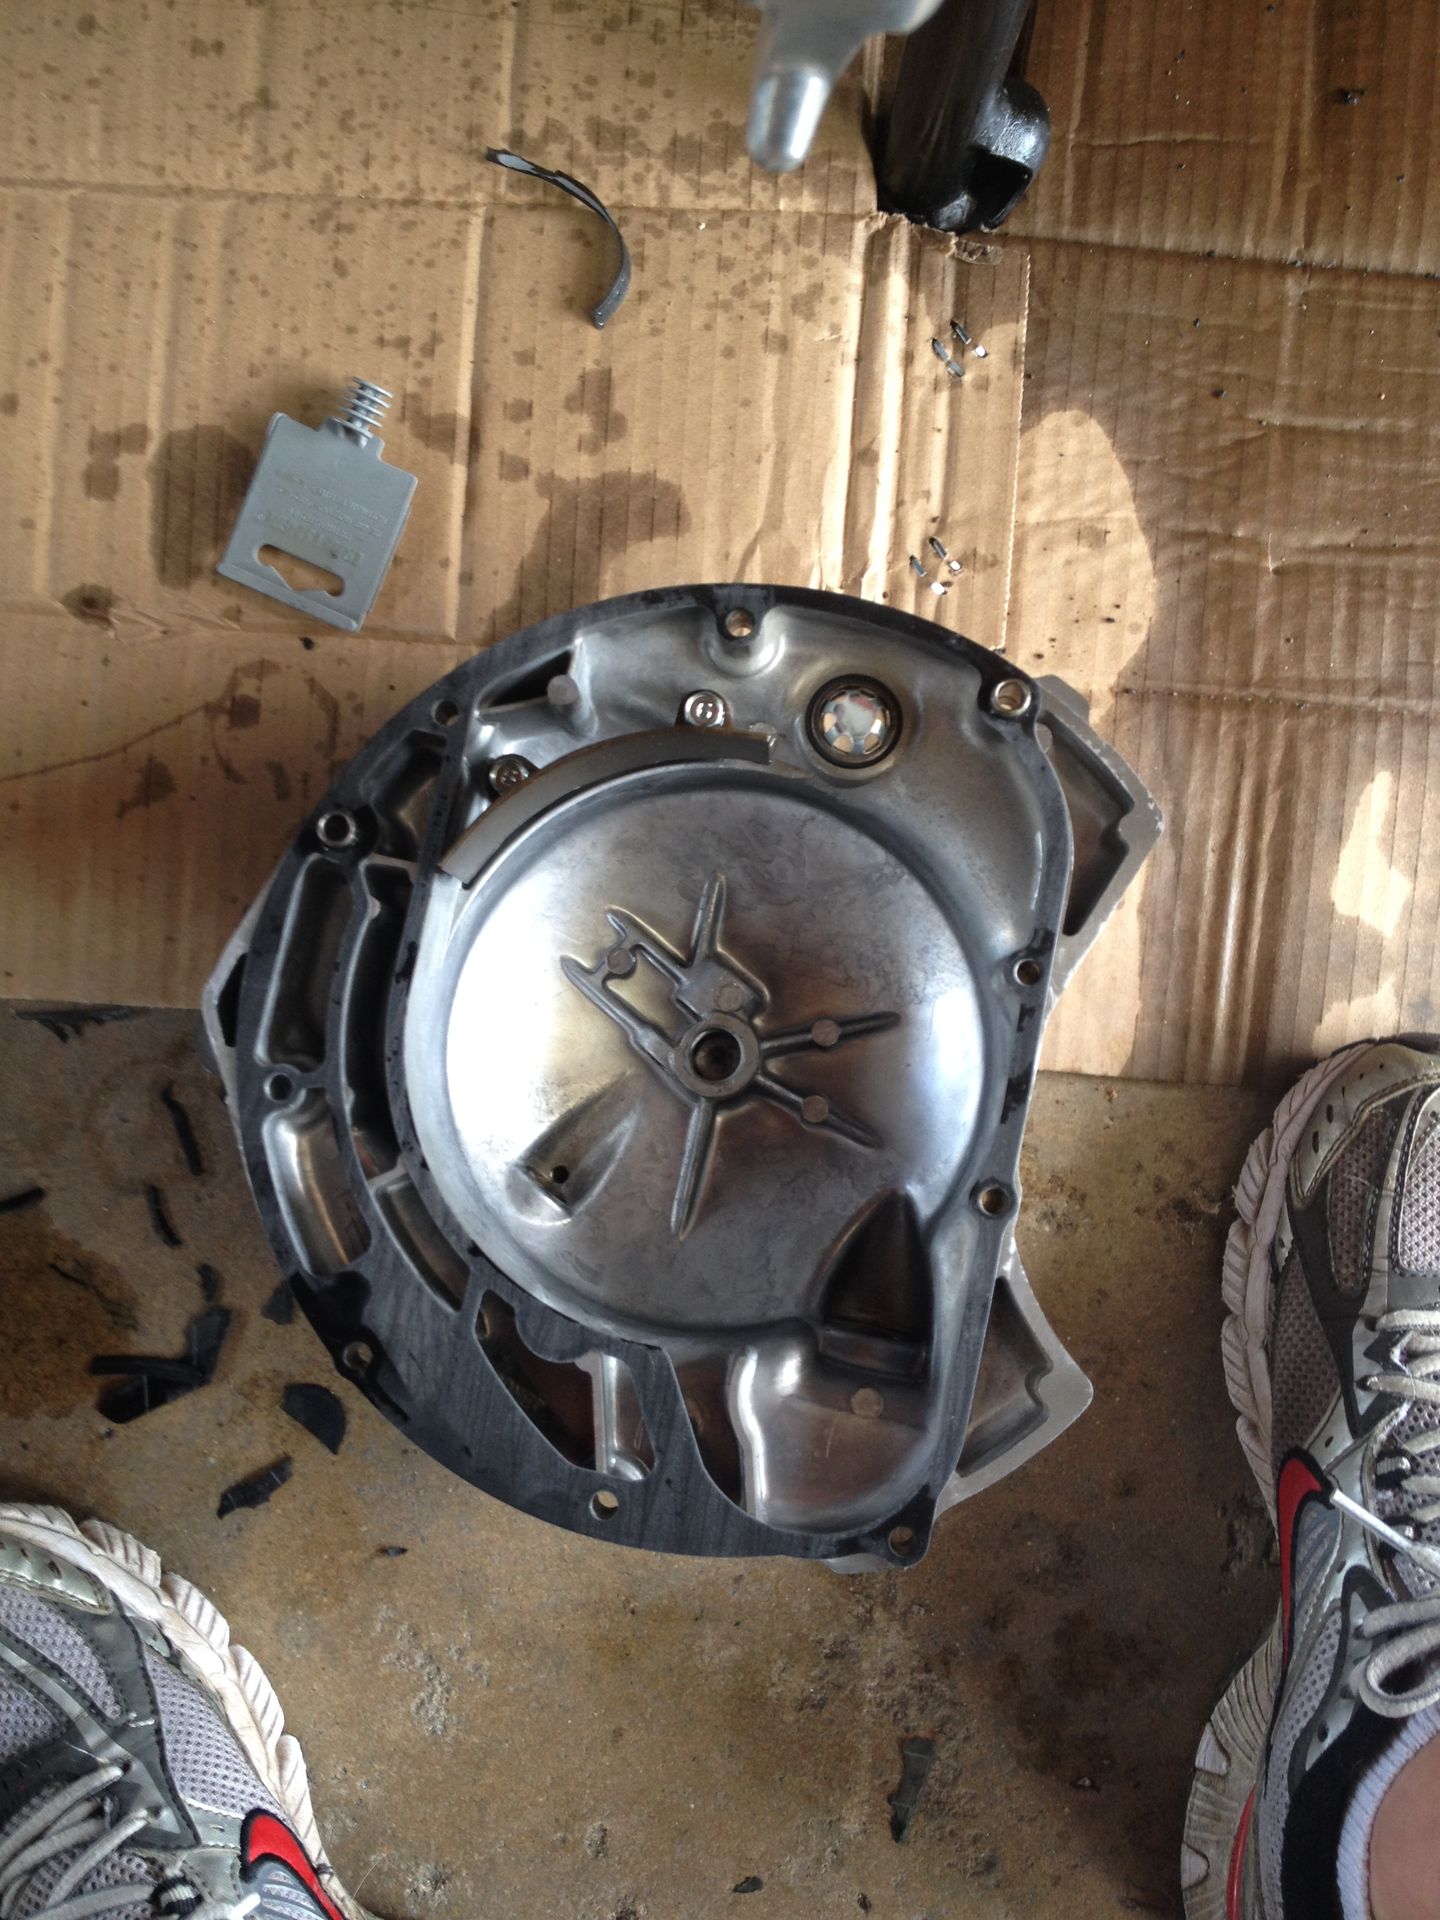
If you haven't done so already, now is good time to get all the old gasket material out of the way. I had decent luck with some carb cleaner to help remove the stubborn stuff but it was very little help at that. Mostly it was just very tedious and slow scrapping with a razor. Make sure you clean both the surfaces on the cover and the bike. To make things easier for me I removed the little oil pump cover from inside the clutch cover.
Gasket in place and oil pump cover re-installed.
Now you are going to want to go in reverse order and put everything back together.
1st: slide the clutch housing back onto the shaft and install the toothed thrust washer the proper way (facing out). Manual says to coat these with fresh oil before installing them, you should listen to Manuel.
2nd: Put the clutch boss back on and install the locking washer and the 30mm nut. You "should" use a new locking washer but I reused mine and just re-bent the tabs. Use the basket holding tool or the tool you made to tighten the 30mm nut to 50 ft-lbs.
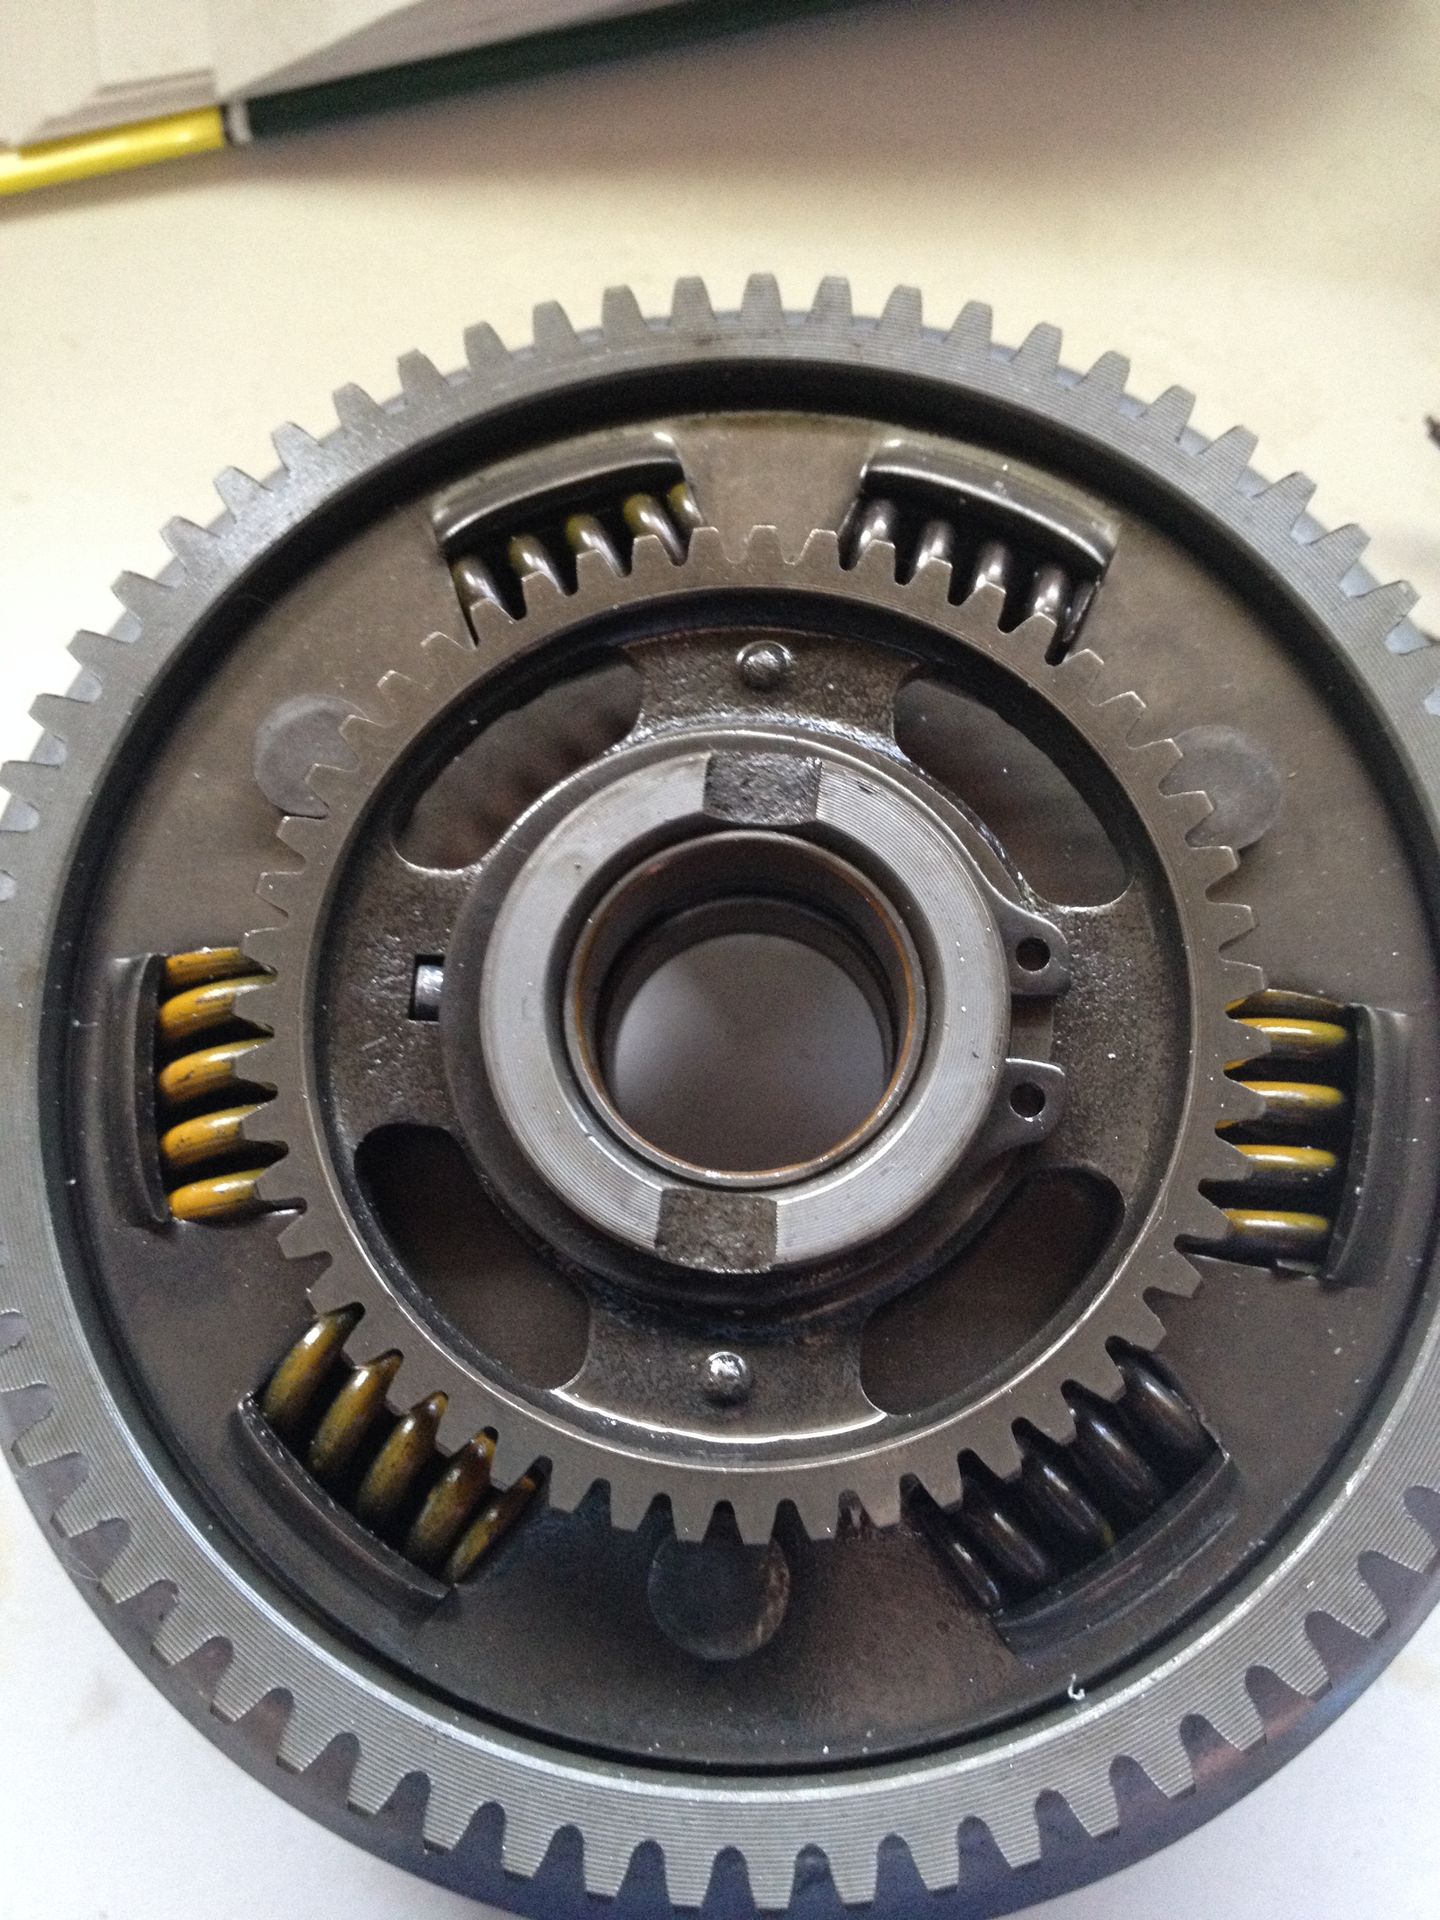
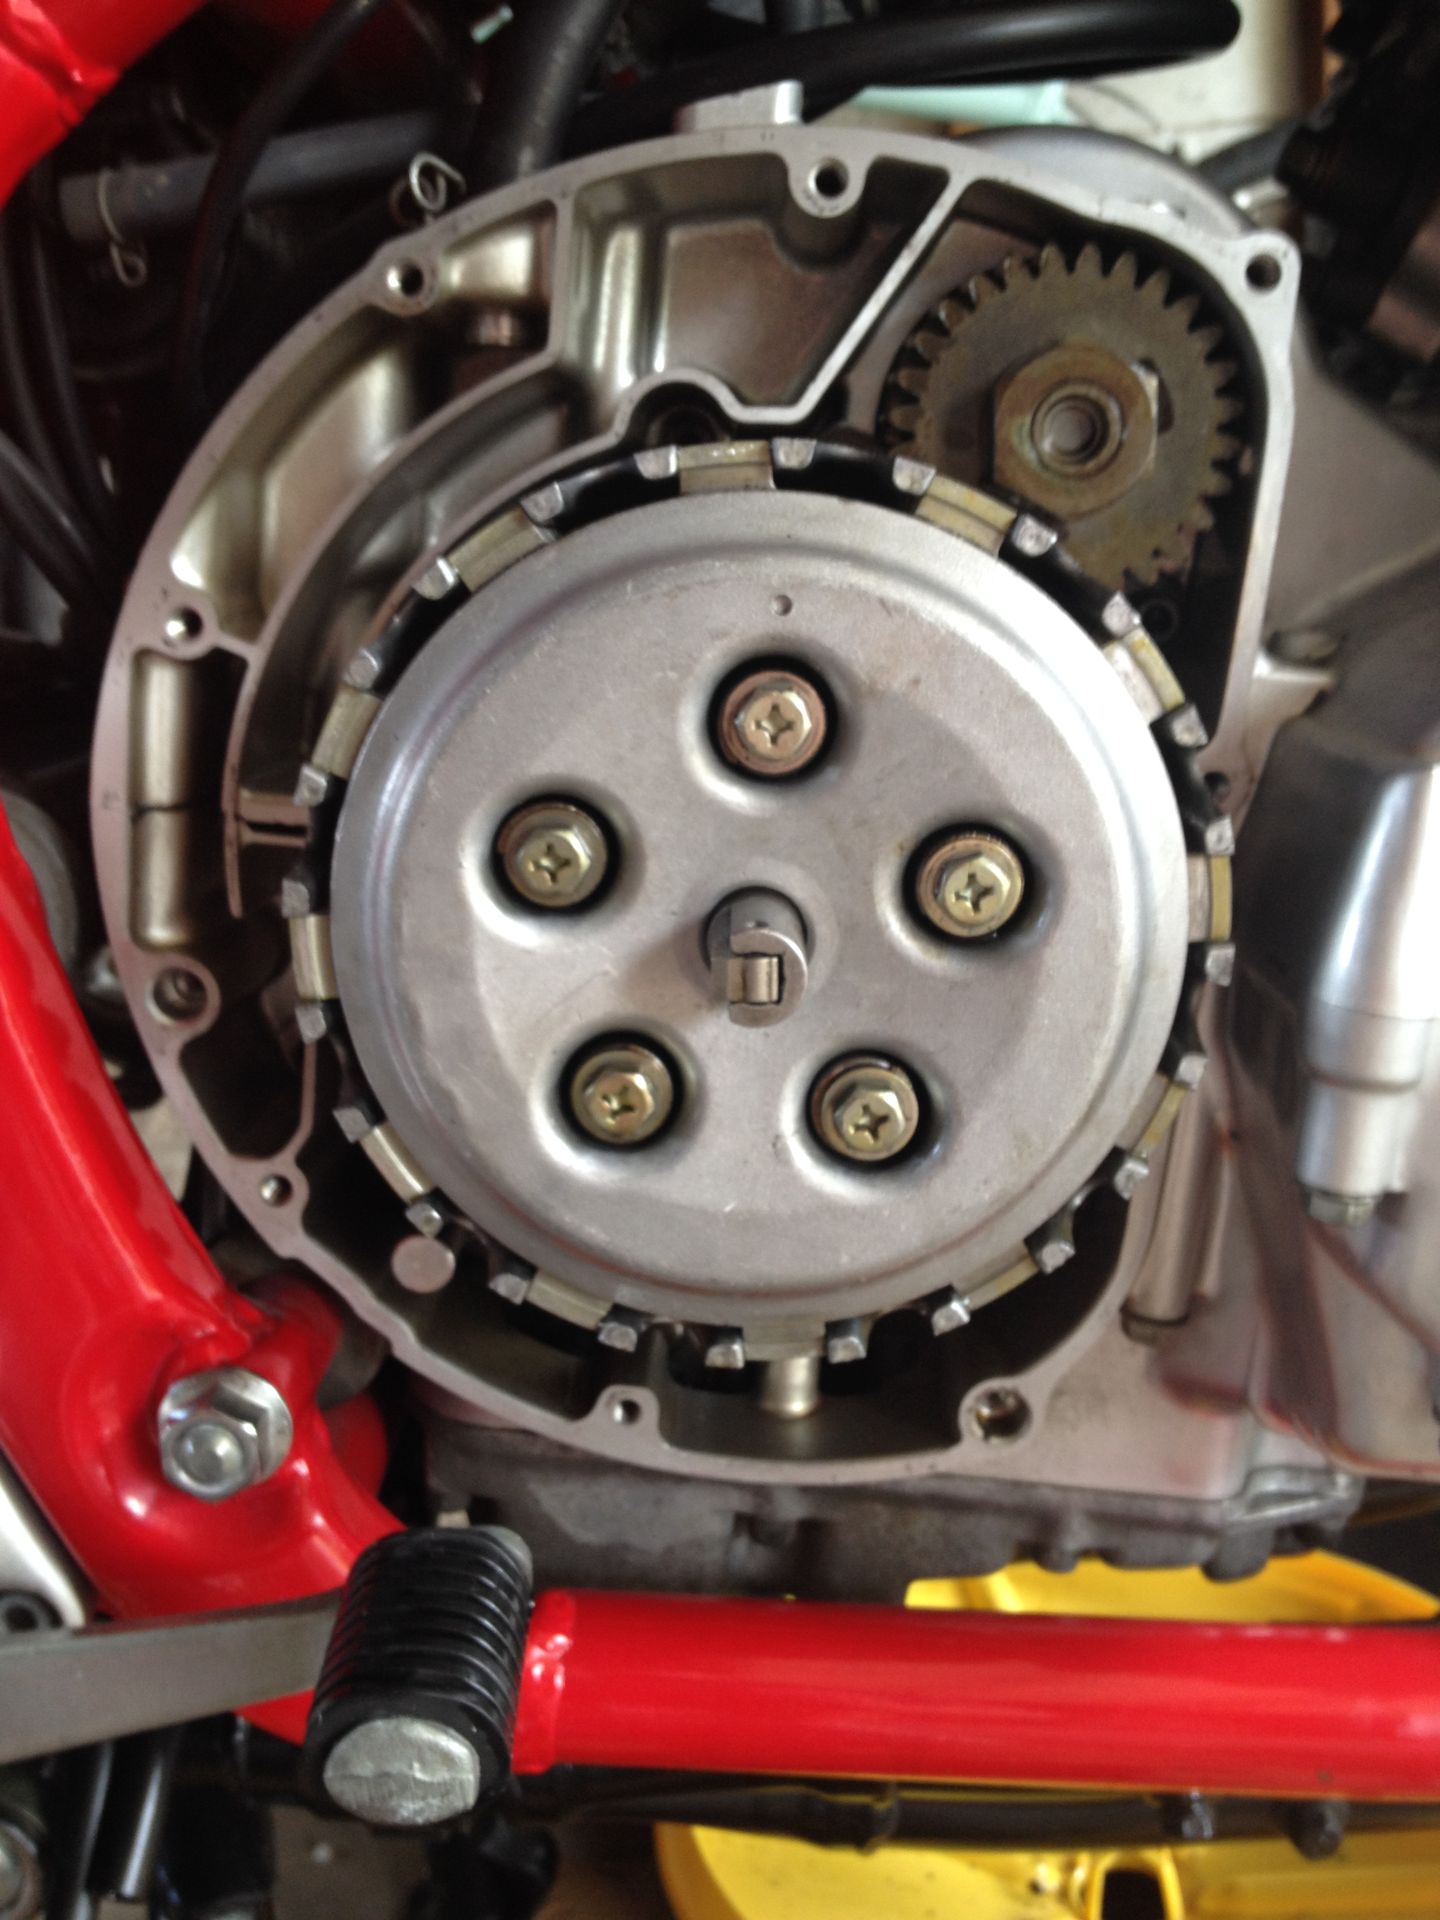
3rd: Install the new friction plates. Alternating friction plates and metal plates until they are all used up. There are 8 friction plates and 7 metal plates. If you have any left overs, your doing it wrong.
4th: Coat the release bearing and pull rod with engine oil and put it back into the middle of the pressure plate. Put that assembly back on to the clutch boss making sure to align the mark on the pressure plate with the mark on the clutch boss.
5th: Take your, hopefully, new springs and install them on the outside of the pressure plate. If you didn't get new ones make sure the old ones are within spec by measuring them. They should be no shorter then 41.8mm, standard spring free length is 42.8mm for OEM springs. Aftermarket springs may have different, longer, spring free lengths. Tighten the springs the same as you removed them, in a star pattern a little at a time working your way around until they are all tight. Torque the spring holding bolts (pressure plate bolts) to 8nm or 70 in-lbs.
Alignment mark is at the 12 o'clock position and the new springs are installed in this next picture. I didn't get a good pic of the alignment mark on the clutch boss but it looks exactly the same and is easy to see.
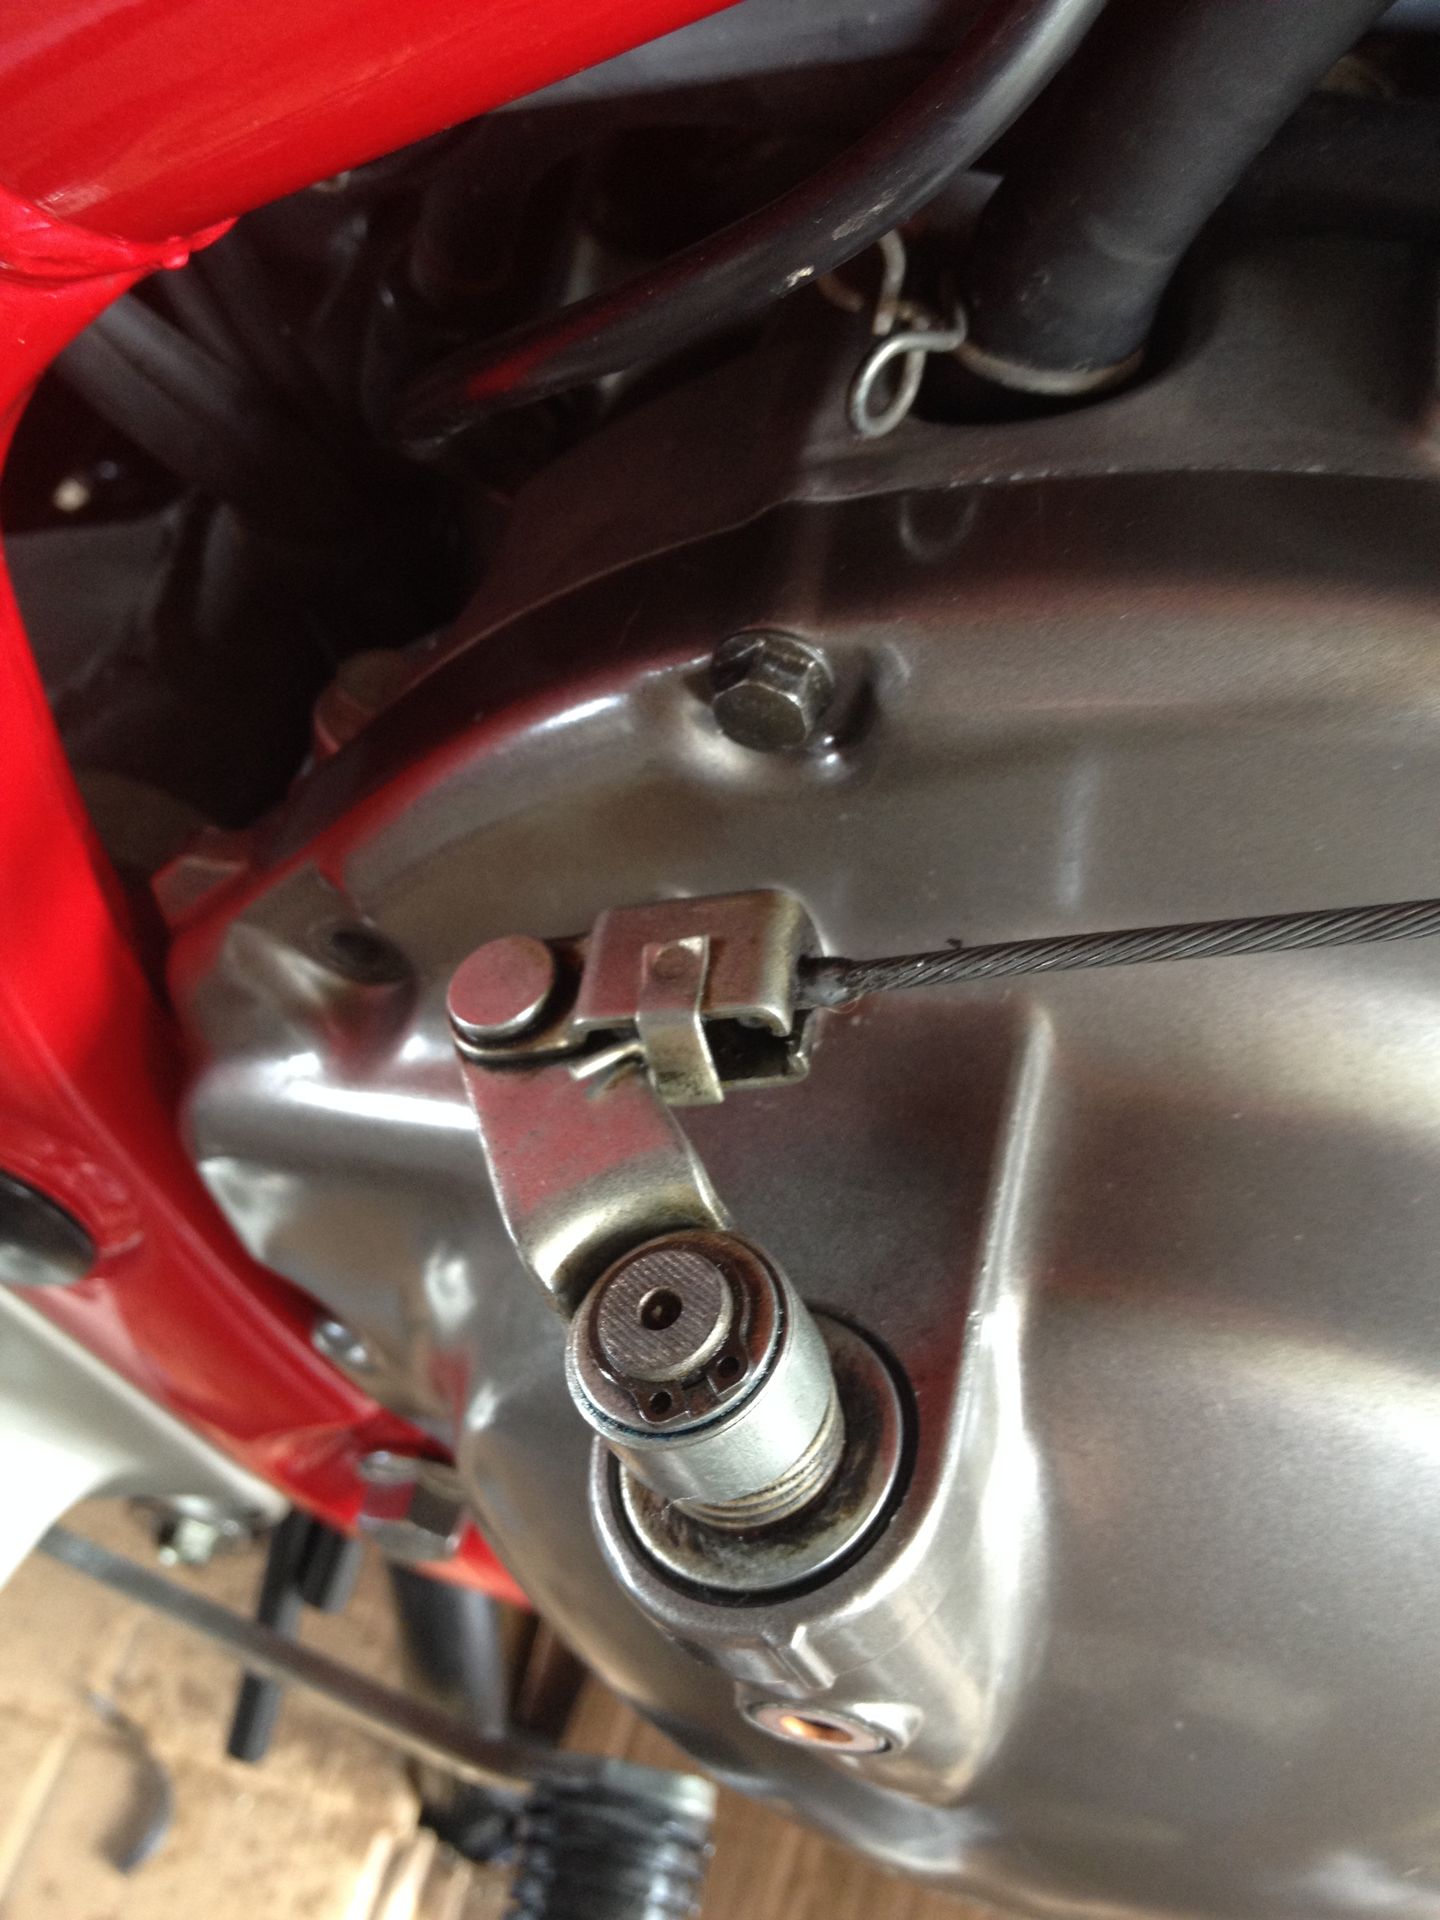
Now we can't just slap the cover back in place and call it a day. See that toothed part on the release bearing shaft in the picture above? That toothed part has to point towards the back of the bike.
And in order to put the clutch cover back on you will need to remove the throw out arm assembly axel from the clutch cover. Do this by removing the small bolt that holds in place. There is a small copper washer, be careful not to lose it.
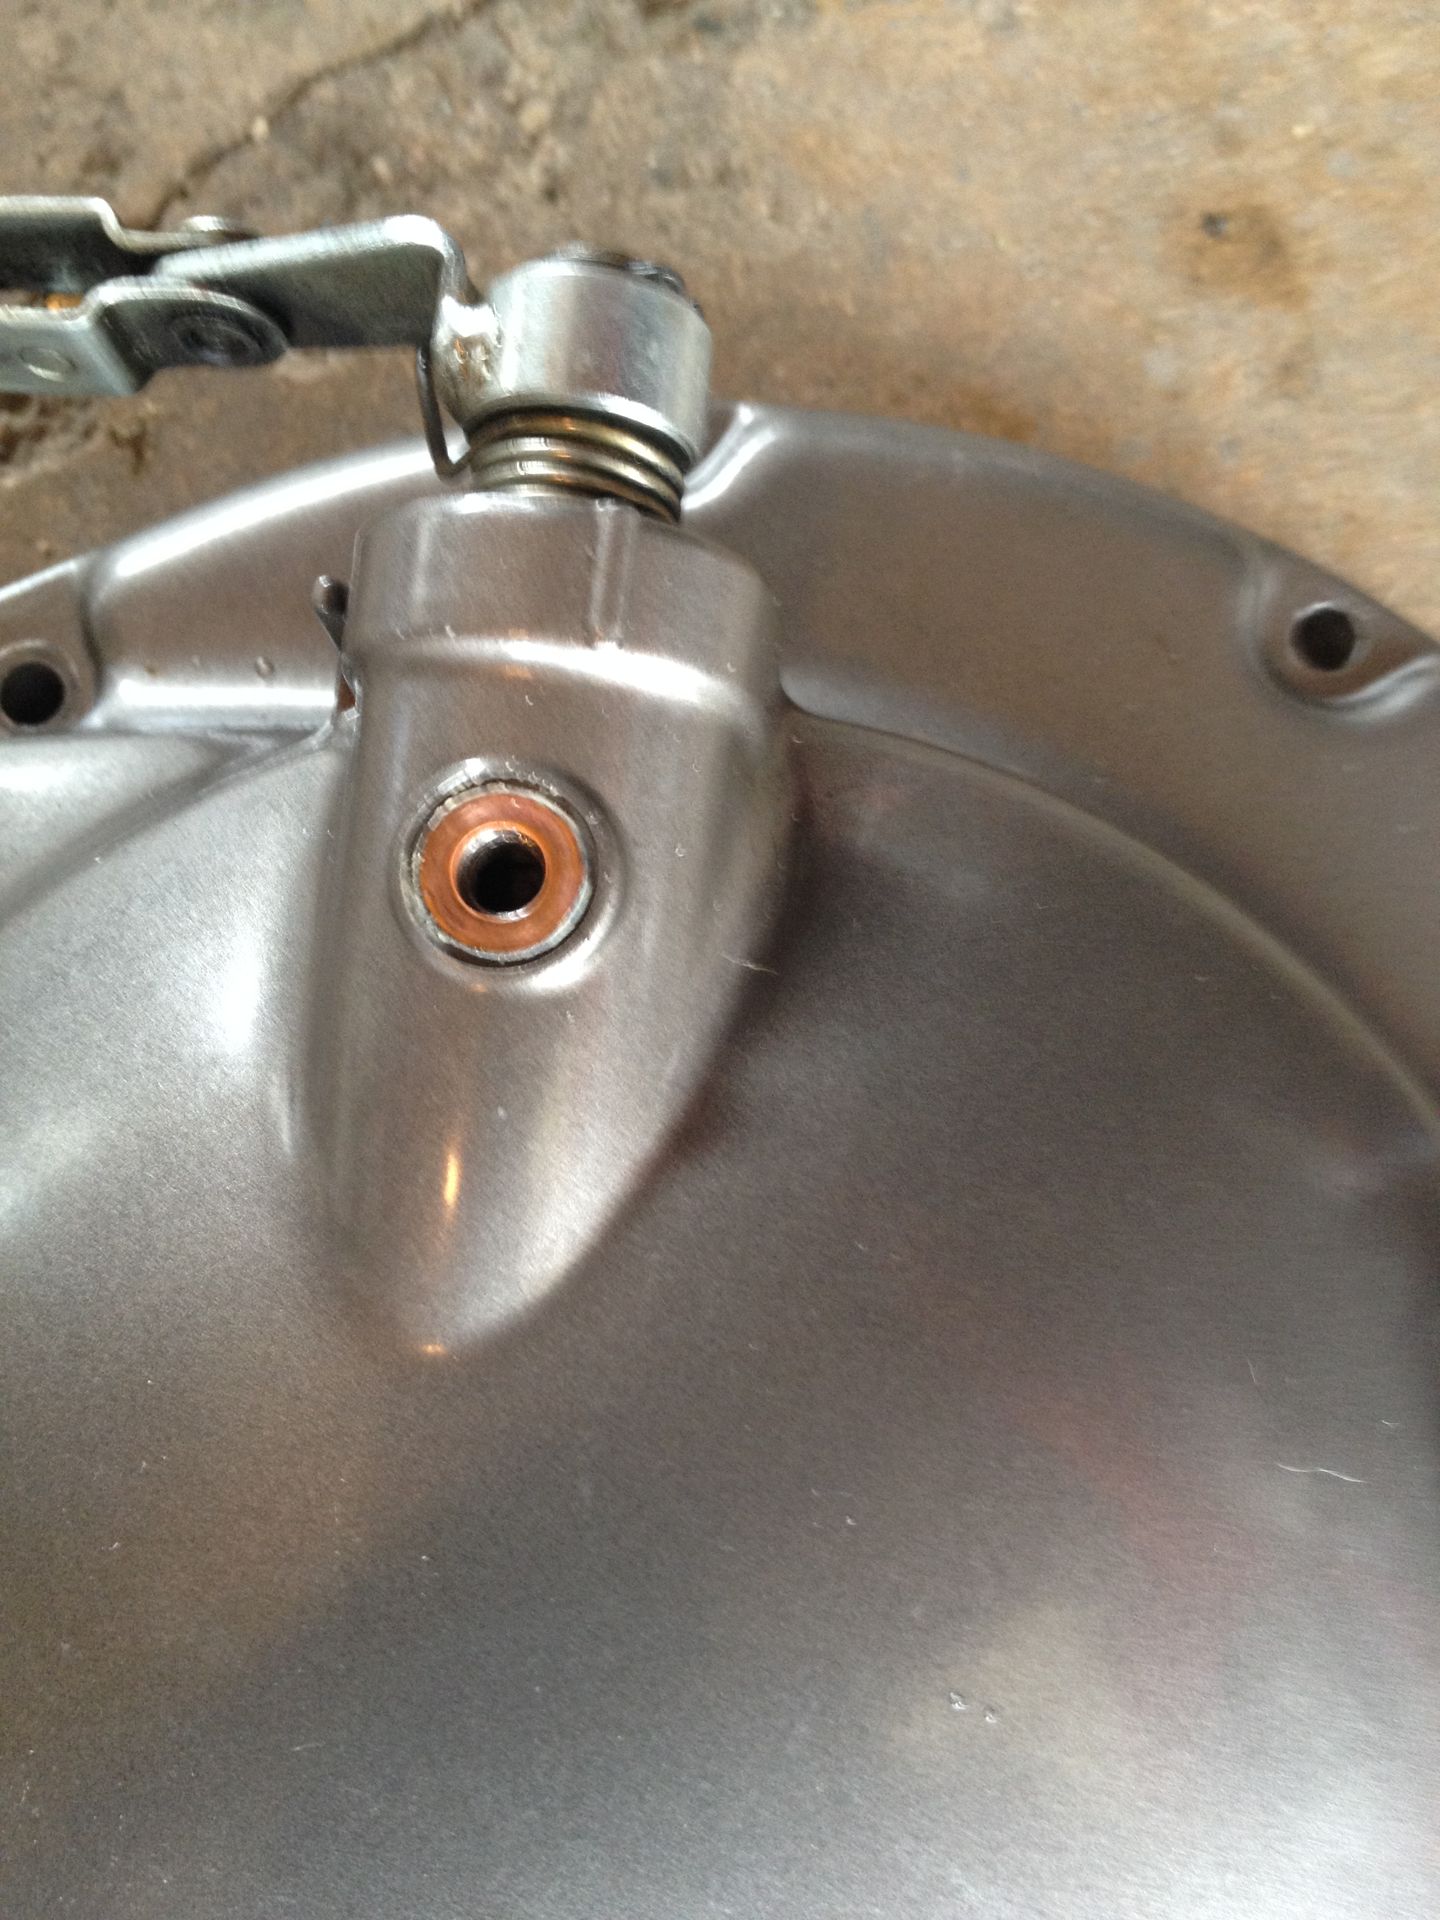
Once that bolt is removed you can slide the throw out arm up and out of the cover.
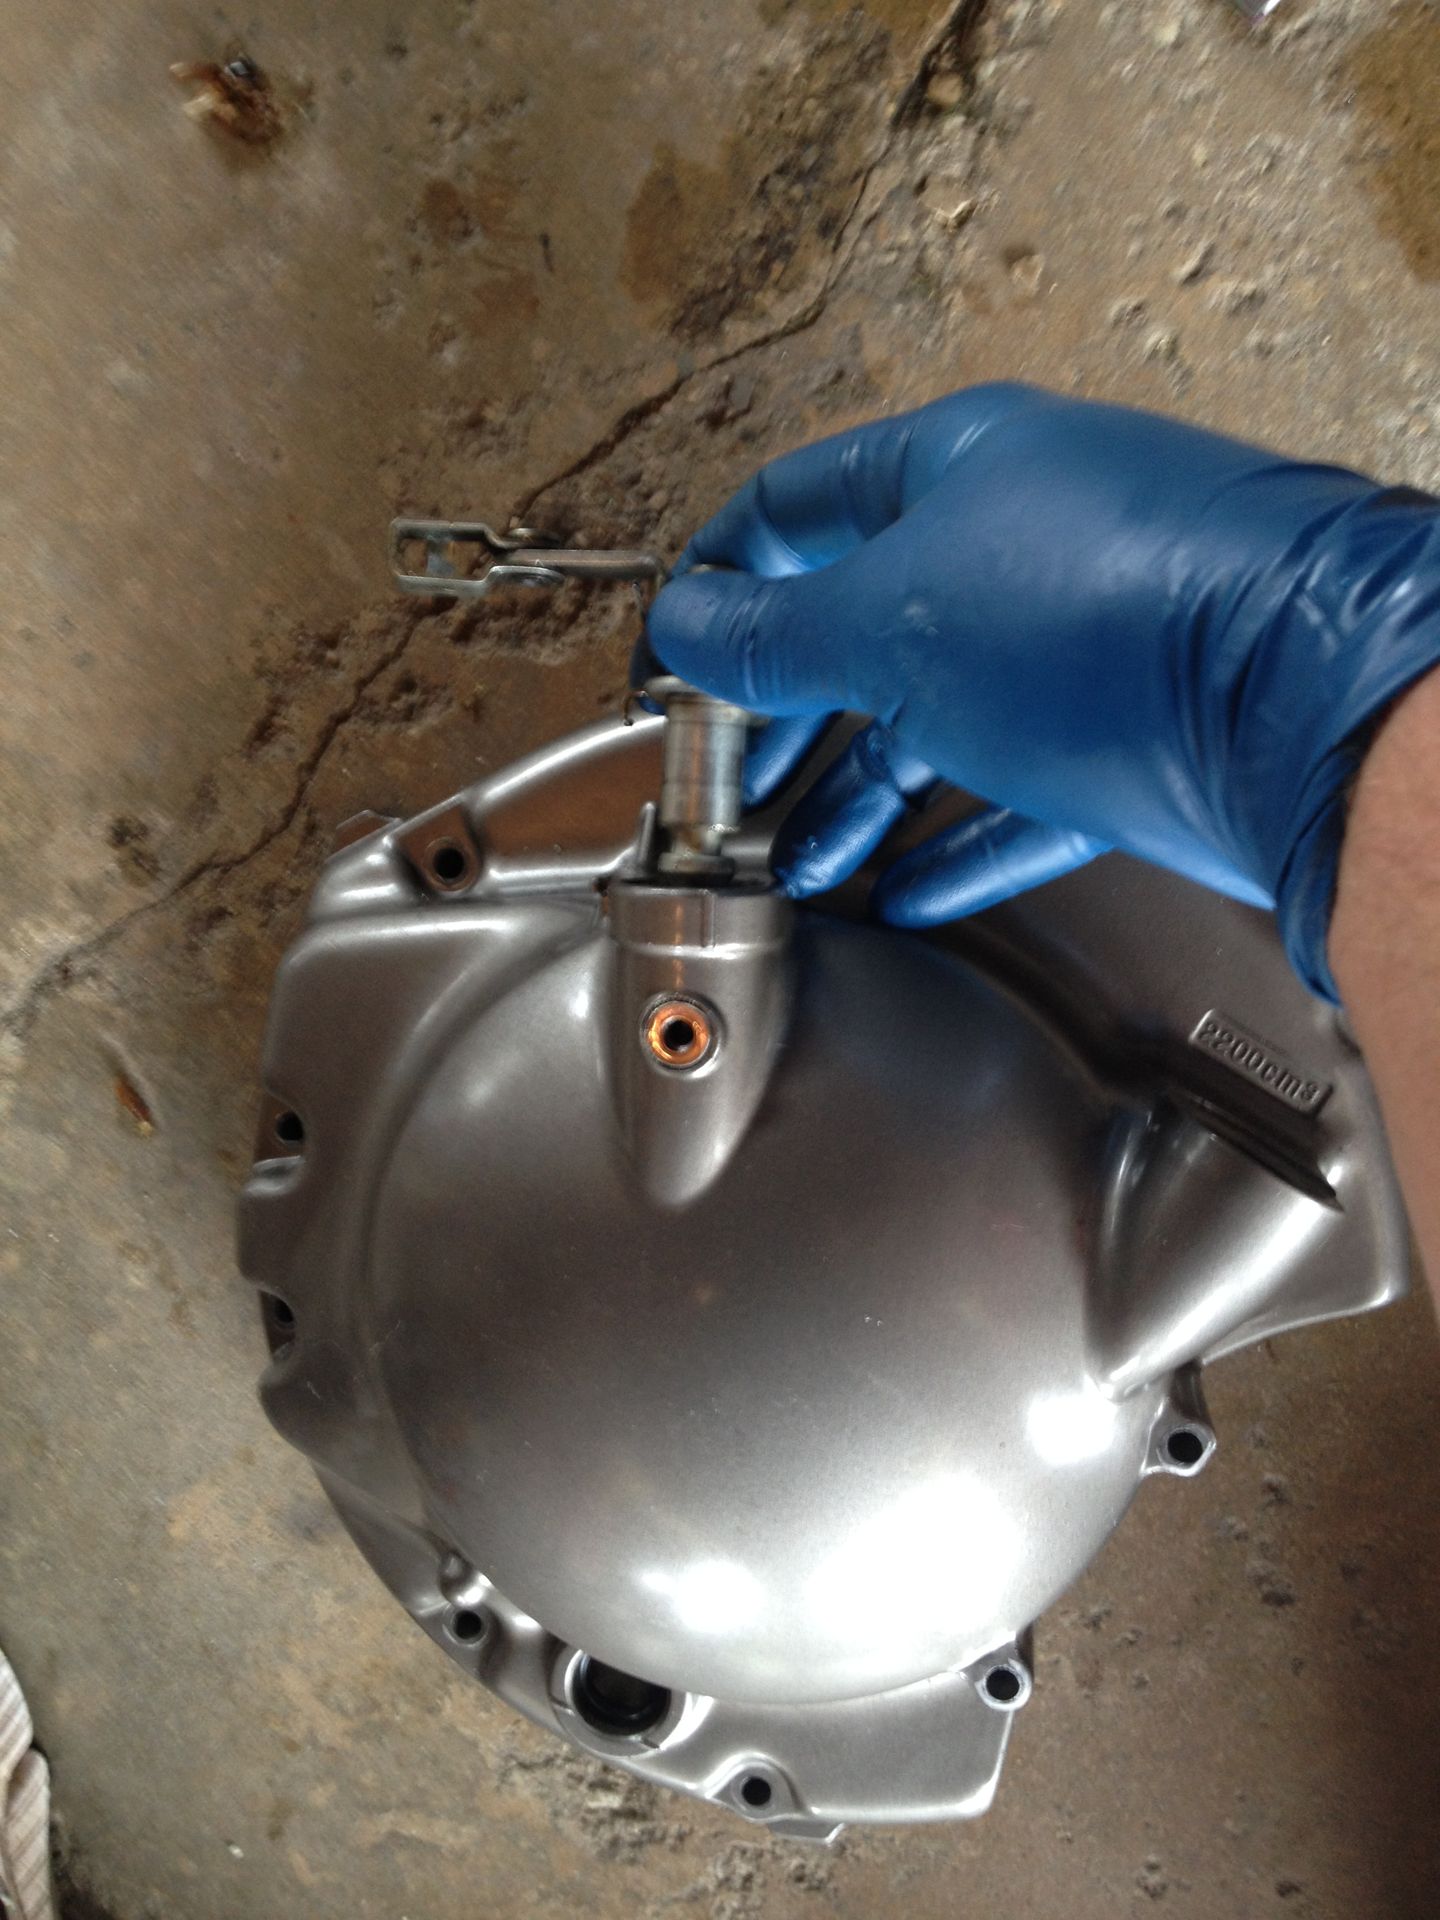
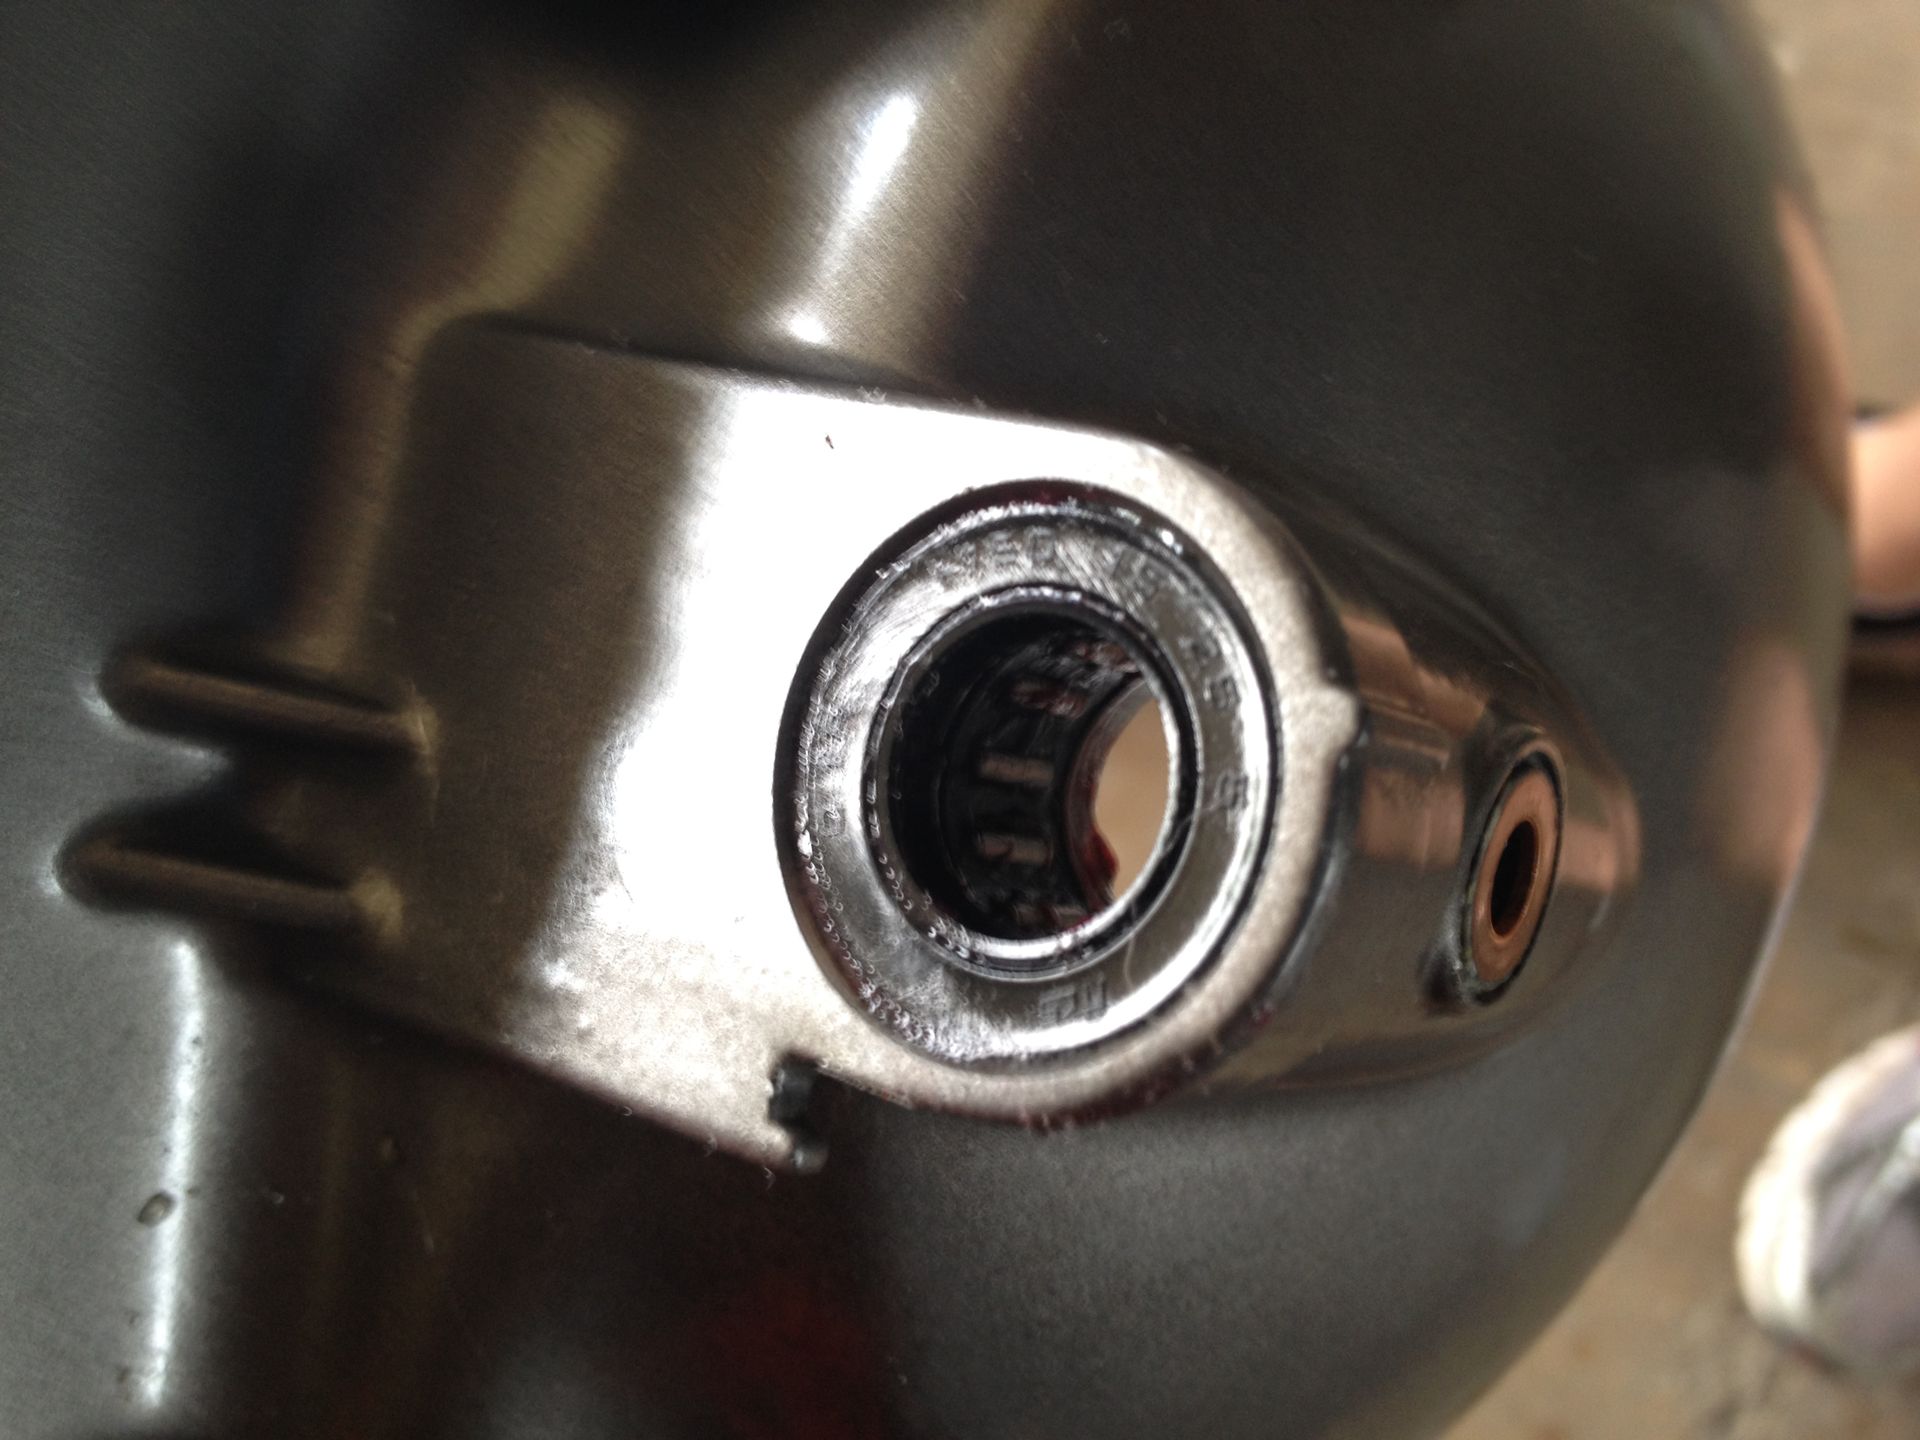
Inside of the hole that you just removed the throw out arm from there is a needle bearing. Now would be a good time to inspect that bearing and give it a light coat of grease.
Now is the time you will need one of these:
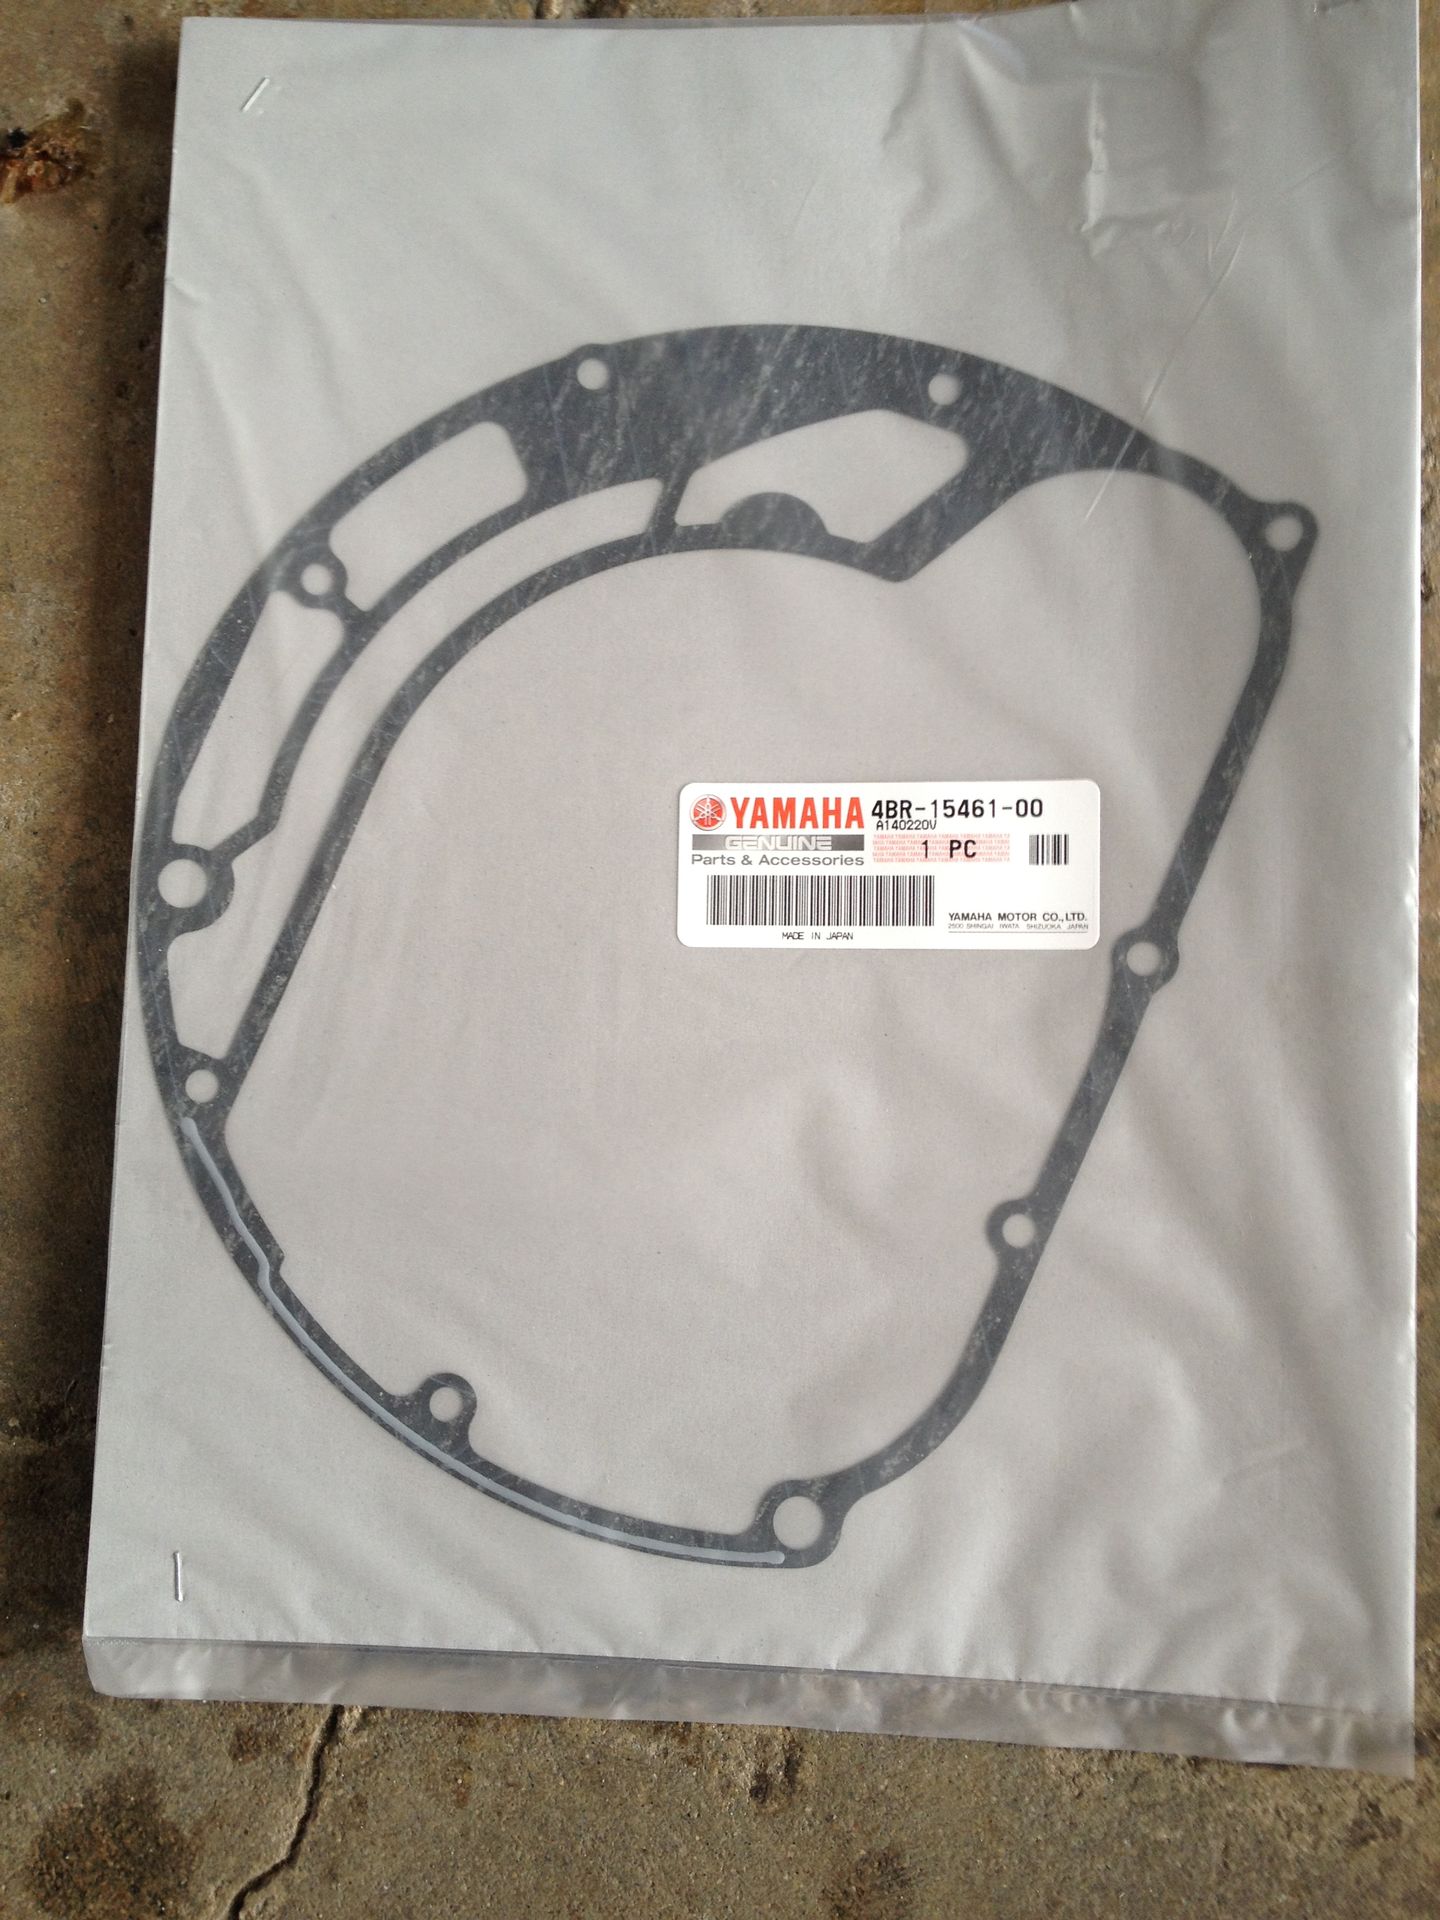
I have heard reports that the cheap ebay gaskets are just that, cheap. I didn't even bother and got this one from my local Yamaha dealer for around $15-$16.
To make installing the gasket easier you can "hang" it on a bolt thru the clutch cover. That helped stop the top from falling down when trying to install the cover. That is one thin gasket!

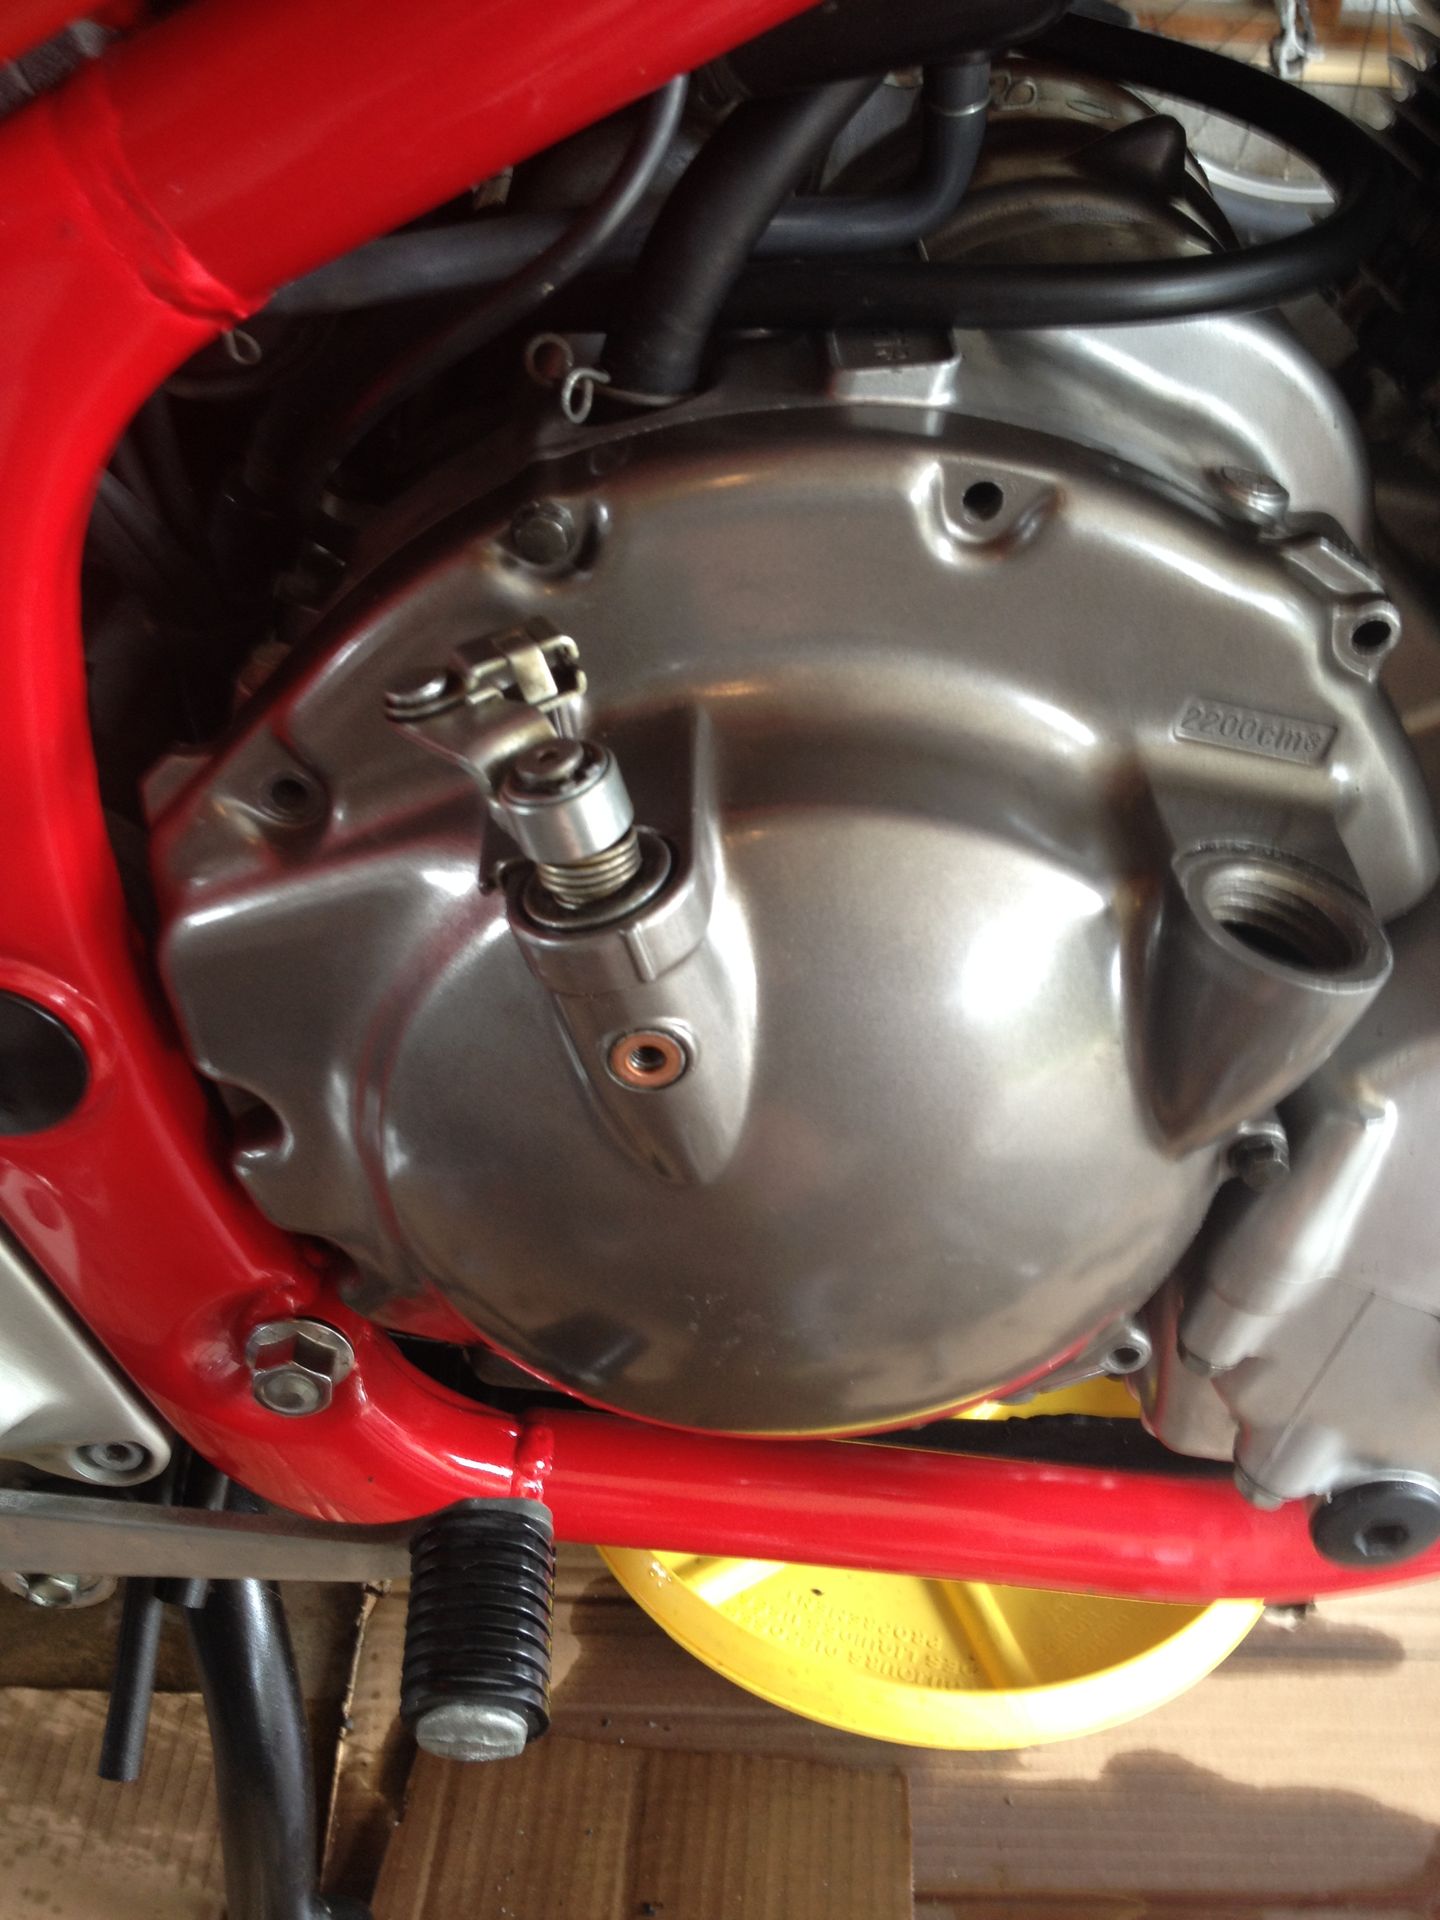
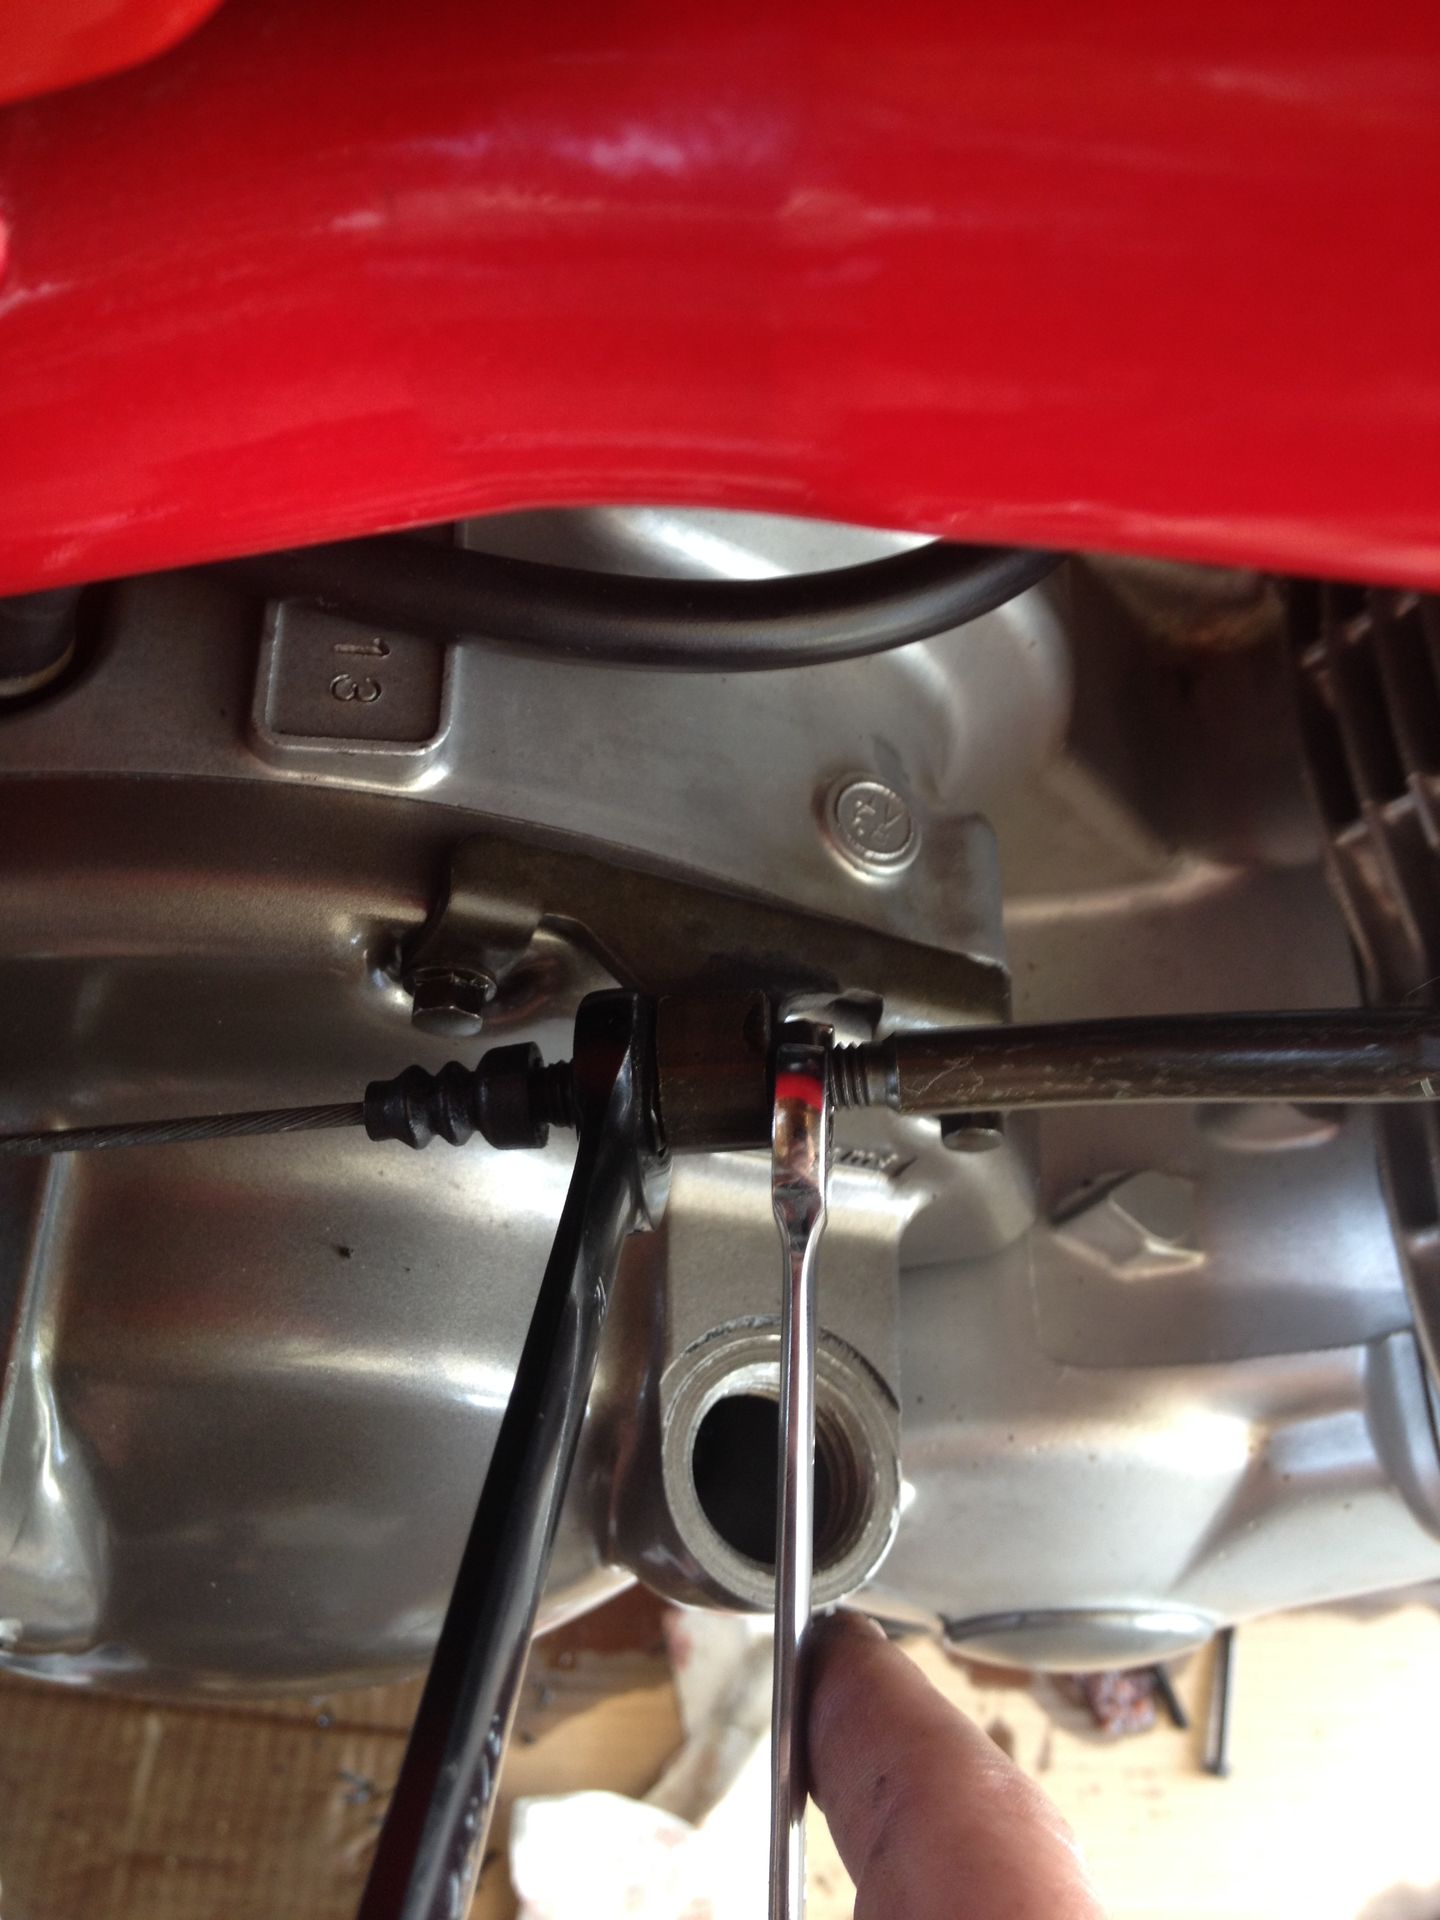
Once you get the cover back into position and the gasket in place insert a few of the covers bolts just finger tight to hold everything while you insert the throw out arm back into its hole. Make sure that the release bearing shaft is in the right direction, teeth pointing towards the rear of the bike so that the throw out arm can slide down and engage the teeth. Try to get the arm in about the right position, like so:
To make any final adjustments to the cable follow the procedure that Drapheus has out lined here:
http://www.xjrider.com/viewtopic.php?f=69&t=2403
Once you have the cable adjusted properly, insert the rest of your clutch cover bolts and torque to 10Nm or 86 in-lbs.
Be sure to bend the tab back down that holds the end of your clutch cable.
And DO NOT forget the tighten the two lock nuts at the cable adjuster!!! You don't want them coming loose and flying off while riding, not Clutch!!!
And there, you did it!!!!

 Know fill the bike back up with oil and go for a ride, or sit back and enjoy a nice cold drink of your choosing.