
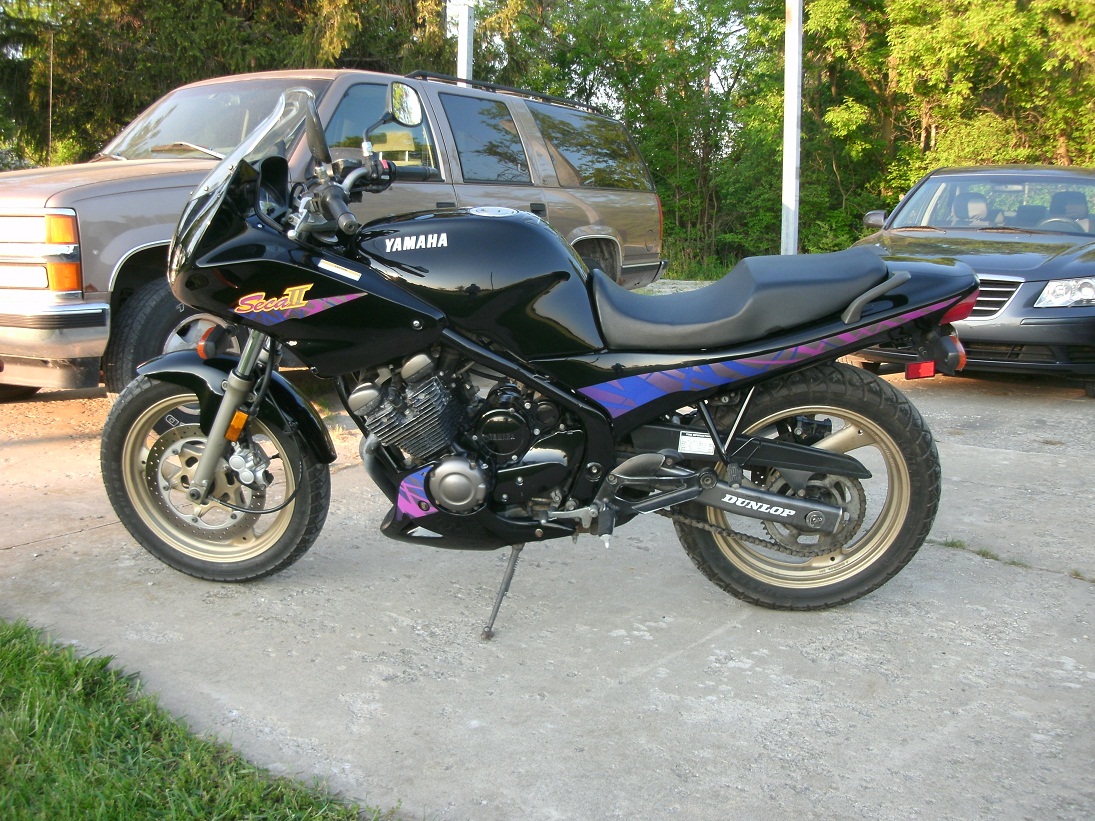
I bought the Seca last May as a commuter vehicle so that I could park the gas hog otherwise known as the Suburban. (Well, it was a good excuse to buy a motorcycle :brow: ) Its rough around the edges, but had only 6500 miles on it (now well over 9k) and it ran good.
I would love to do a complete overhaul like some of you guys, but since its my primary transportation vehicle, I'm limited to projects that can be completed on the weekend or the very rare 3-4 day holiday weekends. For now.
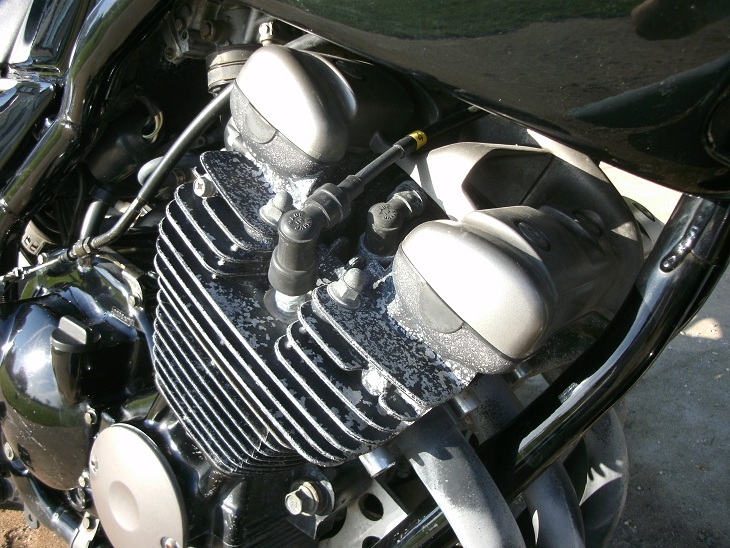
So far I've replaced most of the routine stuff (Air filter, brakes, chain, etc), and am looking for more things to do. Over the July 4th weekend I tackled re-painting the engine. What a pain in the :censor: . Without equipment like air compressors and power washers, I was forced to do this the poor-man way. I did what I could with a brush and a dremel (which broke after 20min) equipped with a brass brush. I then soaked the engine with de-greaser and washed it off. After a mask-off job that I would be embarrassed to show to anyone that actually knows what they're doing, I got painting. I used Dupli-color engine primer and Dupli-color Gloss Black Engine Enamel. Here's how it turned out.
Before
After!
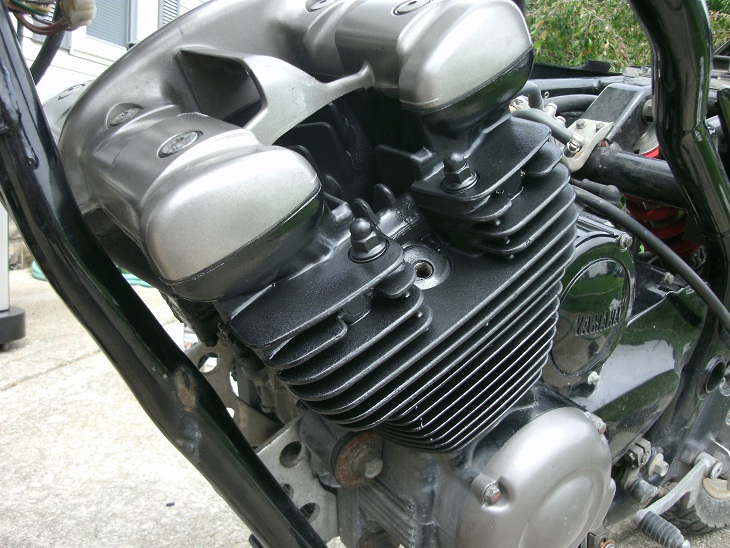
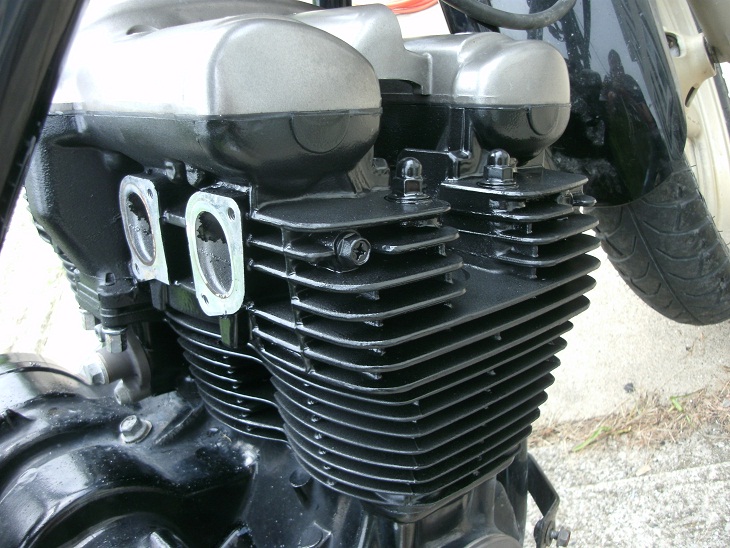
After re-assembly, a wash, and a quick cure...
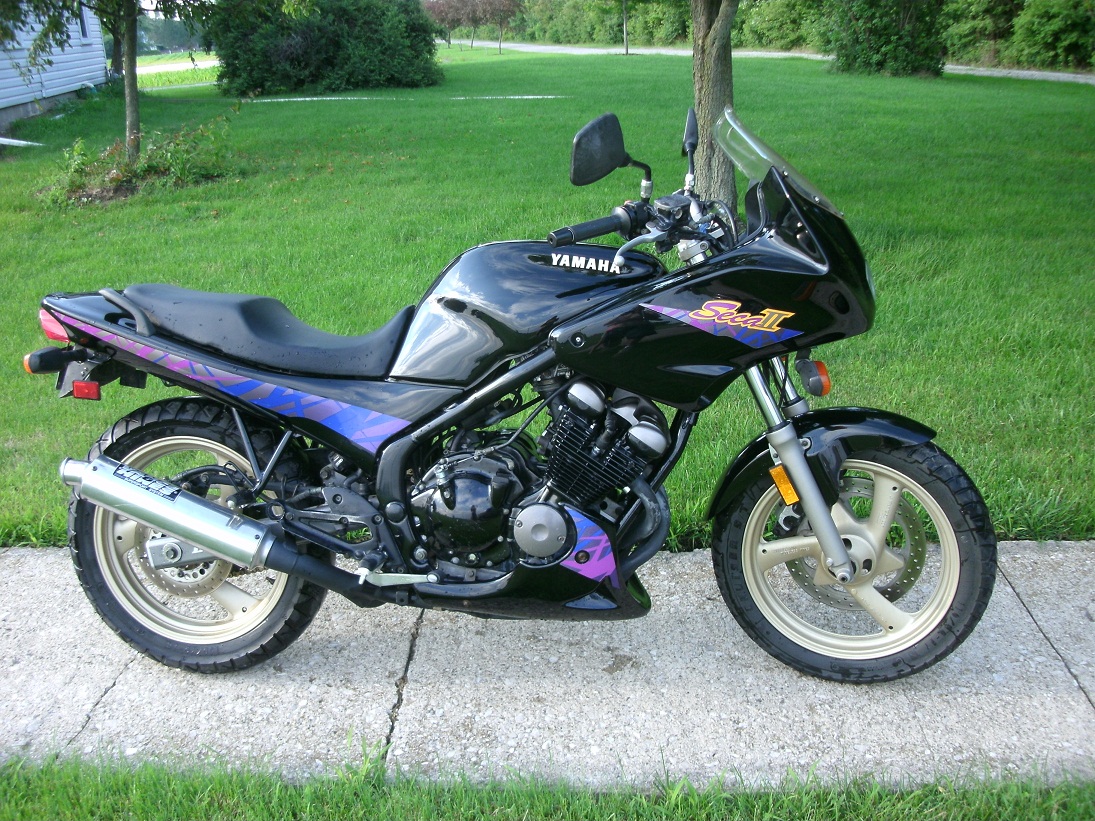
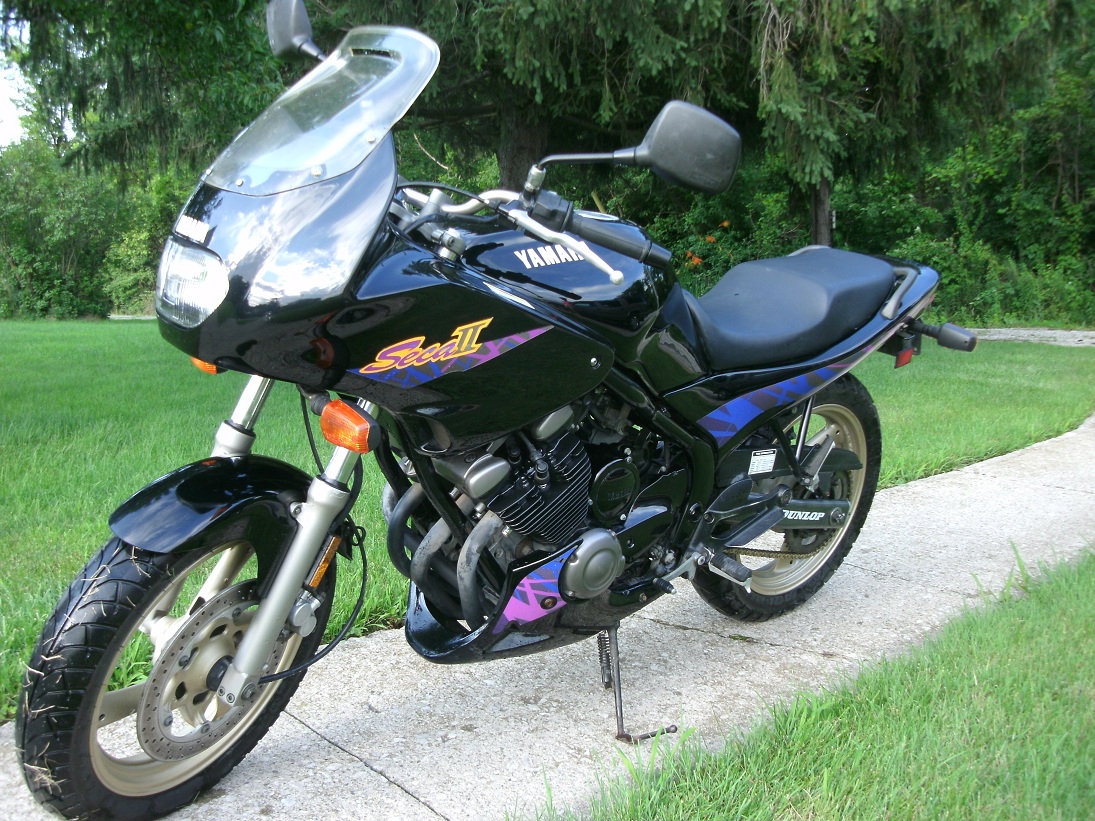
I didn't get the high gloss I was looking for, but it's a nice improvement. What's next? Maybe the header pipes!