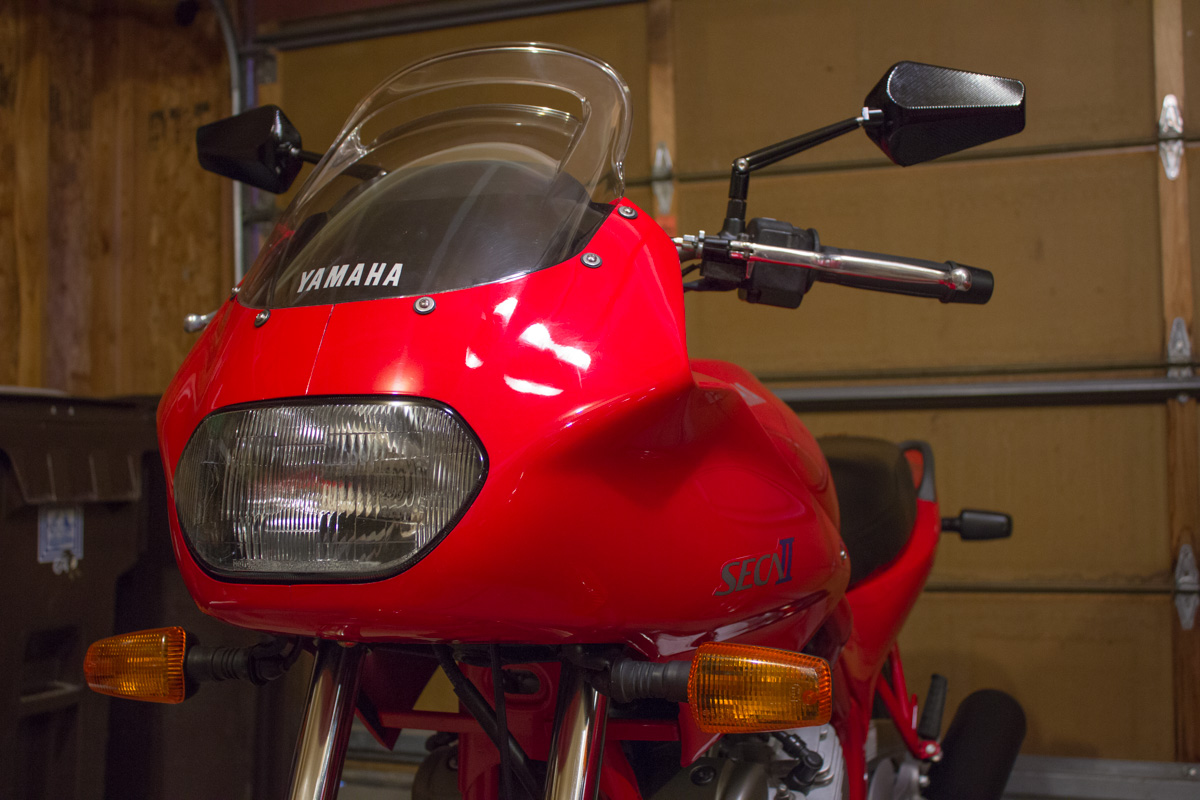
Having recently installed a nicer fairing on my '92 Seca II, I thought I'd do a quick write-up on how to install the fairing, properly using readily-available fasteners from my local hardware store.
There are 10 mounting points that need hardware on the Seca II front fairing in '92. Two mounting points are located on the frame, four on the headlamp bracket and 4 on the windscreen. These changed a bit as Yamaha redesigned the fairing. This how-to is written for the '92/'93 Seca II but should apply across the board.
Parts Needed:
- Windscreen/front headlamp bracket mount:
(6) #6-32 x 1" long well nuts
(6) #6-32 x 1.25" long machine screws, stainless steel
(6) #6 fender washers, stainless steel
Rear headlamp bracket mount:
(2) #10-32 x 1/2" long well-nuts
(2) #10-32 x 3/4" long machine screws, stainless steel
(2) #10 fender washers, stainless steel
(2) #10-32 nylon washers
Frame mount:
(2) 1/2" ID rubber push-in grommets
(2) #10 rubber flat washers, 1/6" thick
(2) #10-32 x 1/2" long well-nuts
(2) #10-32 x 3/4" long machine screws, stainless steel
(2) #10 flat washers, stainless steel
(2) #10-32 nylon washers
Roll of cheap electrical tape
Roll of 1/2" wide by 1/4" thick closed-cell adhesive foam tape
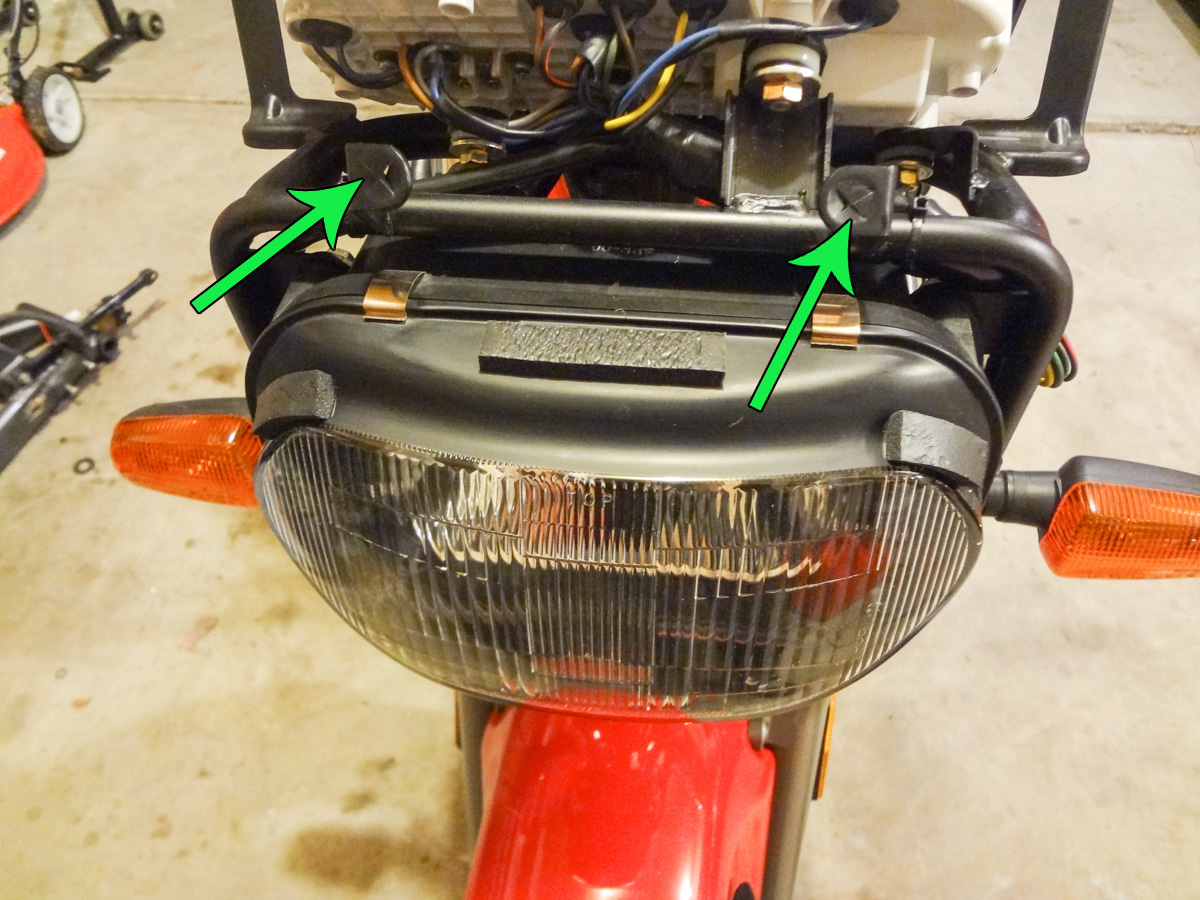
The original foam tape used for vibration damping on your Seca II is likely hard, dried-out and/or missing. Before installing the fairing, you'll want to replace this old-wornout tape with new tape. On the headlamp, remove the original foam tape and clean the area with mineral spirits. Cut a short length of foam-tape and press it in place. Install foam tape where indicated by the arrows in the photo below. This will prevent the fairing from vibrating on the headlamp. Ensure the foam tape adheres appropriately before moving to the next step.
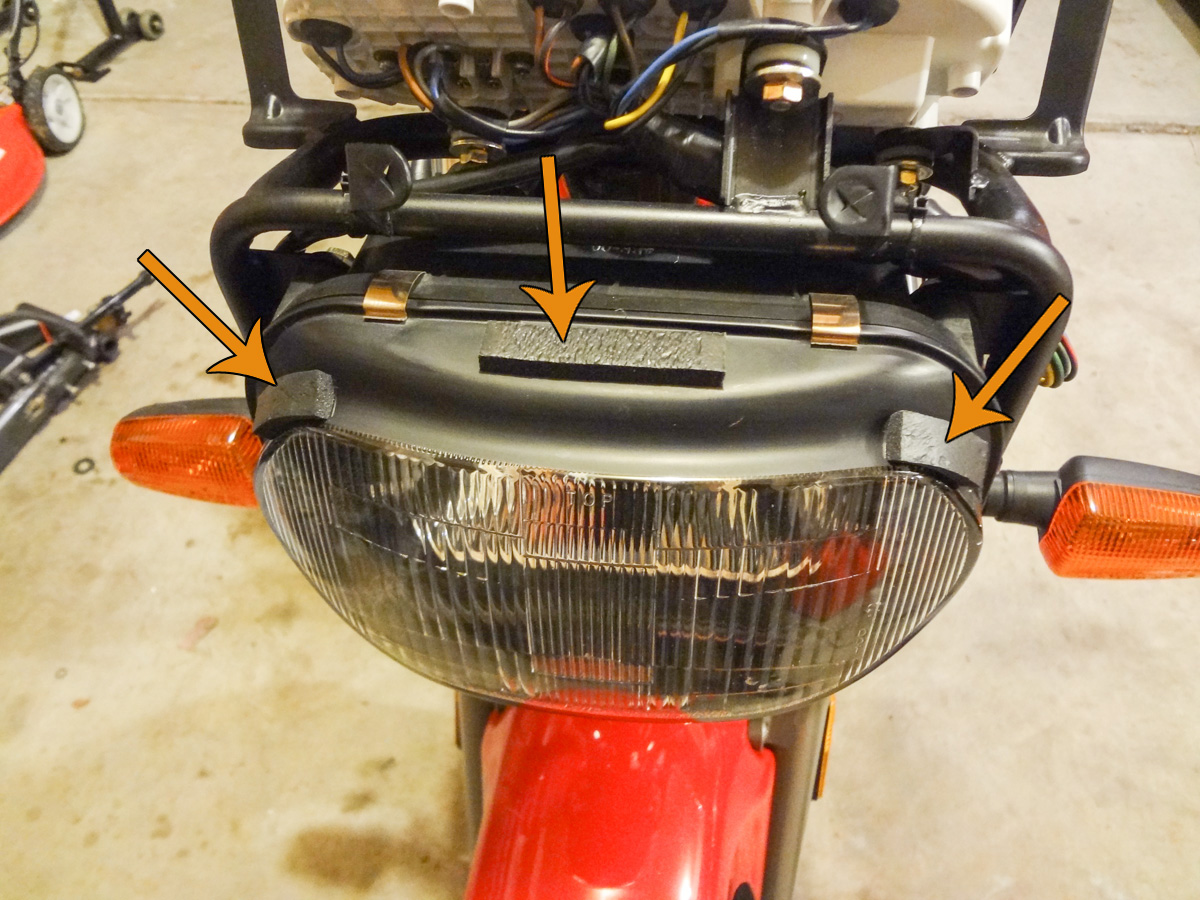
At this same time, cut a short length of electrical tape and adhere it to the mounts just above the headlamp, as shown by the green arrows in the photo below. Cut slits to allow the hardware to pass through the mount. This will prevent noise coming from the vibration of the fairing against the mount.
Frame Mounts:
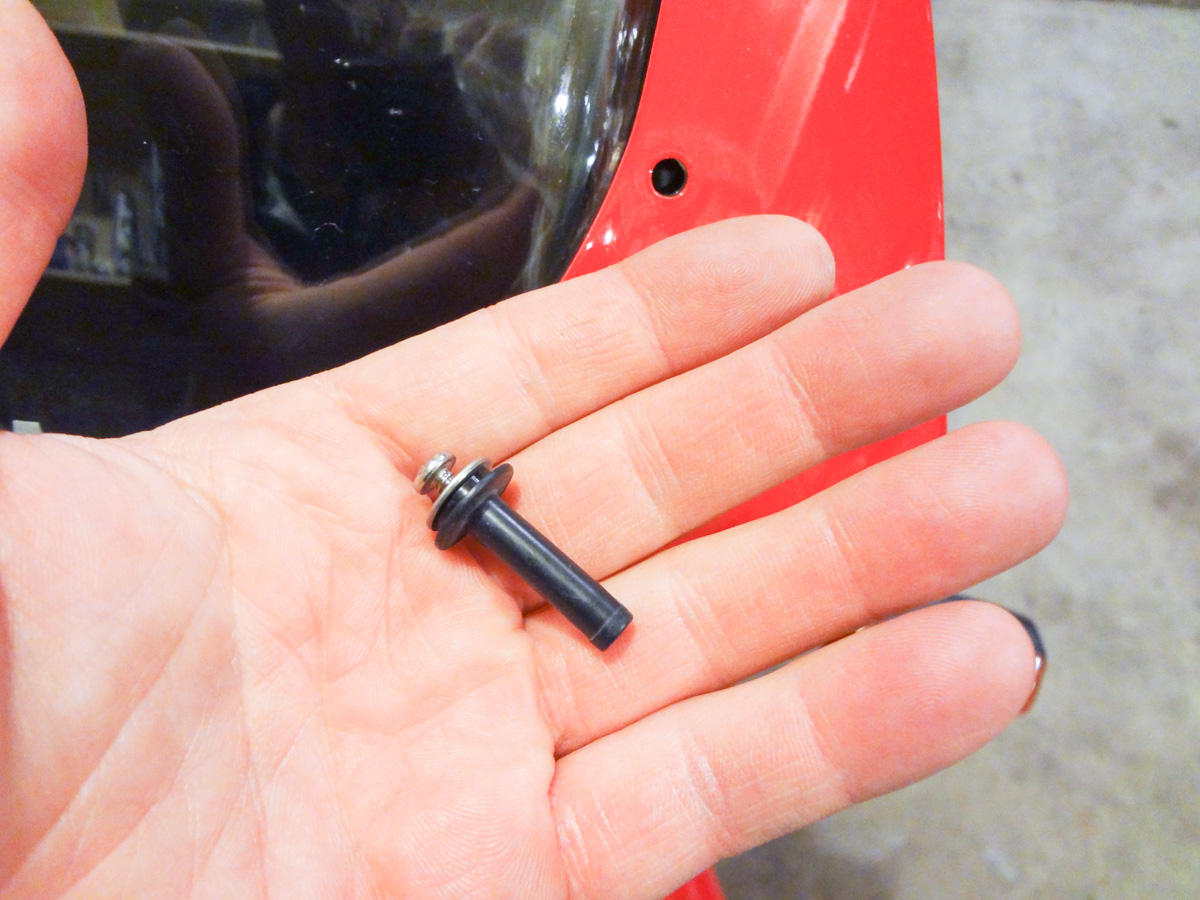
Begin by inserting a rubber grommet into the opening in the frame mount. This grommet will press against the fairing and prevent noise while also ensuring the well nut is properly affixed.
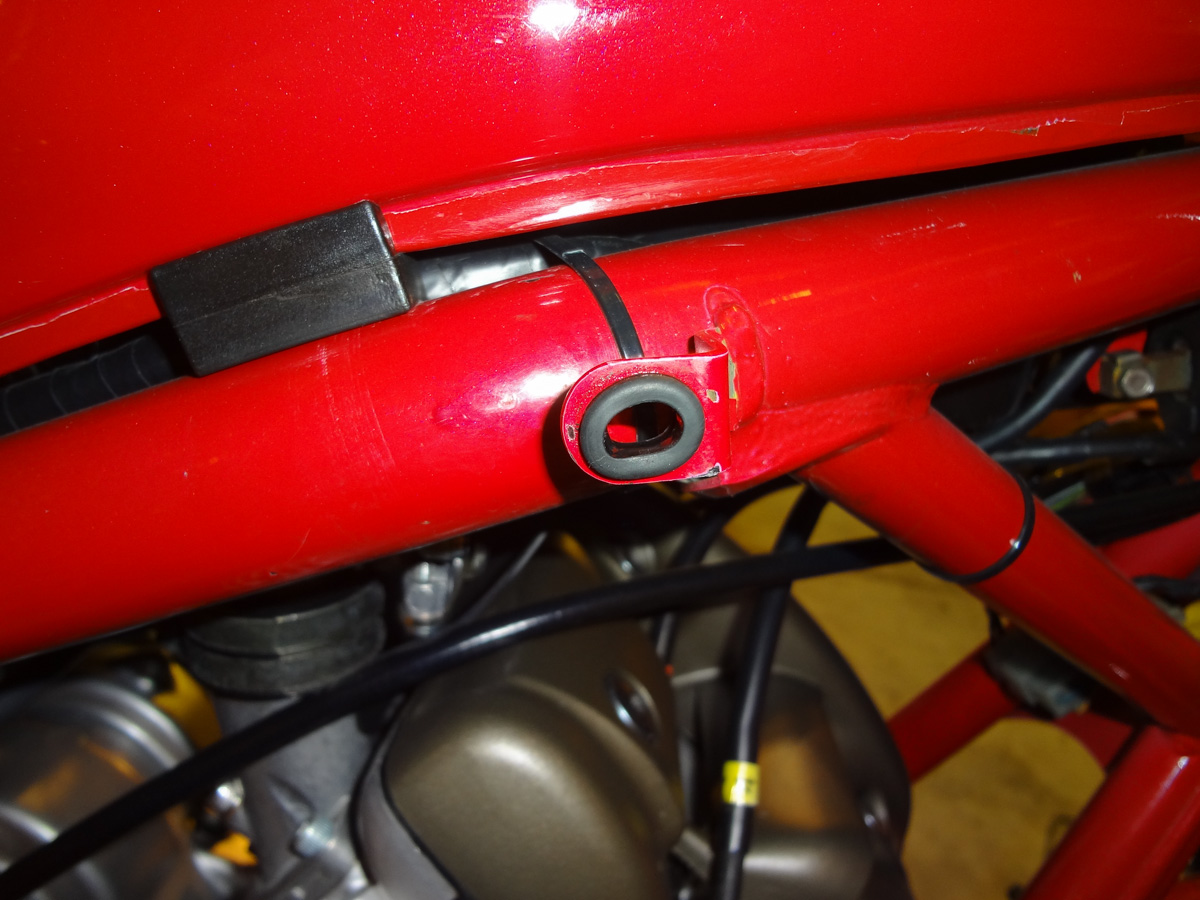
Once the grommet is in place, install the well nut through the grommet.
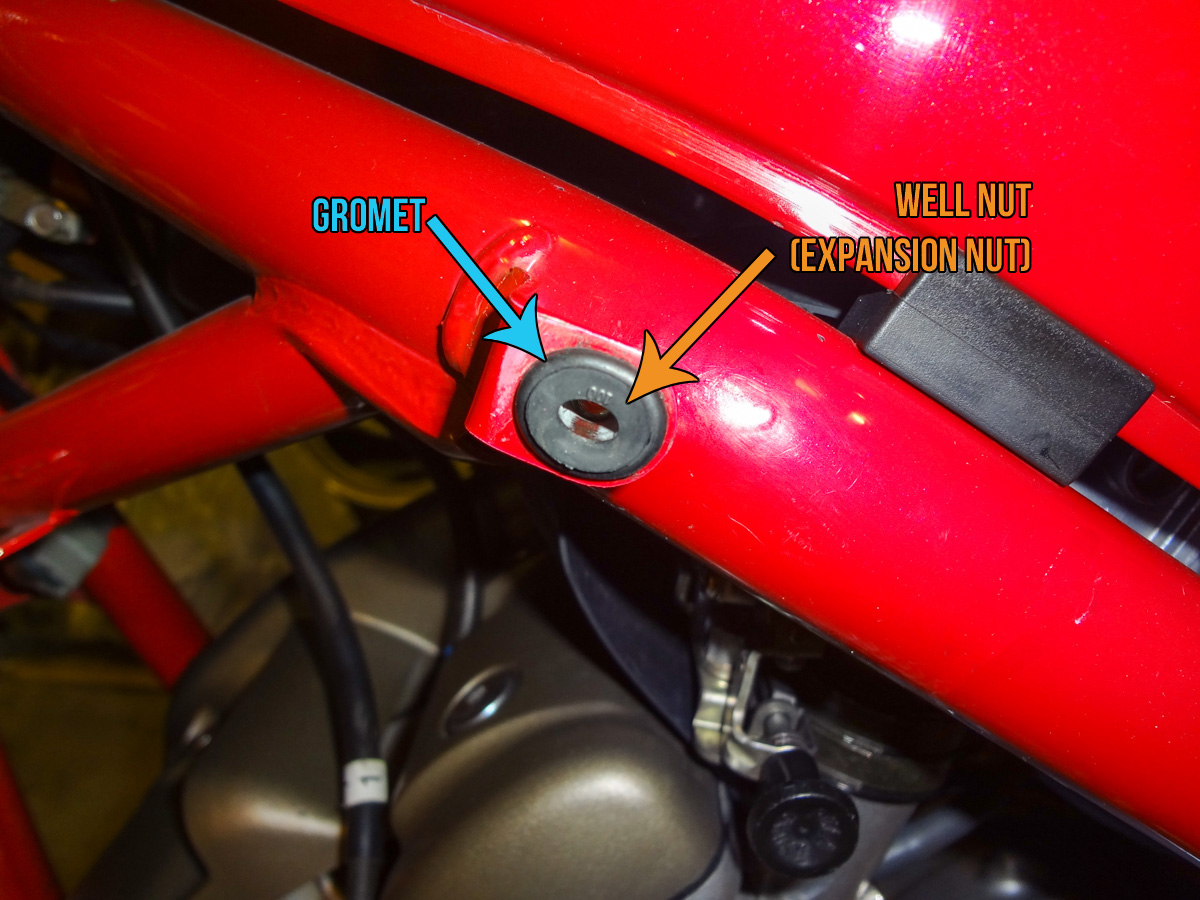
When done, you should have something that looks like this for at the frame mount:
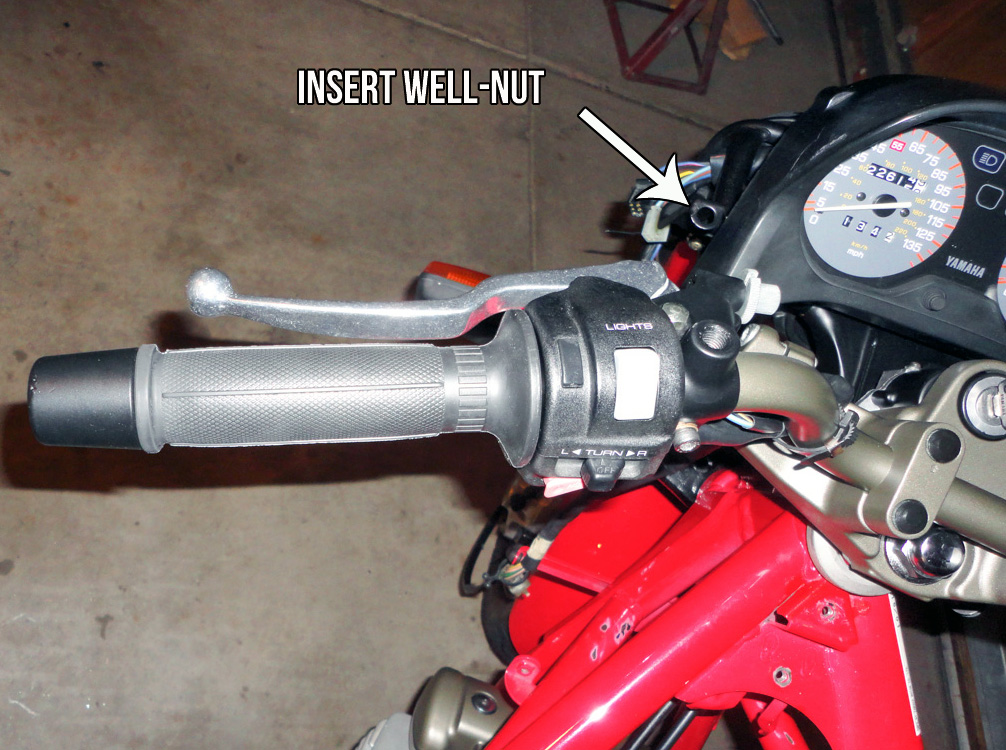
Headlamp Bracket Rear Mounts:
For the rear mounts on the headlamp bracket, simply insert a #10 well nut into the hole as indicated below by the white arrow:
Installing the Fairing on the Bike:
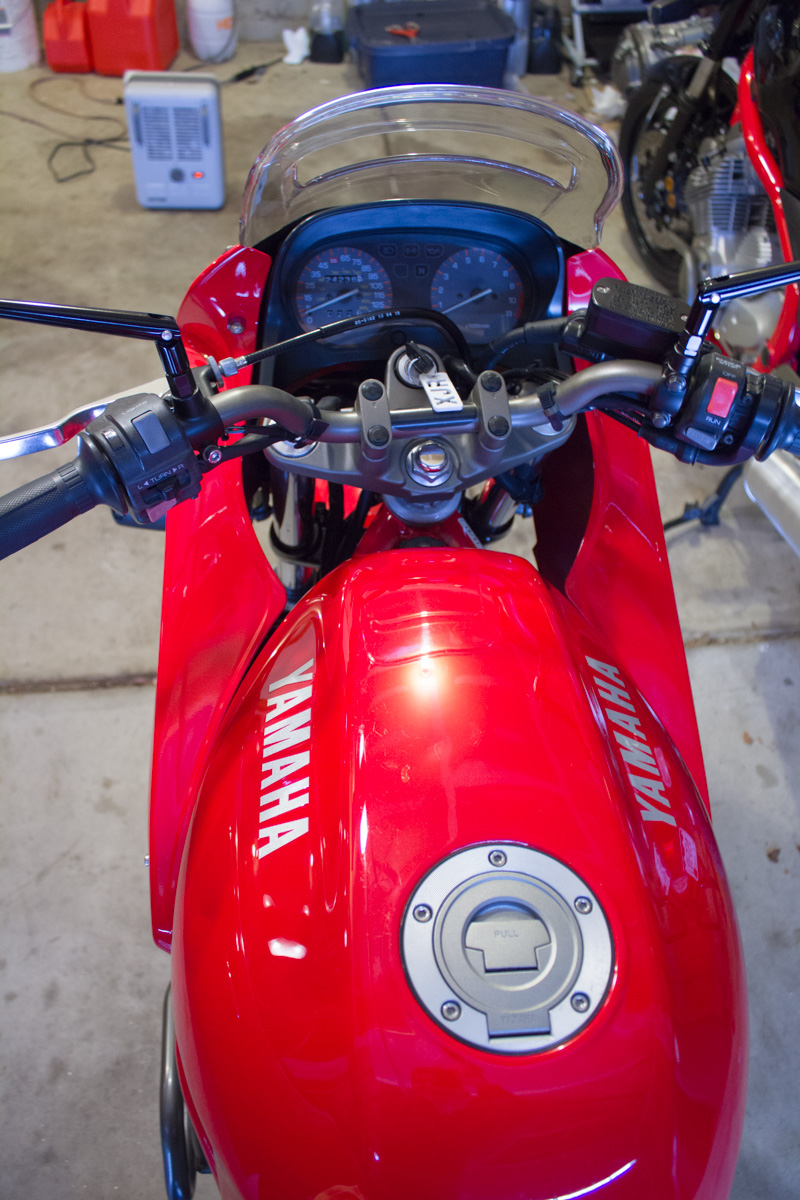
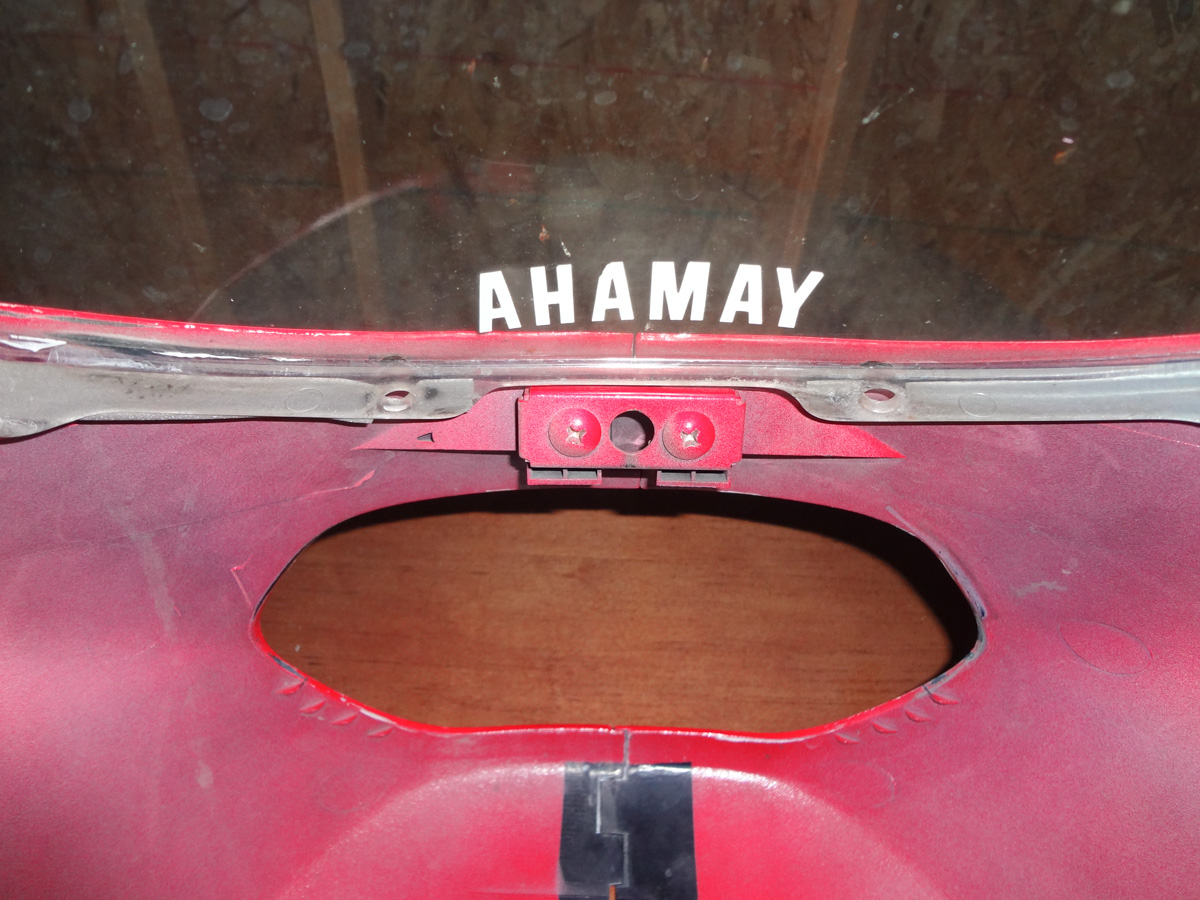
Before installing the fairing on the bike, install the windscreen and gauge cover into the fairing and let them sit in place. The windscreen can not be installed after the fairing is installed.
Ensure the fairing halves are bolted together as shown below, and install the fairing on the bike being careful not to scratch it on any of the numerous obstructions.
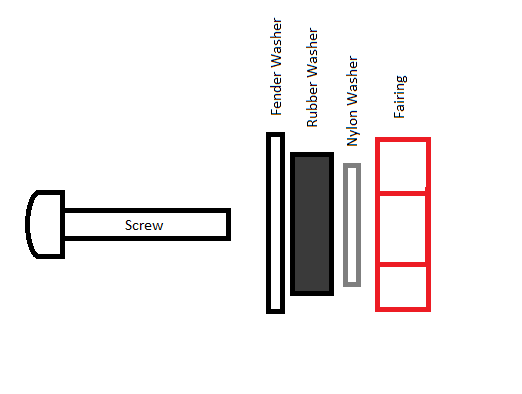
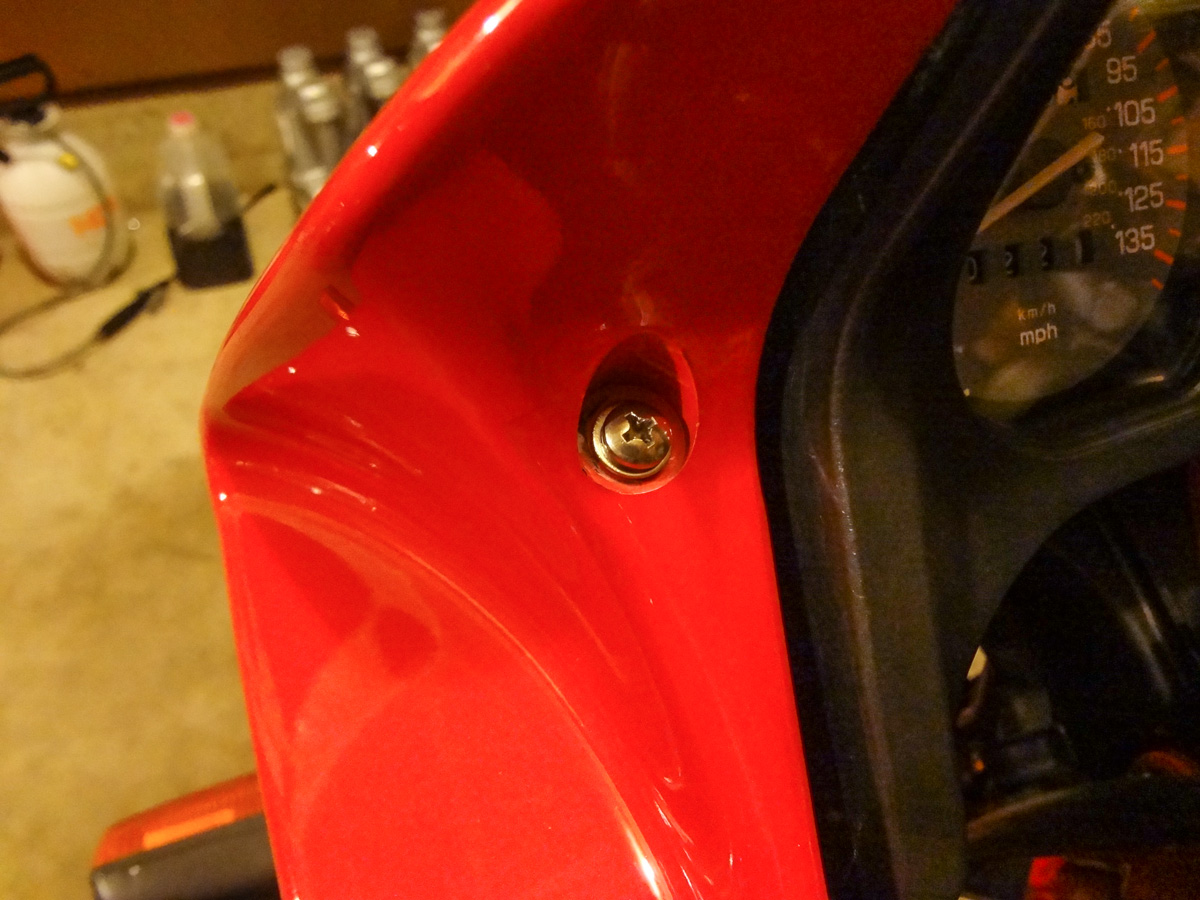
Once the fairing is on the bike and fits around the headlamp well, install the frame mount screws in the following sequence as shown below: Stainless screw -> Stainless fender washer -> Rubber washer -> Nylon washer. Note that the nylon washer fits between the fender washer and the fairing to prevent vibration damage.
Install the frame mounts on both sides and lightly tighten, finger tight, to help hold things in place. Do not tighten any of the screws until ALL are in place and the fairing fits appropriately.
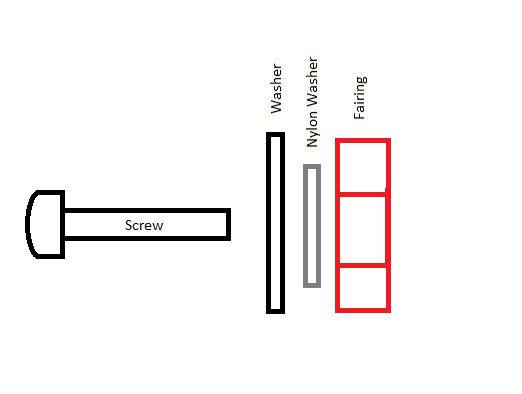
Install the rear headlamp screws and tighten lightly in place, using the following sequence as shown below: Stainless screw -> Stainless flat washer -> Nylon washer. Again, note that the nylon washer fits between the fender washer and the fairing to prevent vibration damage.
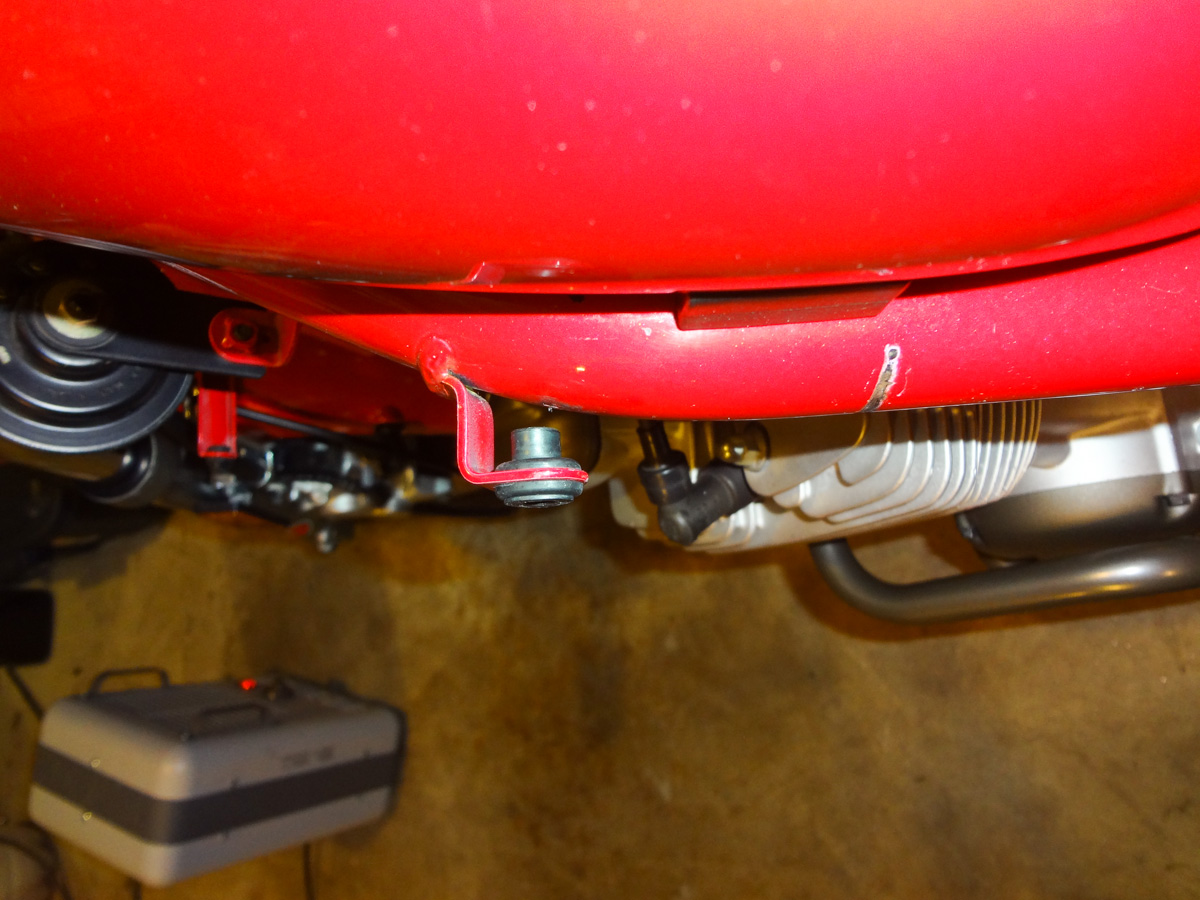
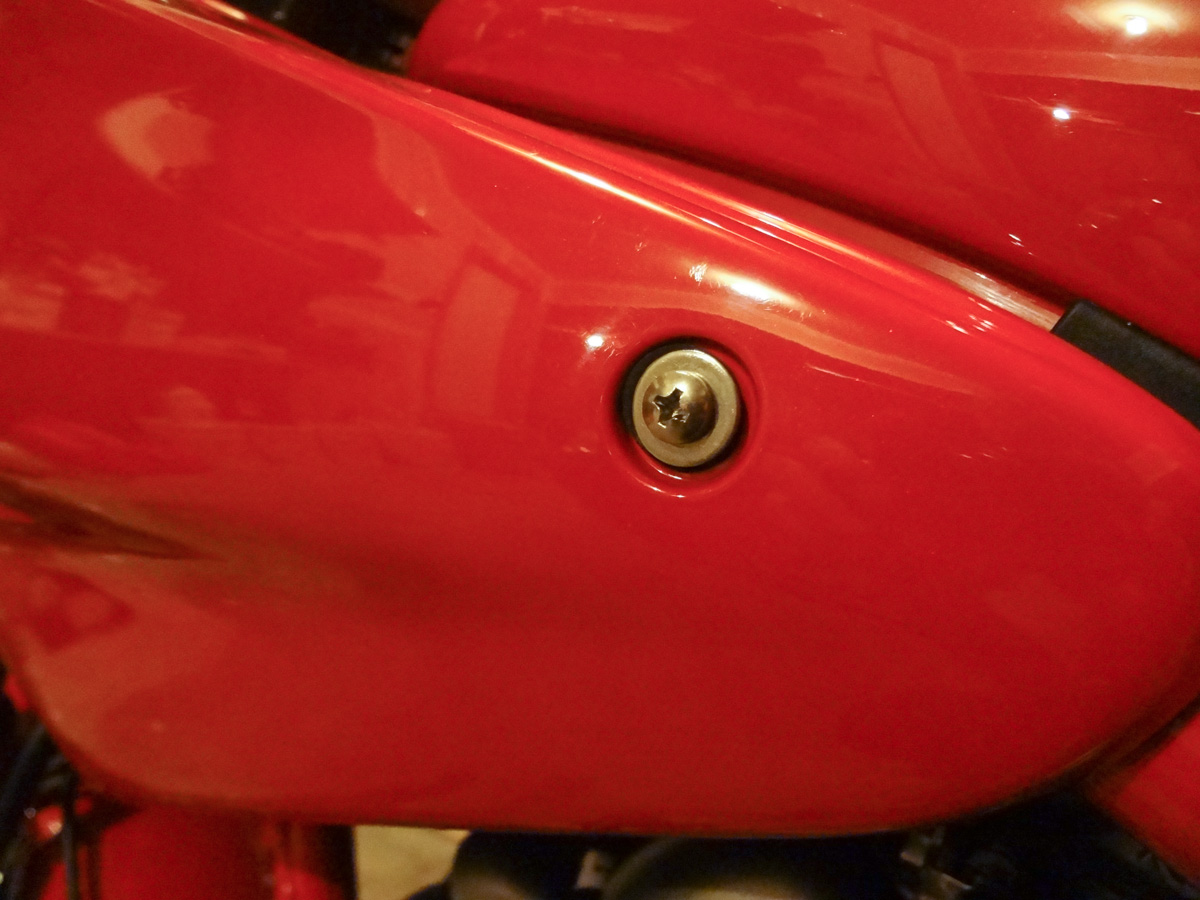
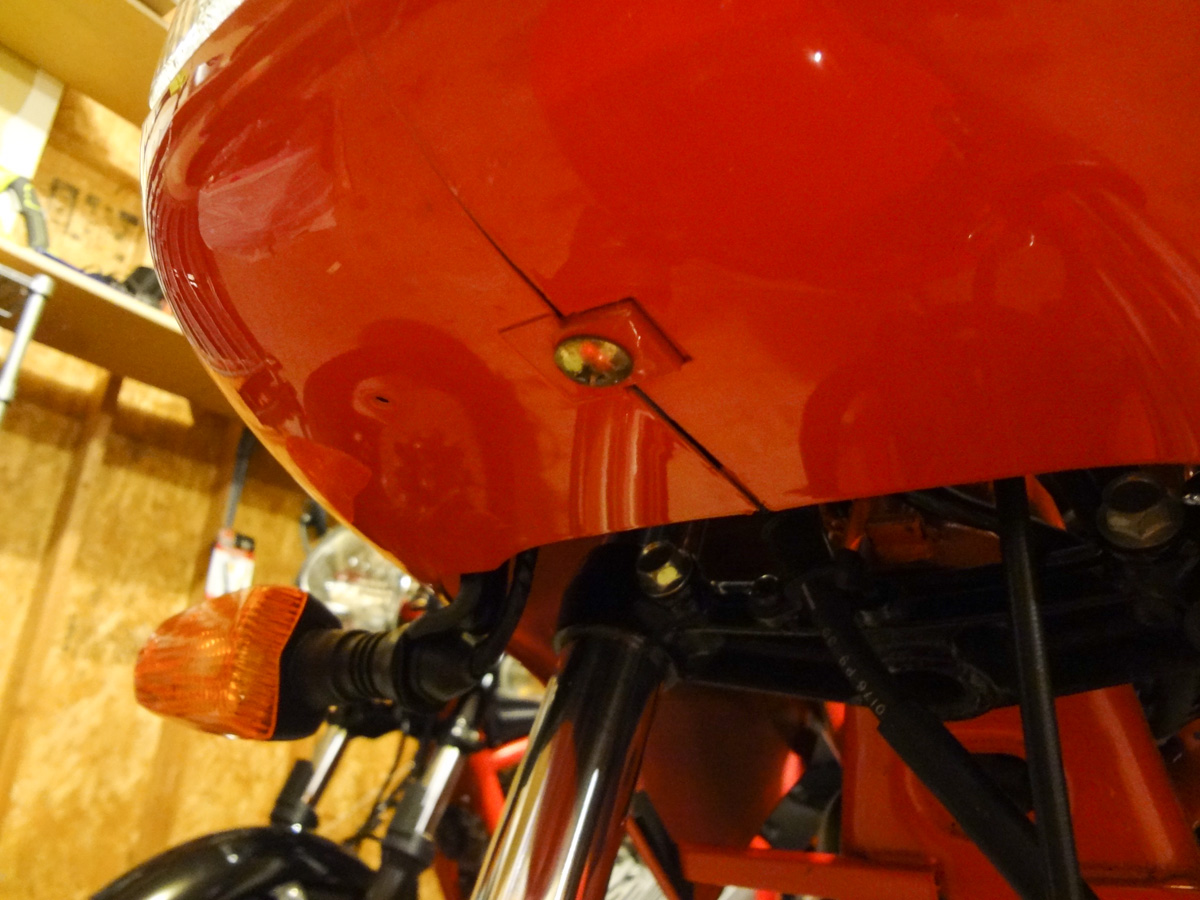
Install the screw in the bottom of the fairing once the fairing is appropriately fit. This will prevent breaking the flimsy tab on the bottom of the fairing:
Windscreen Mounts/Headlamp Bracket Front Mounts:
With the fairing held in place at the frame and rear headlamp brackets, its time to install the fasteners for the windshield. Assemble the hardware as shown below but do not tighten the screw against the well nut: Screw ->Stainless steel fender washer -> Well nut:
Insert the screw assembly through each of the holes in the fairing and lightly tighten. This will draw up the well nut and hold the windscreen to the fairing and the fairing to the front headlamp mount.

Once you have all six screws in the windscreen and lightly tightened, confirm that the fairing is appropriately aligned and then tighten all of the mounting screws. Tighten them tightly but not overly tight as overtightening can destroy the well nuts or deform the fairing (tight is tight-enough).