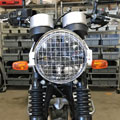
If you have tank dents which are pushed-in style dents without a sharp point or crease, you can often remove them using a slide-hammer and hot glue.
The basic idea is to build a wooden slide hammer, glue the end to the tank using hot-glue, and pull the dent quickly.
Step 1: Construct the slide hammer:
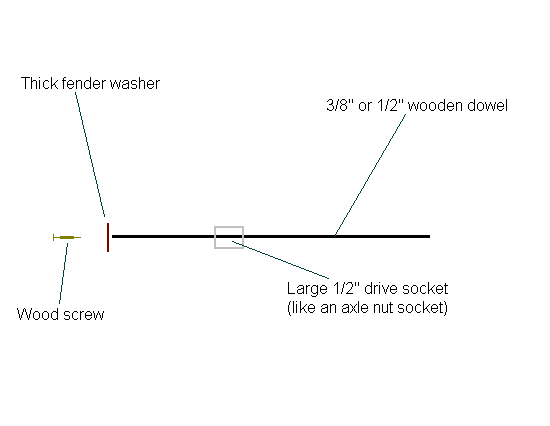
You will need the following:
- A 3/8" or 1/2" dowel
- A large 1/2" drive socket (an axle socket or similar, or the socket you use to remove the stem and axle nuts)
- A thick fender washer
- A long wood or sheetrock screw
Step 2: Glue the free end of your homemade slider to the tank using hot-glue. Place the end of the slide hammer as close to the center of the dent as you can.
Step 3: Allow the glue to cool 15 seconds or so, grasp the socket and smack it against the fender washer. This will pull on the dent.
Some tips & tricks:
- The amount of time the glue is allowed to cool will dramatically affect your success. If it doesn't cool enough, it will not pull on the dent and will string or stretch off. If allowed to cool too long, it will become brittle and will pull off of the tank cleanly. I have found that about 15 seconds or so is perfect using my high-temp glue gun.
- You may have to double up on the fender washer if you find the original bending
- It will take many tries to pull the dent; don't give up early. Each time, scrub off the hot glue and retry.
- Mineral spirits, paint thinner or gasoline will remove any remaining hot-glue residue without damaging your paint. Just be careful not to set yourself on fire.