
Hey here's how to get to those cruddy face plates in you gauges:
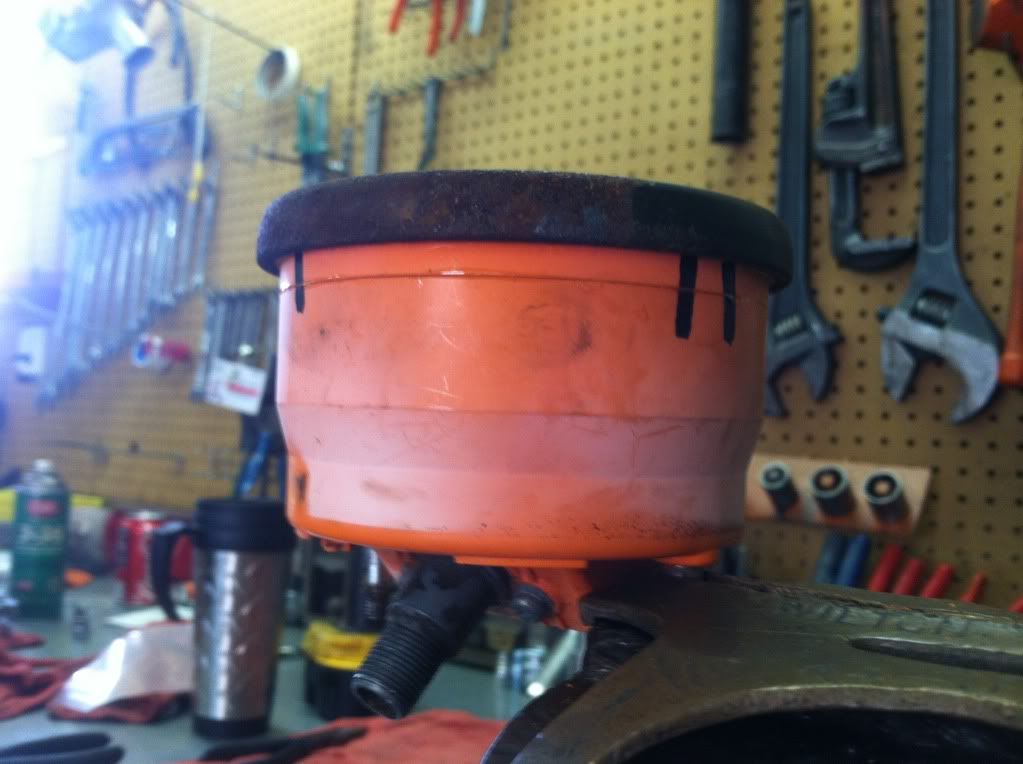
First you need a drill press that can be locked in place, then you need a grinding wheel and arbor from a Dremel chucked into the drill press, and last you need a flat plate to set the gauge on:
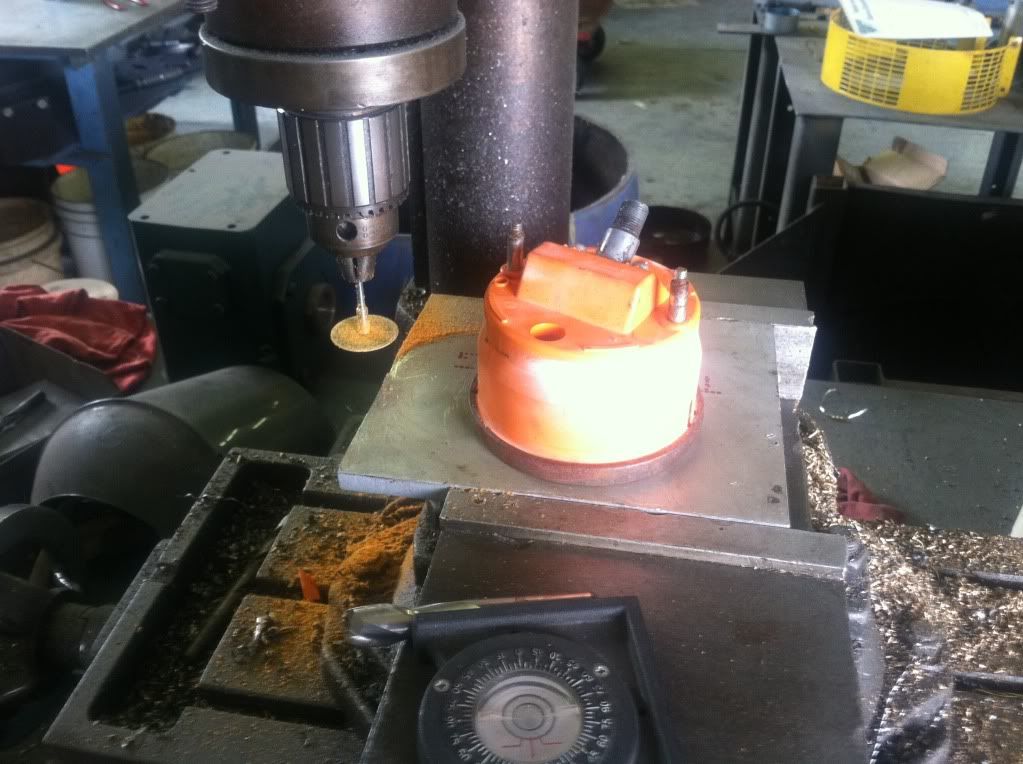
You're going to set the cutting wheel about 1/8" above the metal ring. After you have done that push the gauge into the wheel (don't push too hard as this will cause the grinding wheel to wander up or down). Go one light pass around the gauge to set the groove in the body, then grind away until the lens and body are separated (take your time for a smooth cut).
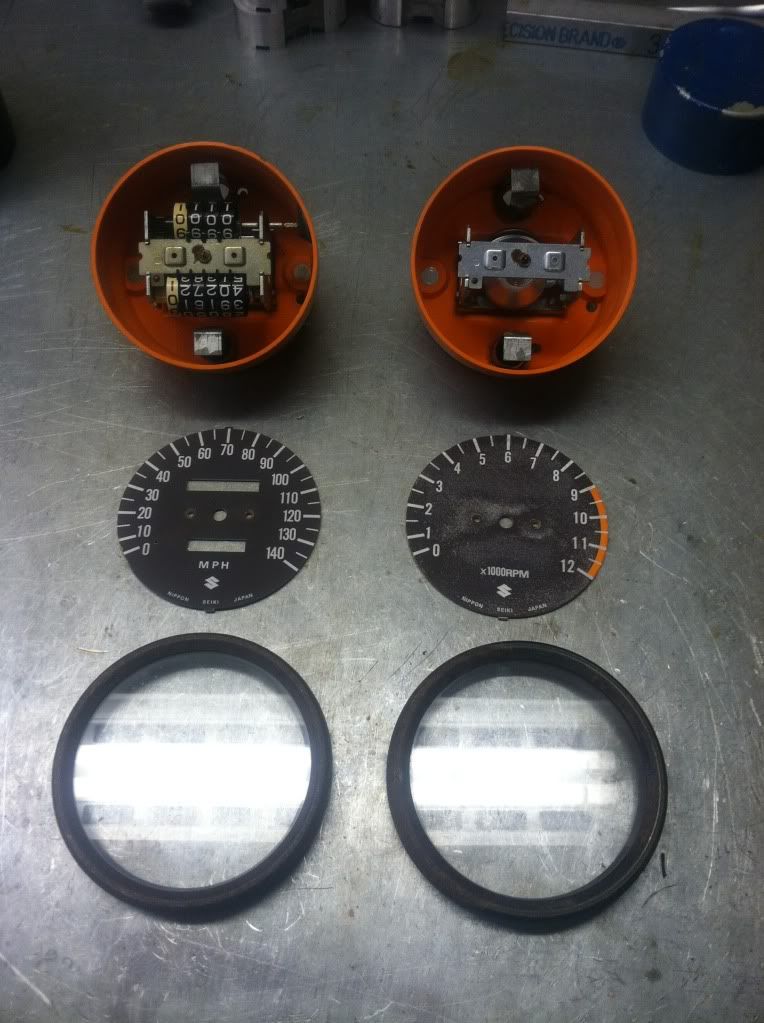
Remove the two screws and rest stop for the needle, and remove the needle with a small salad fork. Here it is all disassembled:
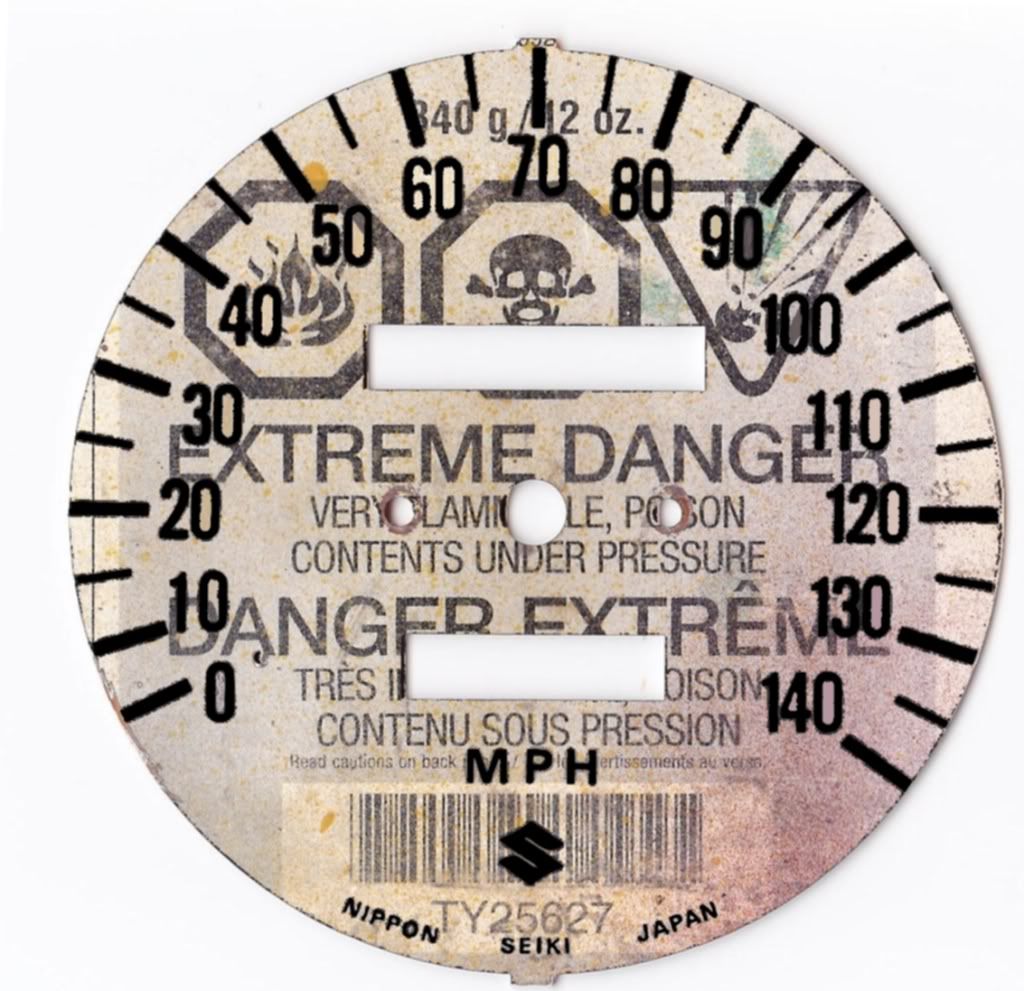
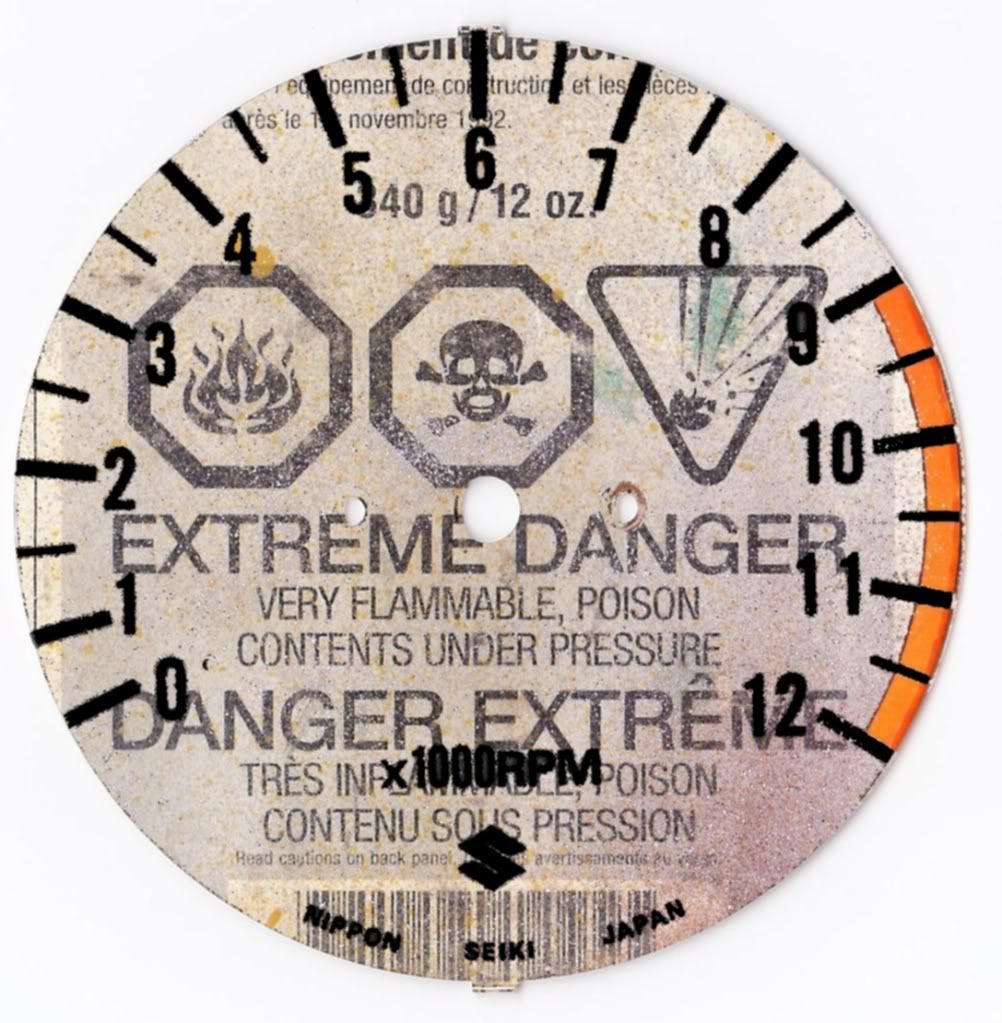
Once you have the face plate removed, scan your original gauge face into your computer in JPEG format:
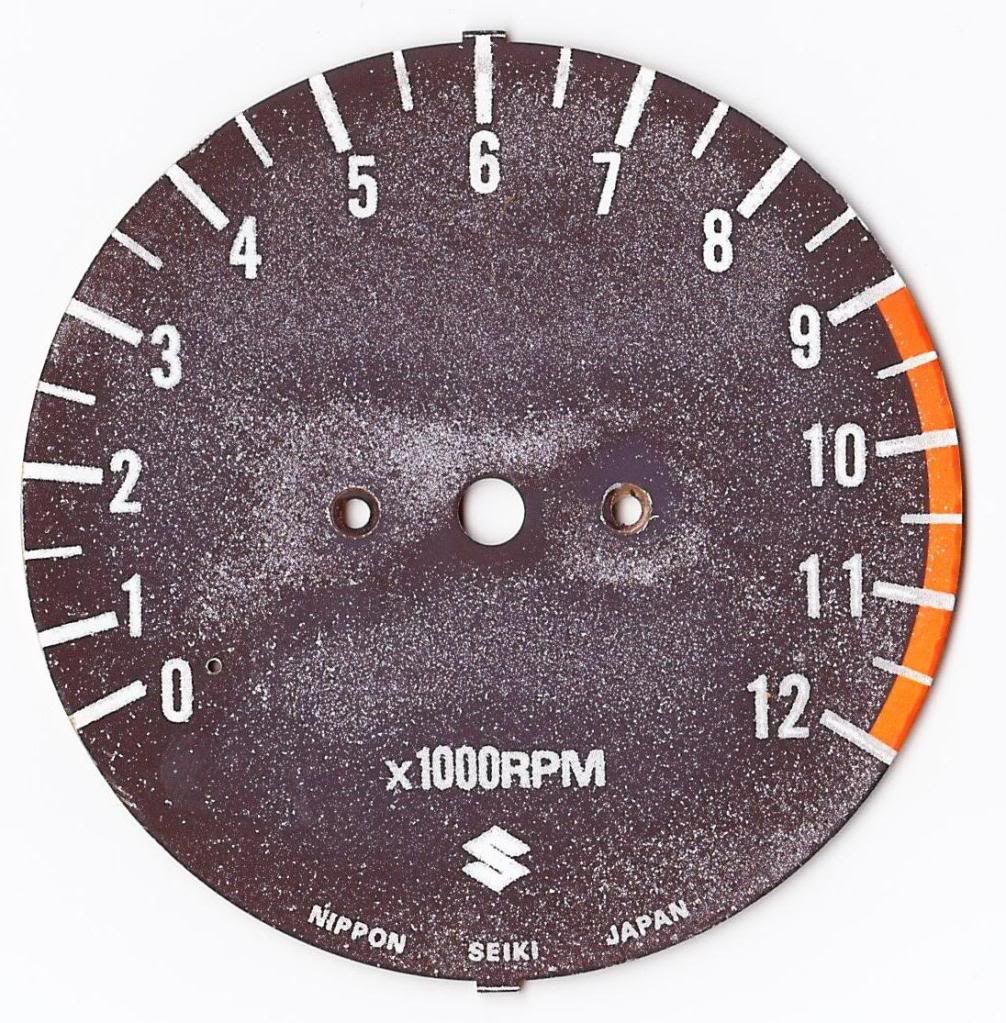
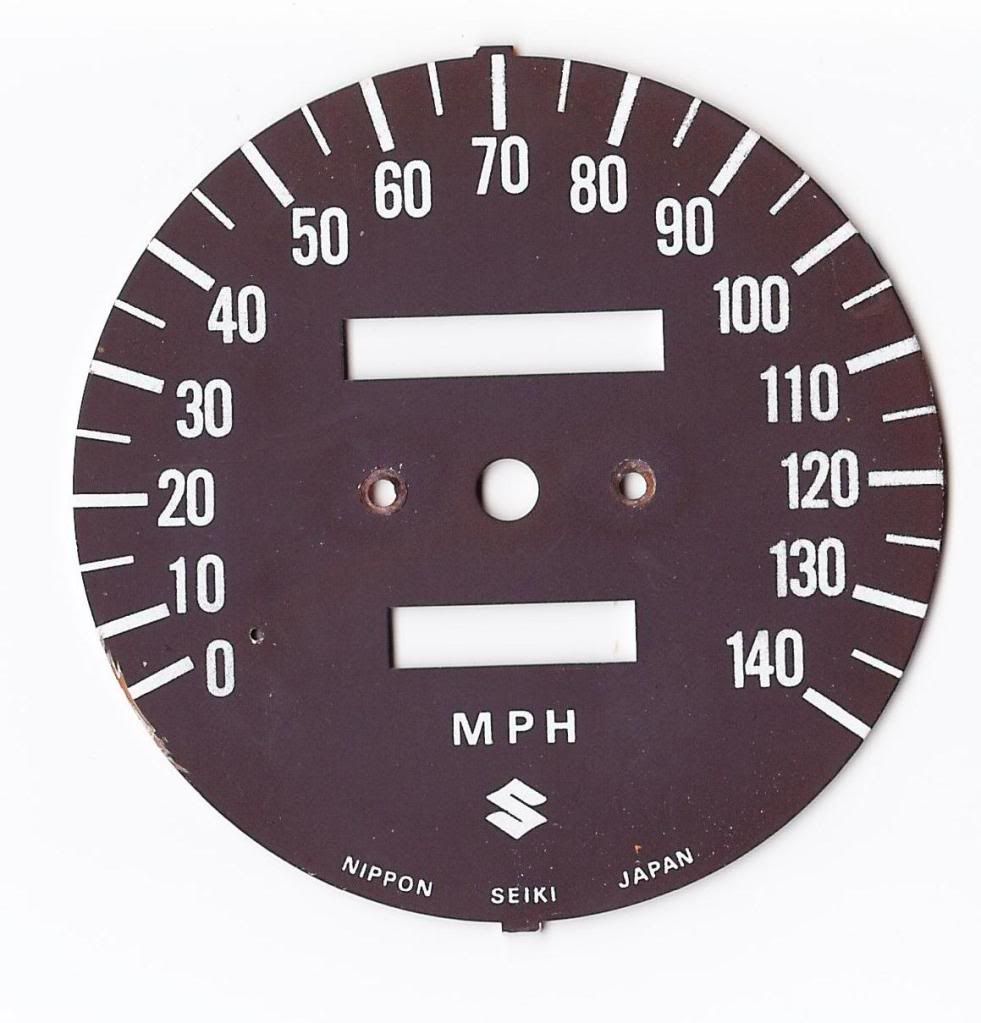
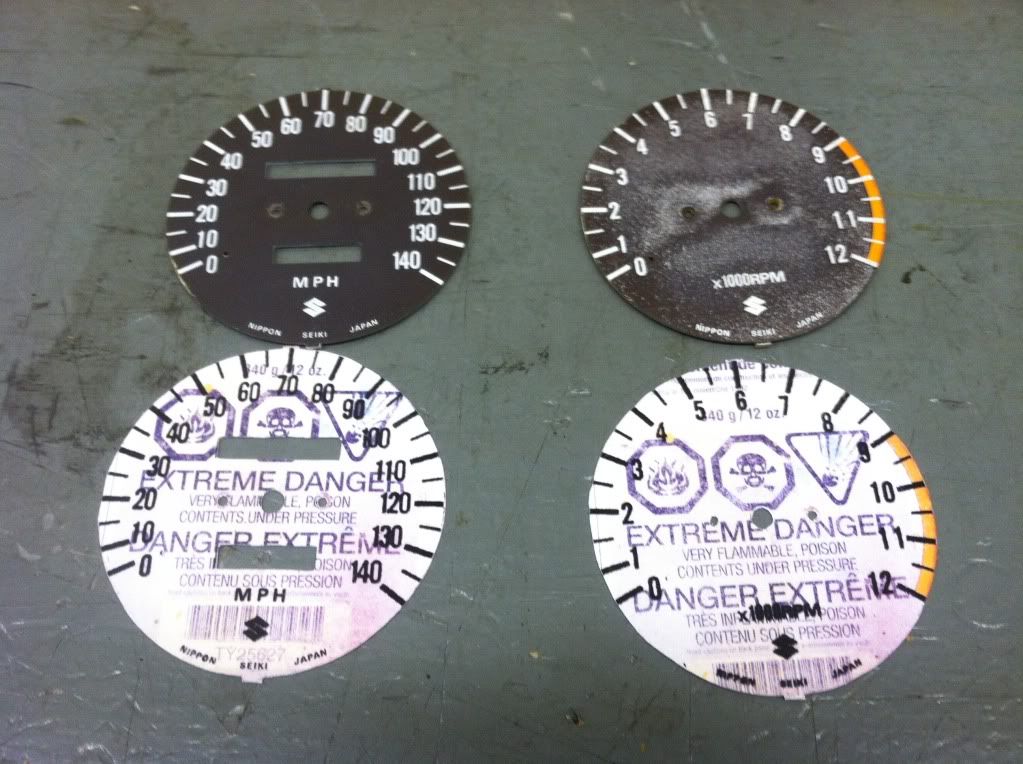
Edit your face using software such as Photoshop. Here are my faces:
Print out the new faces on semi-gloss photo paper and cut them out with an X-acto knife and glue with 3M spray adhesive. Then cut out holes for the bolts, needle, odometer, and trip meter:
Reinstall the plate screws using a dab of blue Loctite and press the needle back on in the zero position.

After that's done, you'll need to mix some 5-min epoxy and spread it on the lip of the body to mate the body and lens.
Wrap the two halves together with electrical tape until the epoxy cures. When cured, remove the electrical tape.
