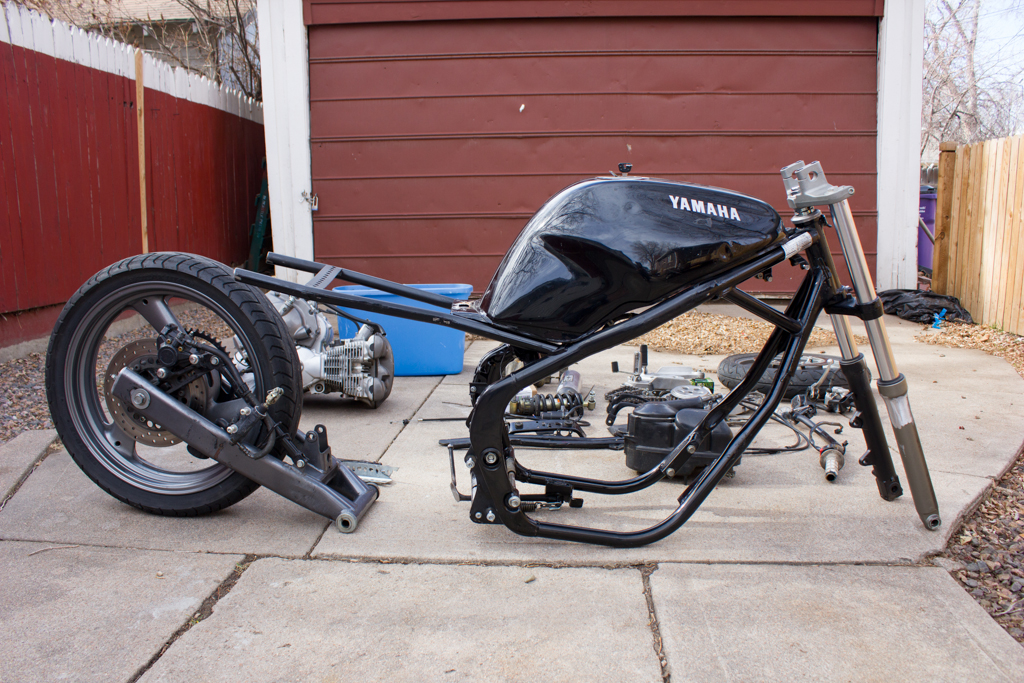
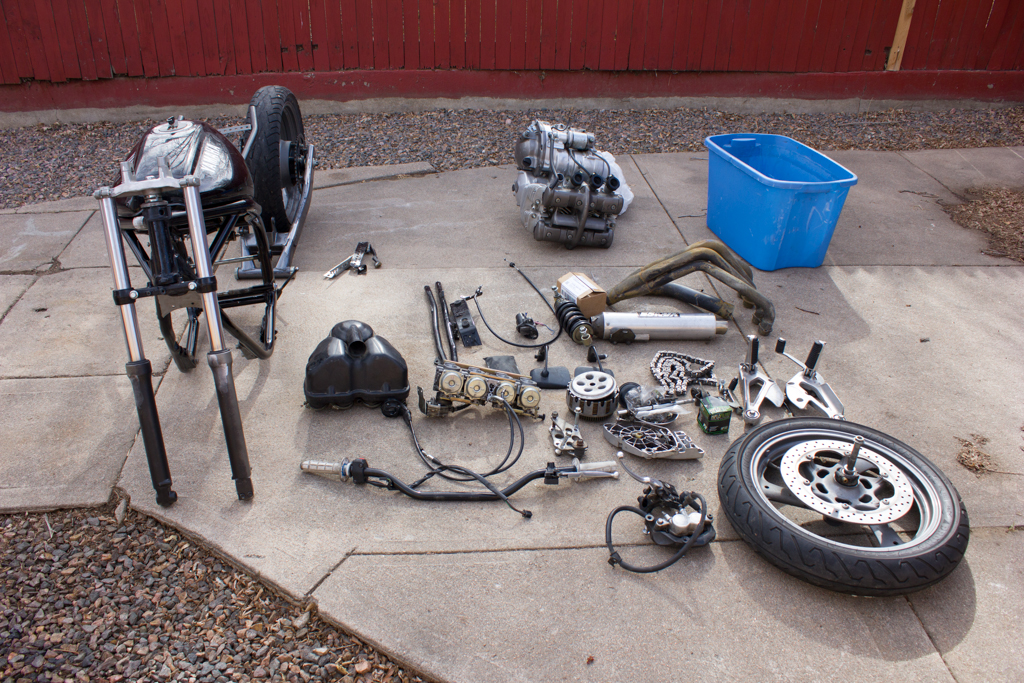
This project is based on a 1992 XJ600 (Seca II) which has been converted to a “street fighter” by a previous owner and has had grinder work and weld work done. My intent is to strip it down to the frame, modify the frame as needed and build it back up.
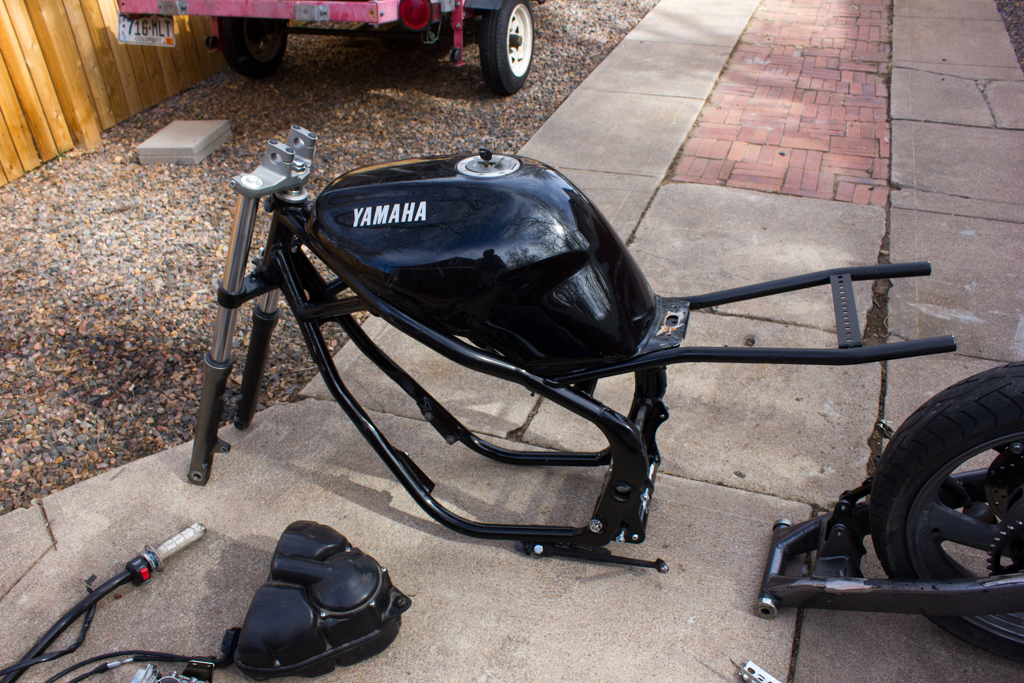
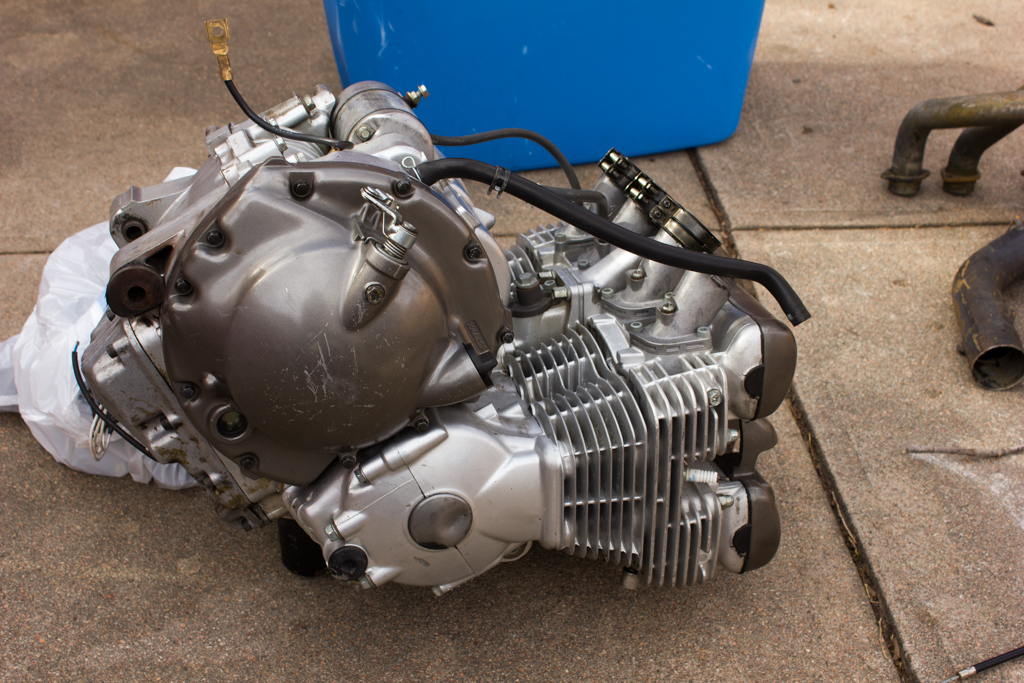
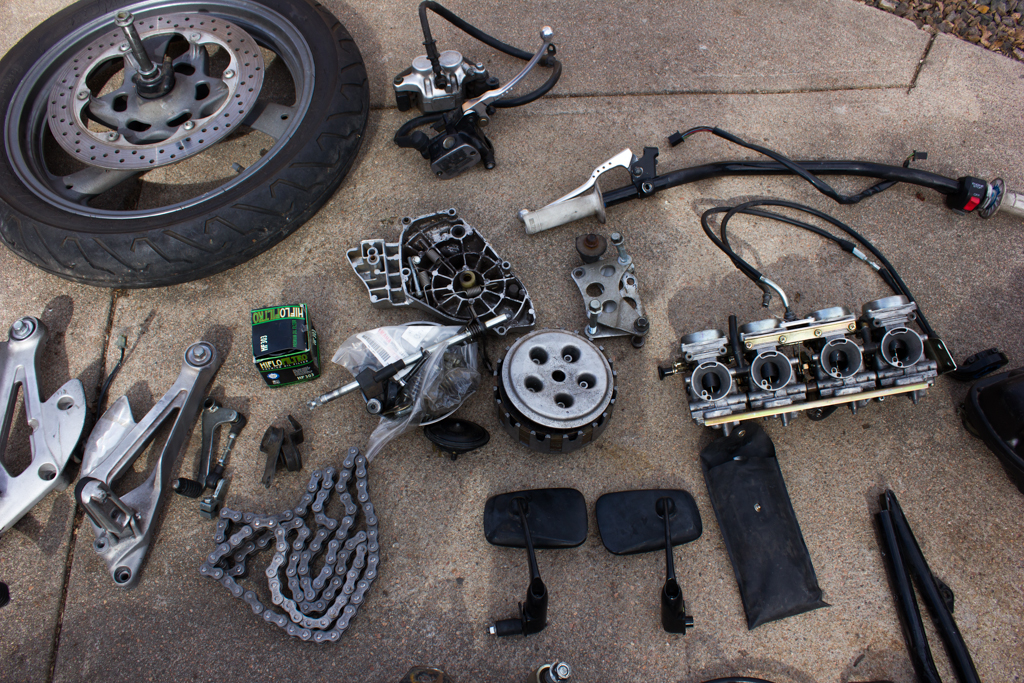
As purchased, the bike has had all body tabs removed (ground off), all swing-arm mounting tabs removed and has had the subframe cut up. The center-stand reinforcement is badly cut and the tail is currently only held together with strapping and metal screws. The grind areas on the swingarm are paper thin. It is missing the stock seat, tail, under tail, tail light, fairing, fairing stay, headlight and signals. The brake and clutch levers have been drilled but are likely useable. The engine has had the shift linkage and clutch removed, the sump gasket appears to be leaking and the right-hand crank seal is dented inward. The tires are hard and well worn with evidence of having been used to perform burnouts.
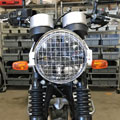
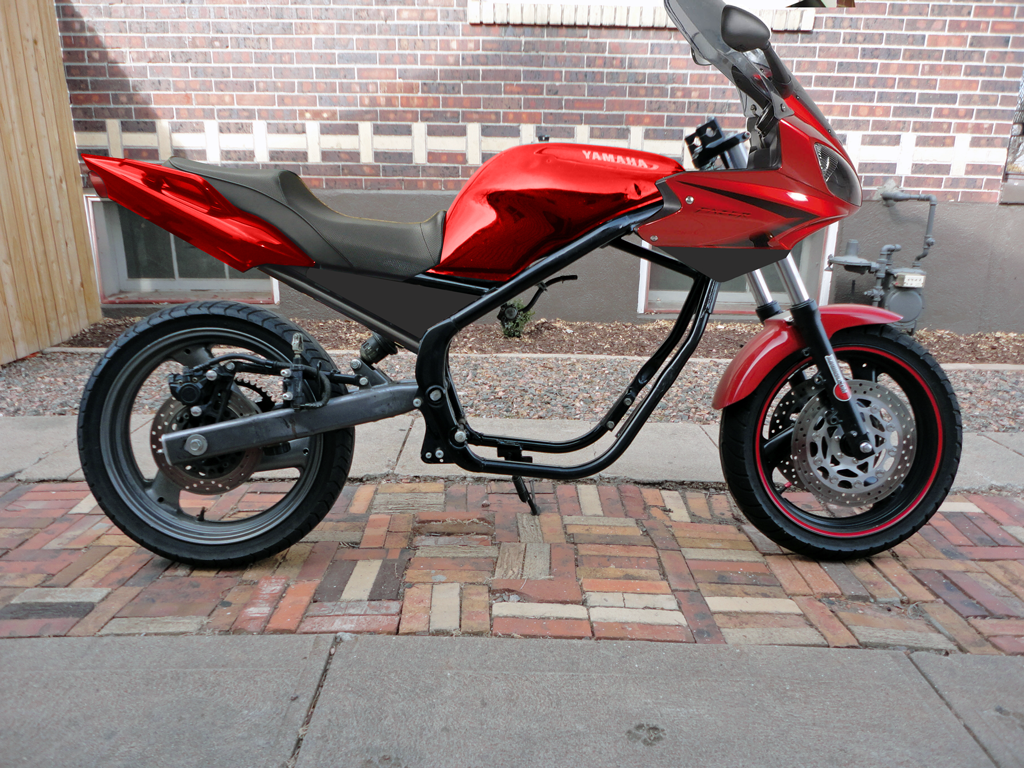
Given the current state of the frame and the fact that most of the body plastics are missing, the logical approach is to adapt other fairings to fit, which suit my needs. I intend to use this bike for touring and two-up riding and as such, I’d like to have a good fairing and windscreen to protect me from the wind and elements. I’d also like to keep the bike fitted with Yamaha parts. This lends to using an FZ fairing (FZ1 or FZ6), fairing components and headlamp setup.
Following the preceding “Yamaha parts only” concept, I plan to adapt an FZ1 seat and tail assembly to the bike in similar fashion to the fairing. I’ll use the stock FZ1 undertail, build necessary supports and modify the front of the seat to fit the contour of the XJ tank.
To get the fairing and tank to flow well, I may (and this is only an idea at the moment) modify the tank by adding plastic or sheetmetal extensions to mimic the stock lines on the FZ6 fairing. This is something that I have not done before and may provide a good learning experience.
As part of the rebuild, I hope to add a few touring-type accessories and modifications. Specifically, these will likely include: heated grips, side-bag mounts for GIVI hard bags, top-case mount for GIVI top case, FZ6 rear wheel hugger, center stand, engine guards and an HID projector retrofit
At present, I am considering using/adapting the following parts to the XJ600:
- • 2007 FZ6 front fairing, fairing stay and headlight
• 2001-2005 FZ1 tail, tail light, grab handles and seat
• 1991-1996 FZR600 front suspension
• 1986 FZX700 triple (yoke) with custom-length risers
• 1999-2007 YZF600R bluedot calipers
• 1990’s Yamaha Venture center stand
• GSXR or SV1000 steering damper
• Bandit 400 rear wheel
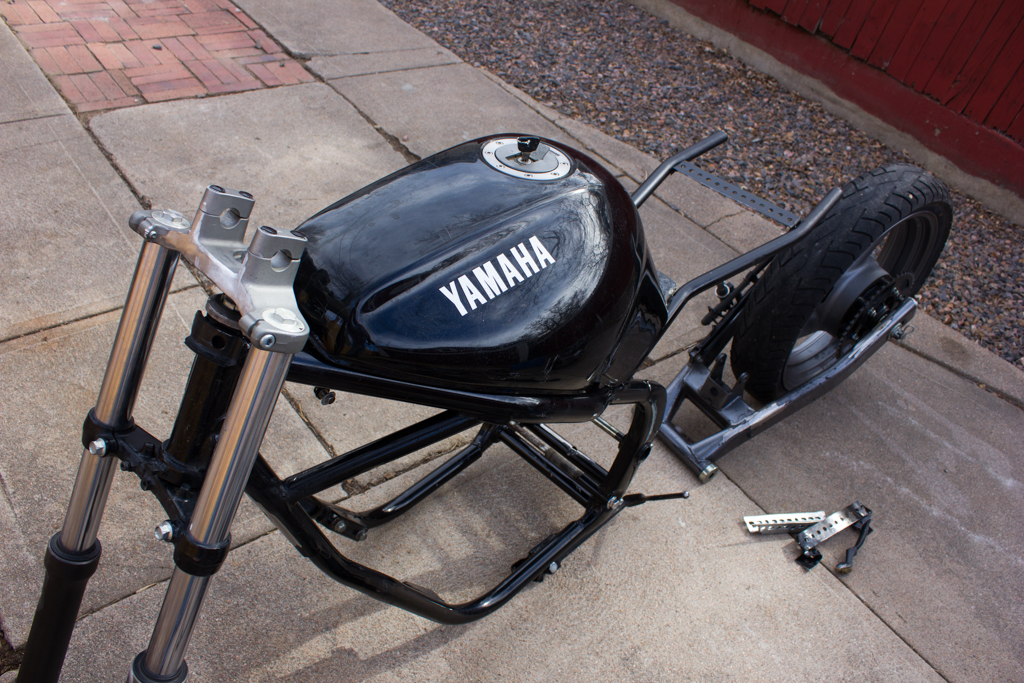
The first step is to fit the tank and trial fit the fairing and tail. It is important for the bike to be sitting on its wheels for this process so that I know exactly where things will be and so that I can sit on the bike and test clearances. Once I have fitted these parts and know the proper alignment of the front fairing and tail (in relation to the rest of the bike), I can design and fabricate the subframe and mounts needed to fit them to the XJ frame.
The final step is to recondition all parts, paint the engine, frame and body panels, and assemble the bike.
During the modification & fitment phase, I plan to add mounts to the frame for the following:
- • Tabs on the headset for securing the FZ fairing stay in place.
• Tabs on the sides of the frames, to support the ends of the FZ fairing.
• Subframe mounts to the rear of the frame for attaching the custom subframe.
• Accessory mounts on the subframe to hold GIVI side bags.
• Accessory mounts on the lower frame to support homemade engine brackets.
• Tabs on the top side of the swingarm to support an FZ6 rear wheel hugger
• Tab on the left side of the frame to support the horn.
• Mount on the fairing stay to attach a GSXR steering damper.

When the modifications to the frame are complete, I plan to paint it and begin assembly. Components will be reconditioned and attached to the fresh frame in a sequential manner similar to the restoration work on the ’97.
Currently, I’m considering a monochromatic paint scheme with metallic accents. Specifically for this scheme, the frame, the subframe, the swingarm and front suspension components will be painted matte black (something like Duplicolor’s epoxy suspension paint for the frame and LGB engine enamel for the components). All body work will be painted gloss white with 2k clear-coat over top. The engine, engine covers, and ancillaries will be painted using graphite engine enamel. The rearsets will be painted graphite to match the engine. The wheels will be painted matte black and blue rim tape will be used to tie-in the Yamaha bluedot calipers. All additional hardware will be painted matte black as appropriate.
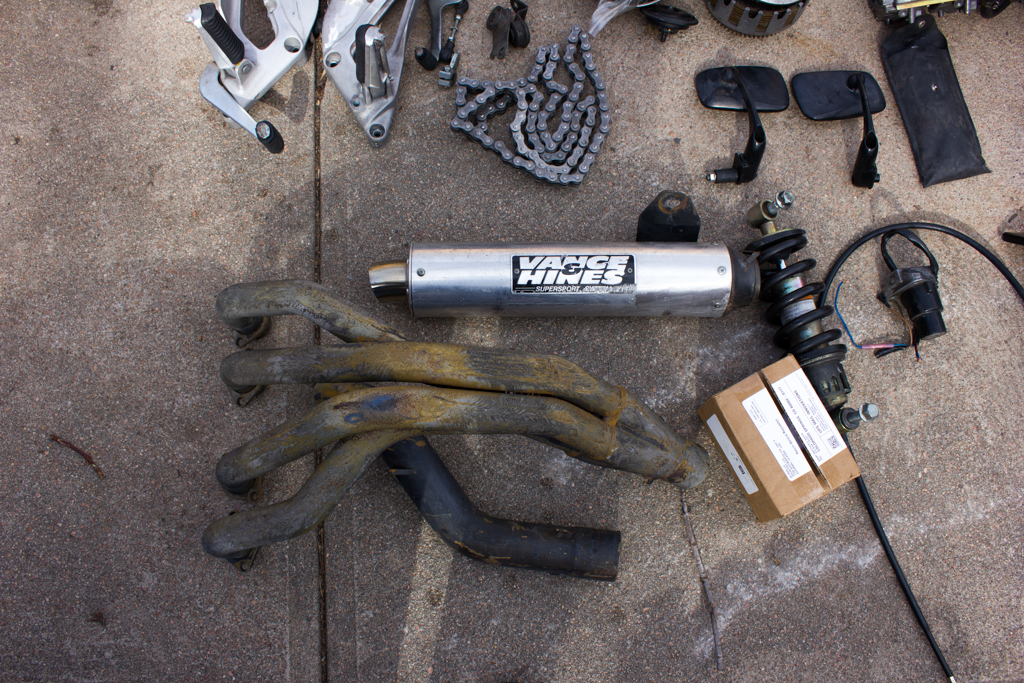
As I assemble the bike, I plan on doing several modifications over a stock Seca II. Most of these modifications will be done to make the bike a better touring bike. At present, these may include:
- • Vance & Hines exhaust
• Later style rearsets (97+)
• Side-racks to support GIVI hard-bags
• Top-rack to support GIVI top-case
• Oxford heated grips
• Bikemaster Superbike handlebars
• “The Retrofit Source” HID projector retrofit (dual)
• GSXR (SV1000) steering damper
This bike will be used for touring on multi-day trips with many hundreds of miles covered. As such, it should be absolutely reliable. Maintenance should be done while building the bike, including the following:
- • Replace the shift linkage and install a new clutch, clutch springs, gasket & cable.
• Remove the head and lap the valves. Adjust valve clearances on assembly.
• Replace the sump gasket and oil-level sensor
• Overhaul the carburetors and fit #20 pilot jets.
• Tune the carburetors using the A/F gauge. Sync them and then adjust the pilots.
• Install new intake manifold rubber gaskets
• Change the oil
• Install new tire on the rear, Shinko Podium 006, to match front
• Flush the rear brake fluid and install new rear brake pads