
We spend a lot of time on this site, talking about mechanics. I want to switch gears a bit and expand the discussion on cosmetics by talking about restoring and maintaining your Seca II's paintwork.
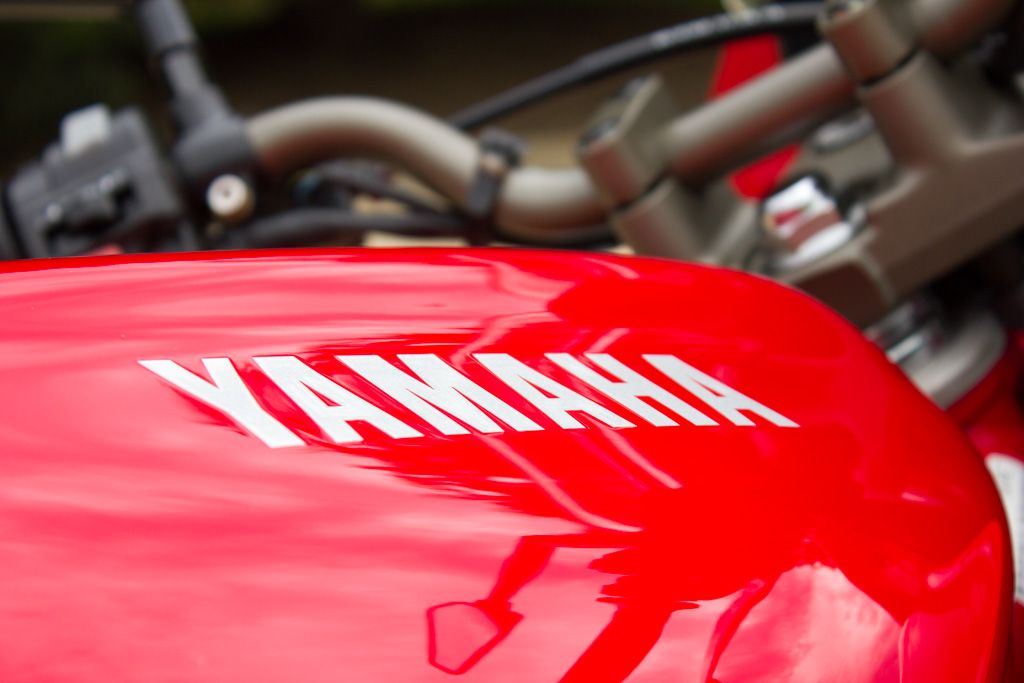
The paint Yamaha put on the bike is comprised of a base-coat, a color coat and a pearlescent coat. The stock finish did not include a clear coat. Yamaha's paint is much better than anything you can do yourself. It's resistant to fuel, durable and high-quality. Yamaha applied it in a paint booth in a factory with controlled conditions.
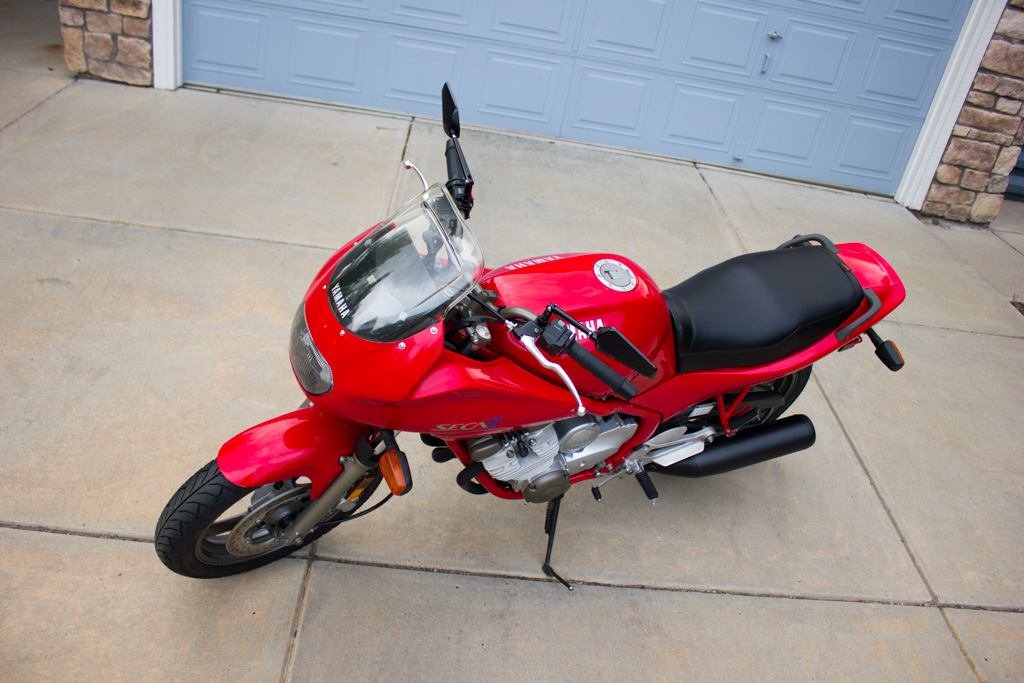
If you are fortunate enough to have a Seca II that has its stock paintwork and whose paintwork is in good condition, do your best to keep that paintwork in good shape. Painted fairings are no-longer-available and rare on the used market. You owe it to your nearly vintage bike to keep in in good shape.
If your paintwork is in good shape but has lost some of its shine due to scratches, scuffs, bugs, and 23 years of living life in the open, you can bring it back in a few hours with some elbow grease.
Here's how I restore and maintain paintwork.
What you'll need:
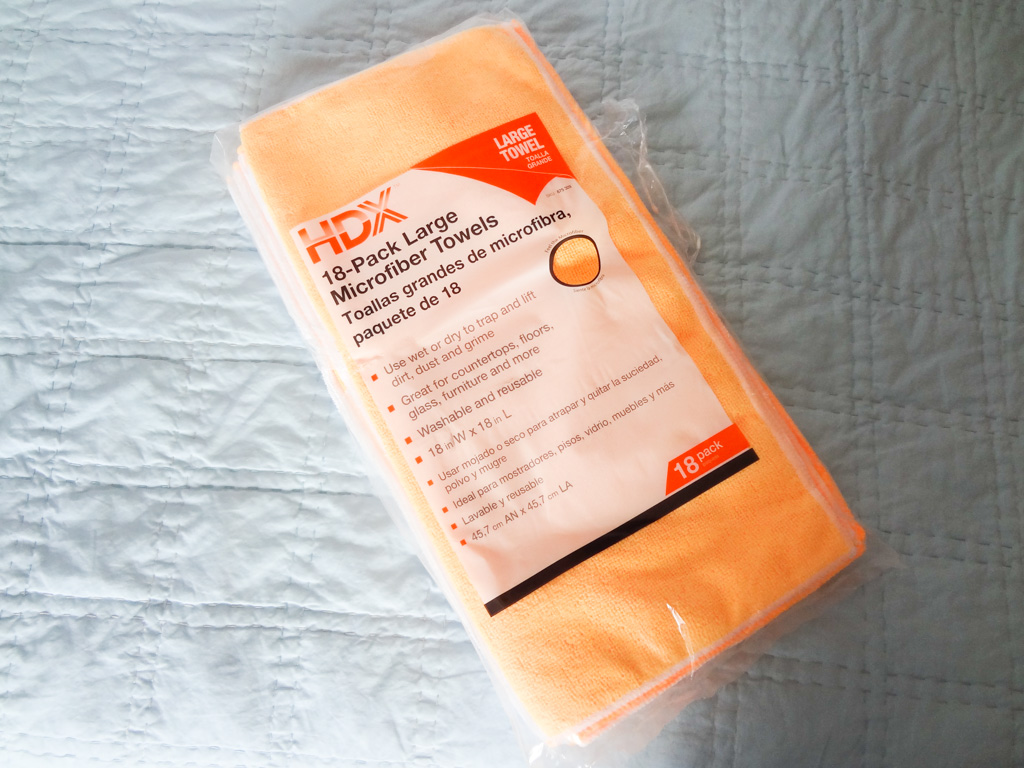
- A bag of microfiber cloths. I buy them at Home Depot; they sell a pack of 18 for $9.
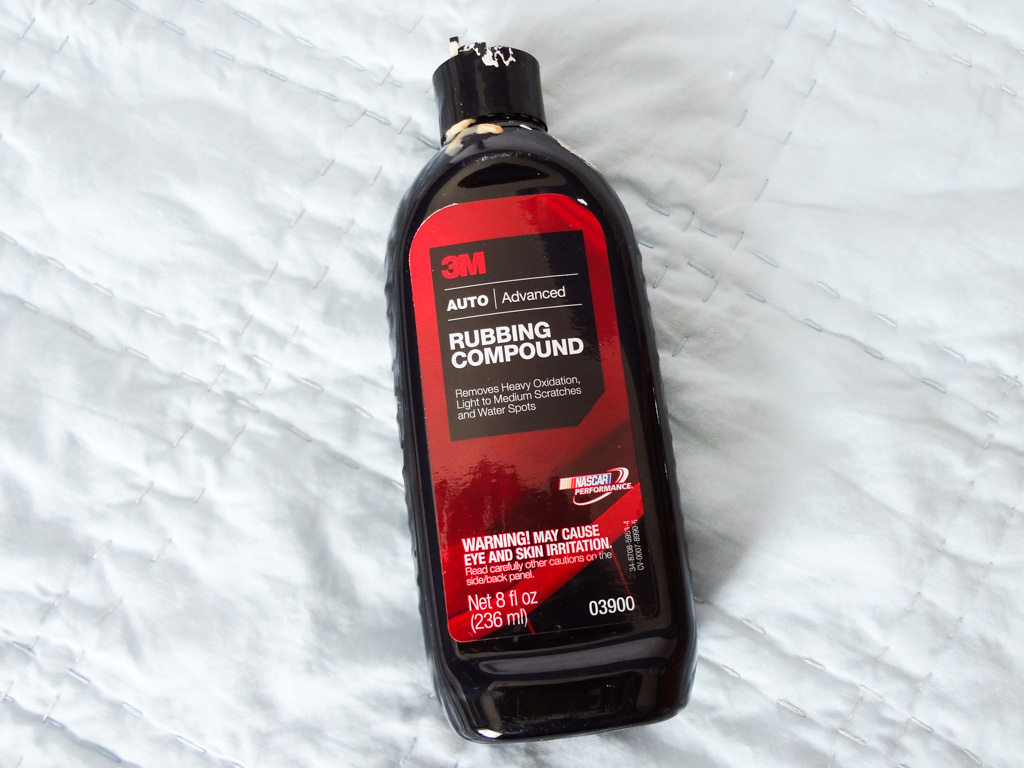
- A bottle of rubbing compound. I use 3M's Rubbing Compound.
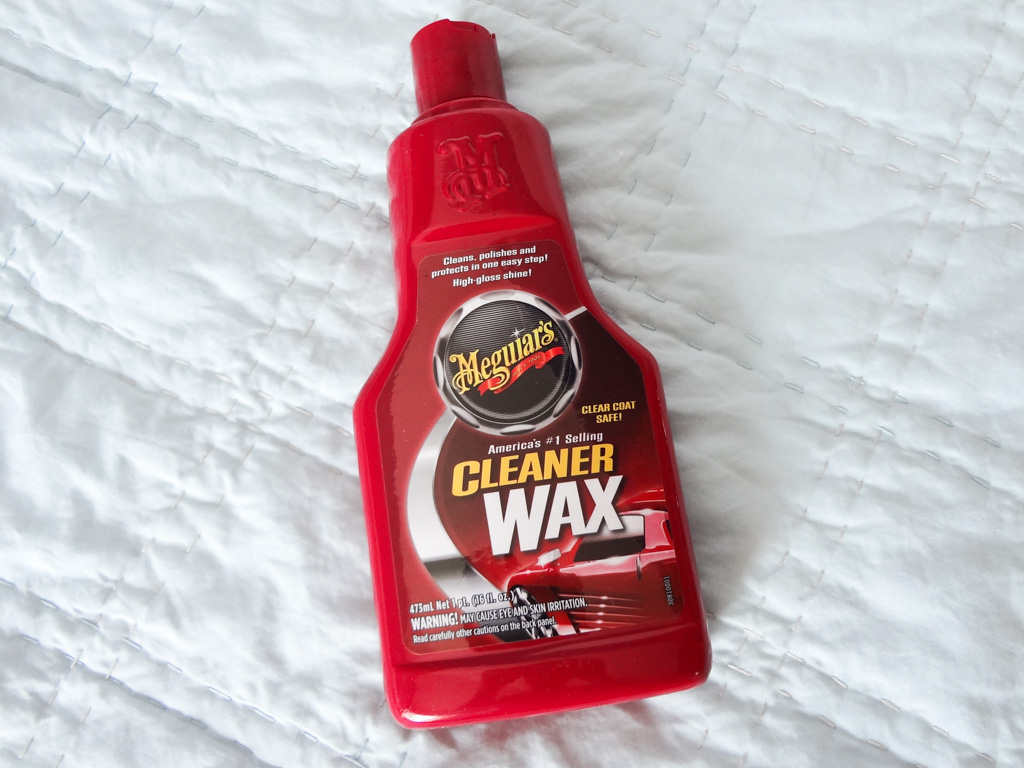
- A bottle of cleaning wax. I prefer Meguiller's Cleaner Wax.
- A bottle of detailer. I prefer Meguiller's Quick Detailler
- A bottle of Torch-red or Victory-red touch up paint. This is a close color match and works for touch-up.
Begin by washing the bike. Use a mild dishwashing detergent on the paintwork. Typically this would be ill-advised, however, we want to remove ALL contaminants, old wax, grease, silicone, etc, from the paintwork. Thoroughly scrub every inch of paintwork on the bike.
Dry the bike off using a microfiber cloth or chamois. Make sure you get all of the water along the panel edges, from behind the panels, etc. Any water that drips down on your paint while you are polishing it will stop the process and require you to get a new cloth.
Walk the bike and note any paint imperfections that stick out. Look for rock chips, big scratches (which go through the color coat), etc. Using an artists brush, apply touch-up paint to any imperfection. Don't go overboard, rather, apply enough to level the surface and hide the blemish. Allow the touch-up paint at least an hour to dry before proceeding.
Once the bike is clean and dry and touch-up paint has been applied, it's time to polish the paint. Mist the body panel lightly with detailer and wipe it clean with a fresh microfiber. This will remove any dust that's settled on the paint and prevent scratches during the polishing process. You want to remove scratches, not create them.

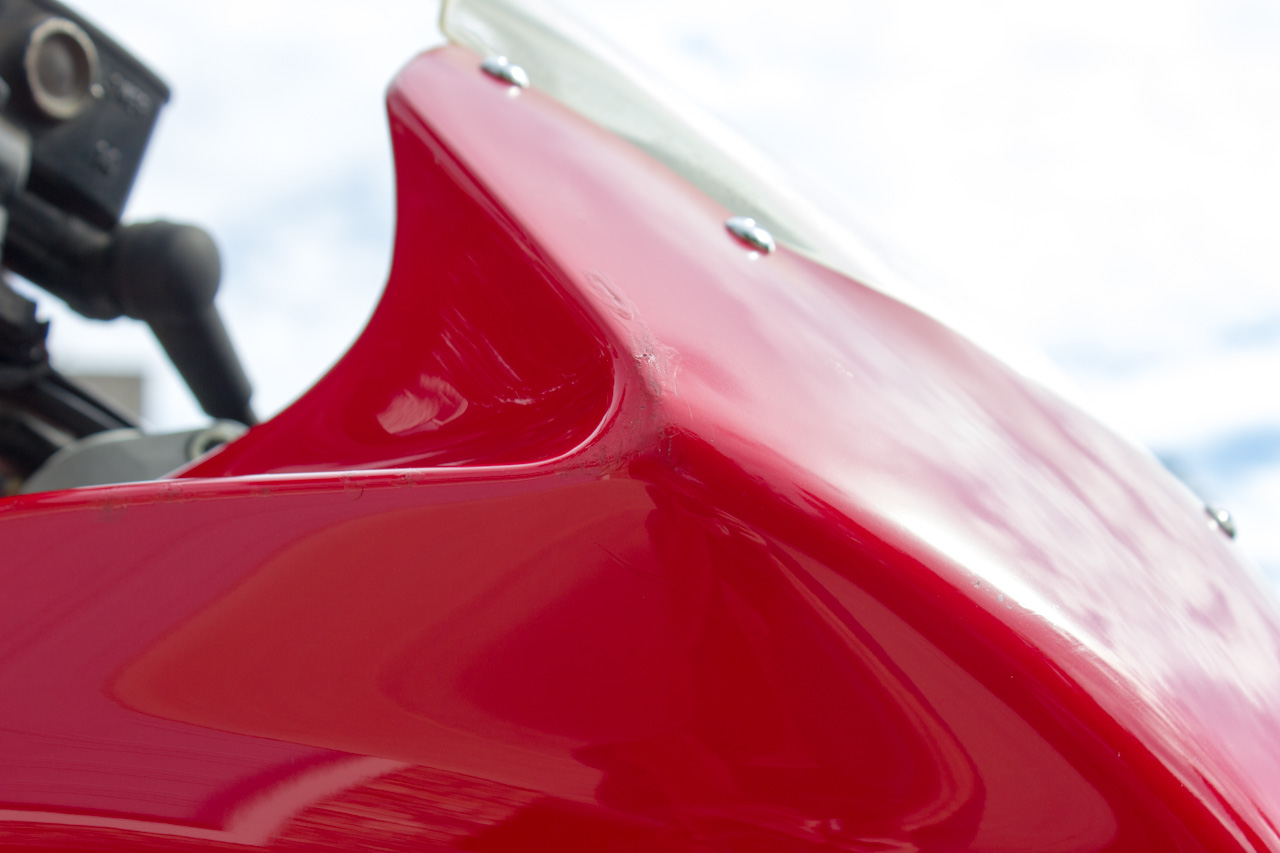
Starting with one side of the fairing, look at the paint and note any scratches, marks, blemishes or other imperfections. We'll start by polishing those. Apply a small bit of 3M rubbing compound to a microfiber cloth and polish the blemish in a back-and-forth motion until its either gone or difficult to see. Repeat this same process for all panels AND the frame paintwork. The goal is to remove the bulk of the scratches directly.
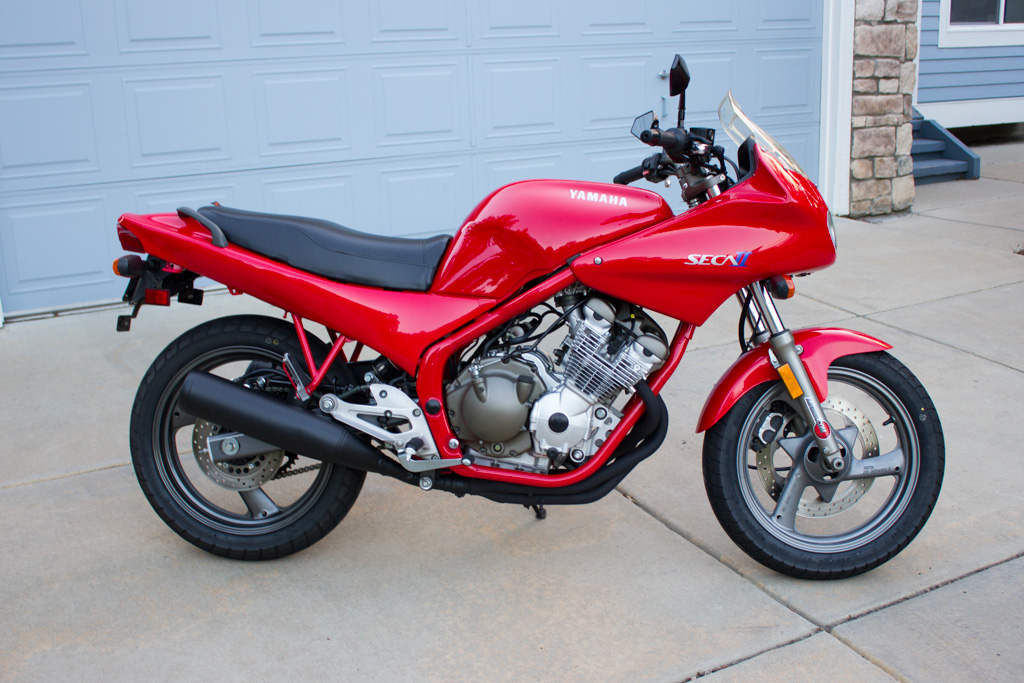
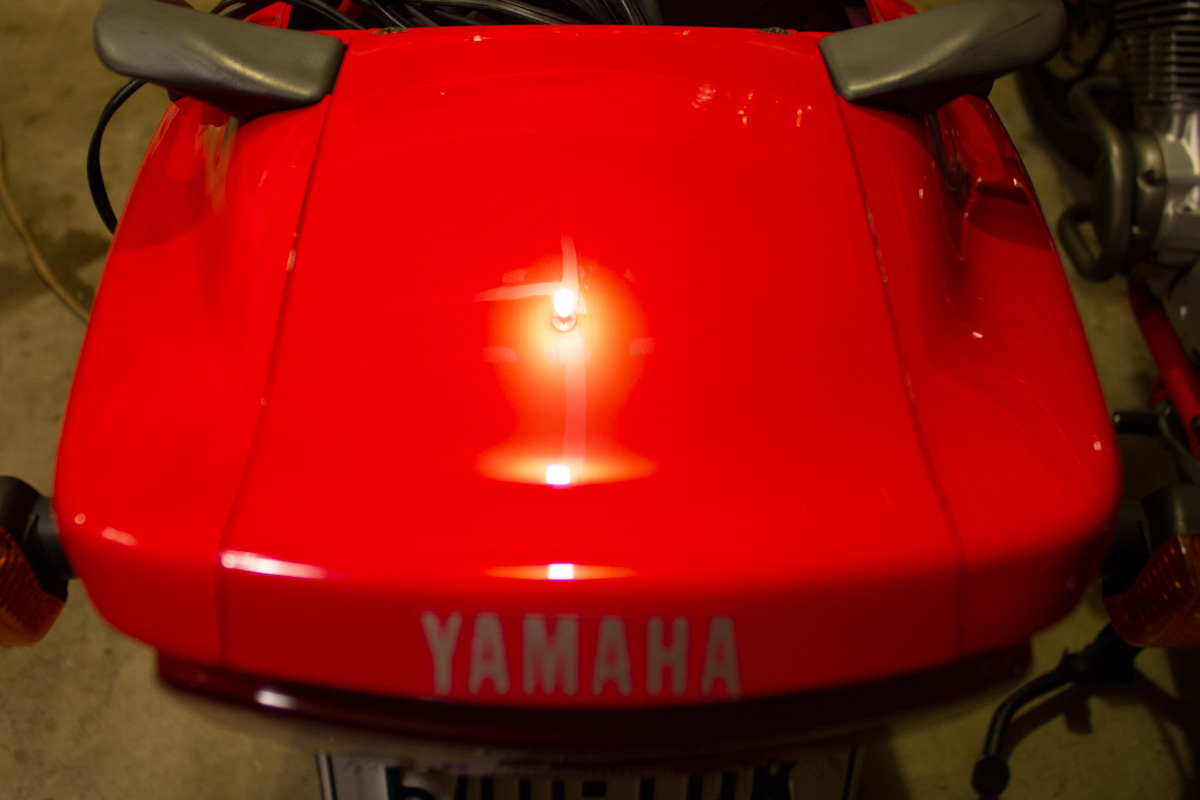
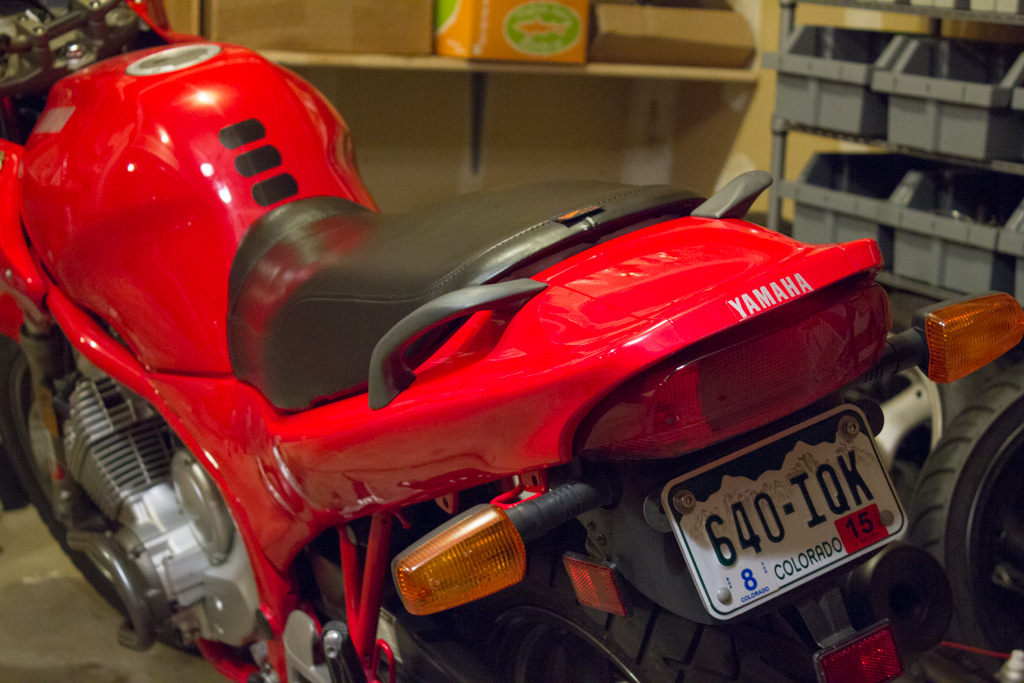
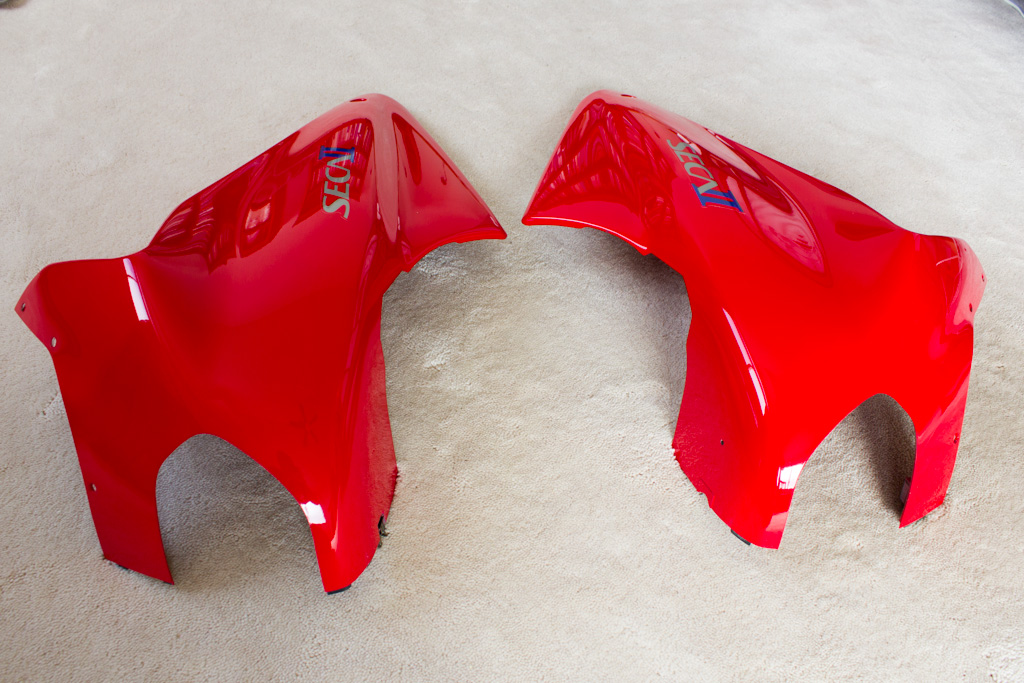
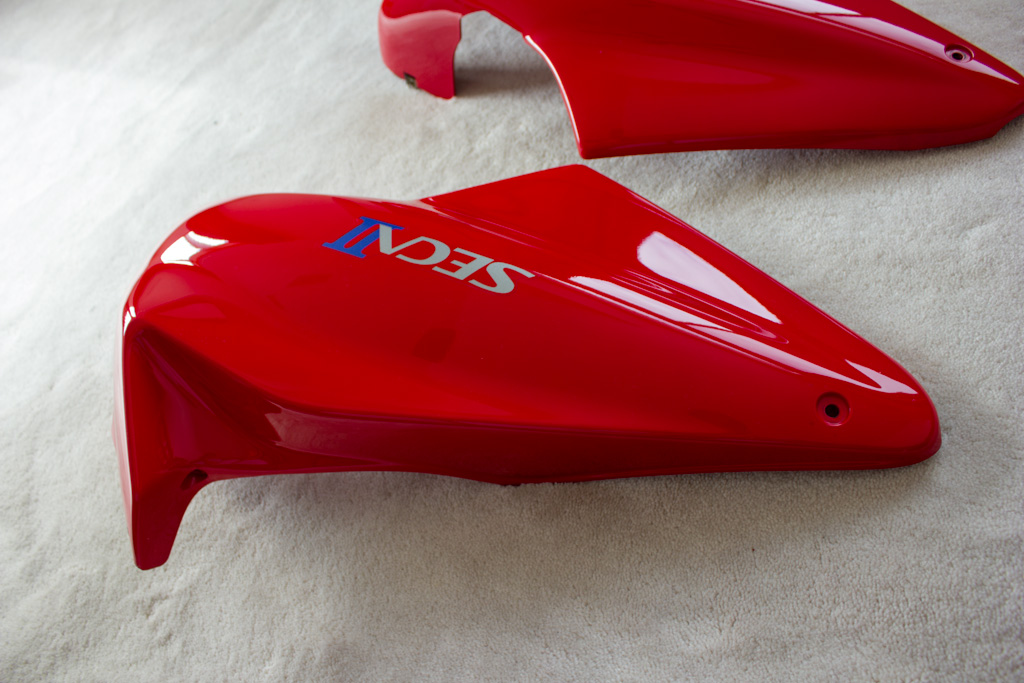
With the scratches addressed, move on to polishing the entire panel. Apply some fresh 3M rubbing compound to a new microfiber cloth and buff each panel. Apply the compound as you would wax, in a circular motion. Once the compound is on the panel, polish the paint in a back-and-forth motion until every square inch has been polished. Finish by wiping up any compound with a fresh, clean microfiber. Be careful when polishing along edges or raised surfaces as its quite easy to polish through the color-coat and into the white basecoat. For this same reason, polish ONLY by hand. Do not use an electric buffer. When done, your paint should look something like this:
After each panel has been polished and looks as good as it can, apply a daub of cleaner-wax to a fresh microfiber and wax each panel. The goal here is to remove any remaining compound and protect the panel from oxidation/UV damage.
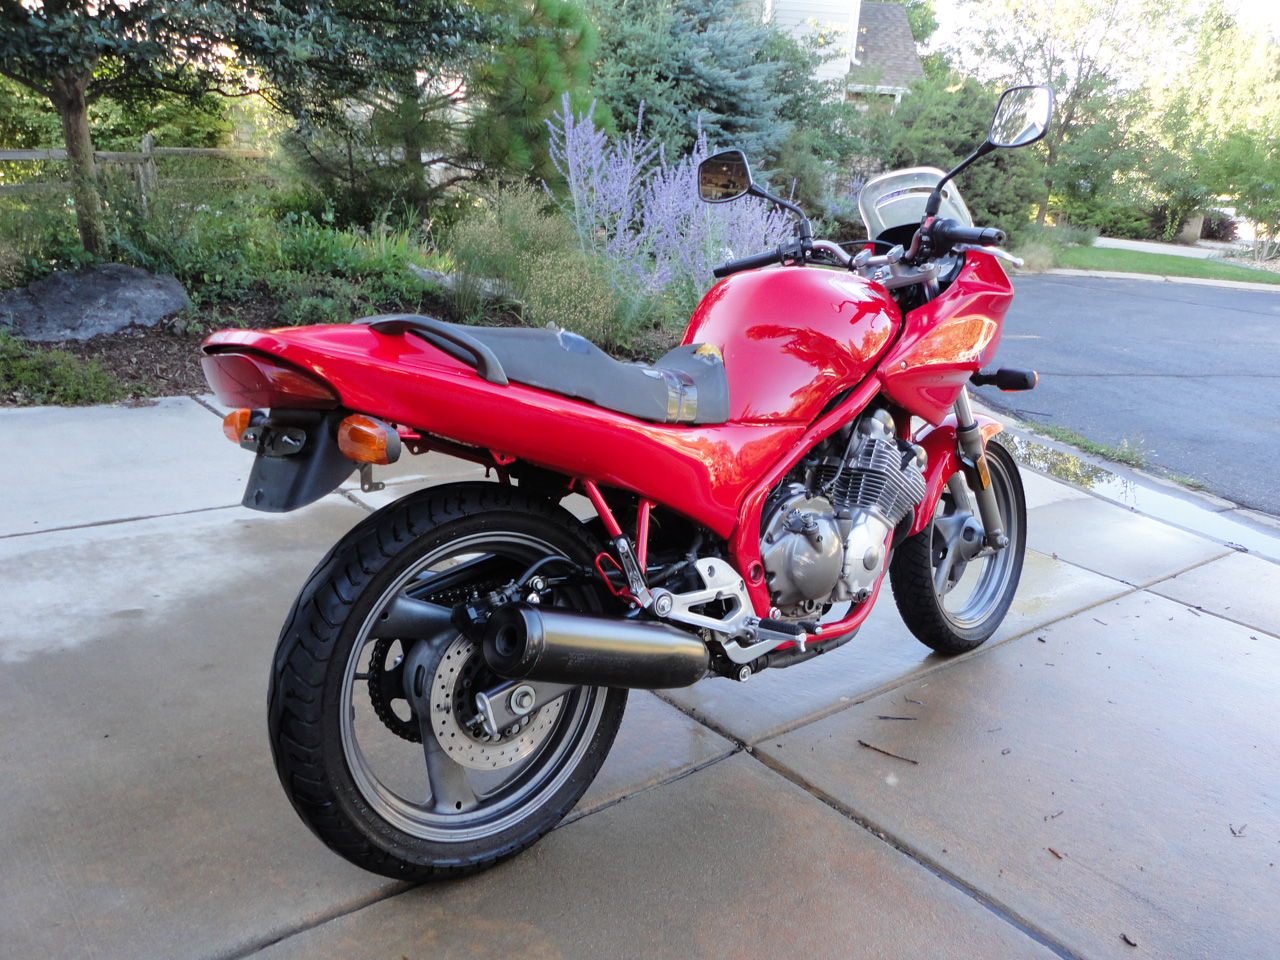
That's it. Simple, right?! It's a lot of elbow grease and a lot of work to get each panel looking good. When done, you should have a bike that shines. To maintain that shine, give it a misting of quick-detailer after each wash and then wax the body panels. It takes 15 minutes to wax a bike well and doing it after each wash will keep the bike shining like new and well protected from the environment.
Polishing panels when removed:
A good alternative to polishing panels on-the-bike is to remove them and polish them indoors. Its much easier to really work the compound into the panel and see the results.

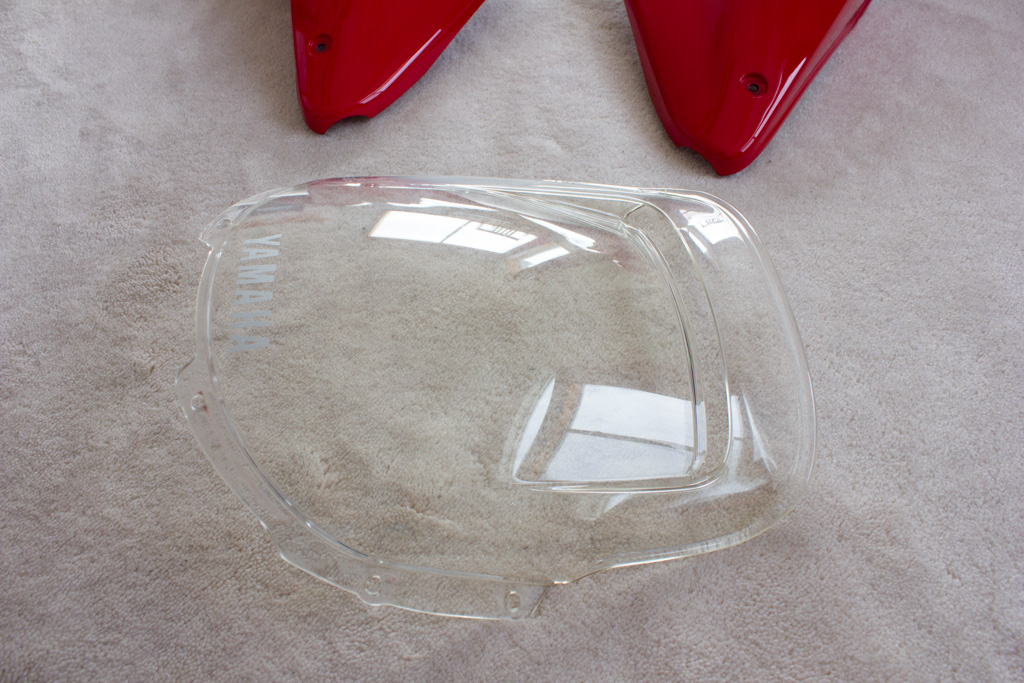
This same process will work for polishing your windscreen. When polishing it, I recommend removing it so that you have easy access to both sides.