According to Yamaha, you should check and adjust the valve clearances on your Yamaha Seca II every 16000 miles or 2-years. Valve clearances should be checked and adjusted before syncing carburetors or performing any other engine tuning. Valve clearances should be checked and adjusted when the engine is cold.
What you need:
- High quality feeler gauge set which measures a minimum of 0.001" to 0.015"
- Phillips head screwdriver
- 10mm socket
- 10mm box-end wrench
- 8mm socket
- 6mm hex-head socket
- Spark plug socket
How to check your valve clearances:
1. Remove the seat, front fairing (if equipped) and fuel tank.
2. Remove the airbox, carburetors and intake manifolds
3. Label and disconnect the spark plug wires. Remove the spark plugs.
4. Remove the valve cover.
5. Remove the timing plate cover.
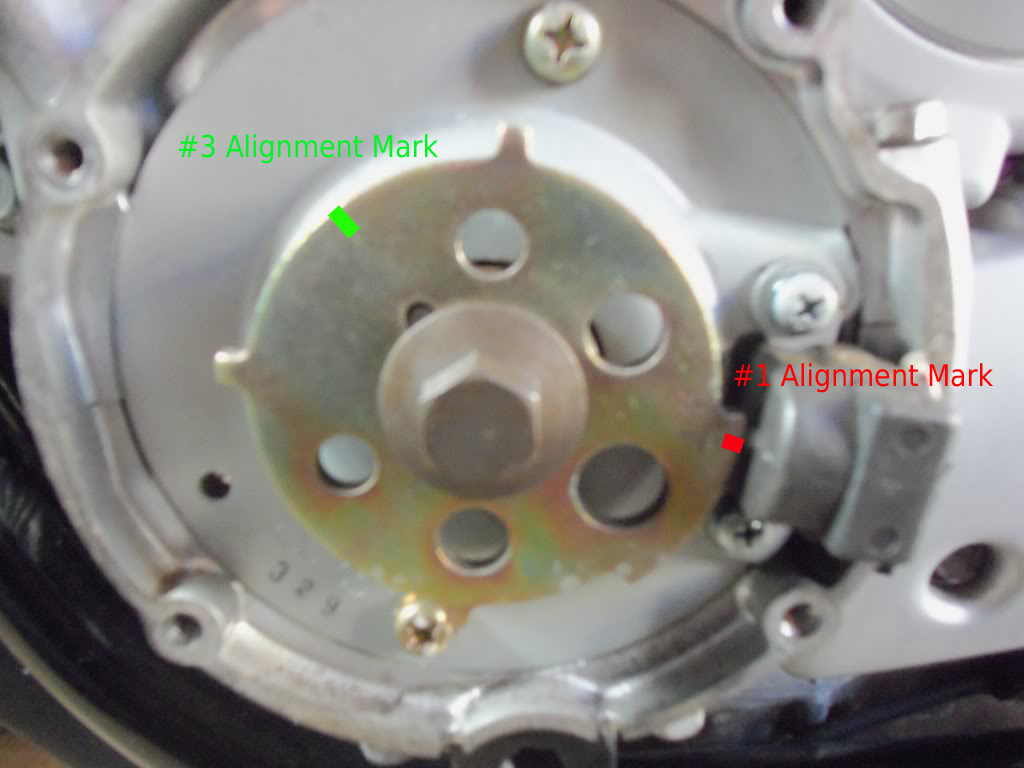
6. Using the crankshaft bolt, rotate the engine counterclockwise until cylinders 1 & 4 are at top-dead center (TDC). The #1 cylinder is at TDC when the timing mark is in line with the pickup sensor (timing mark for cylinder #1 shown in red):
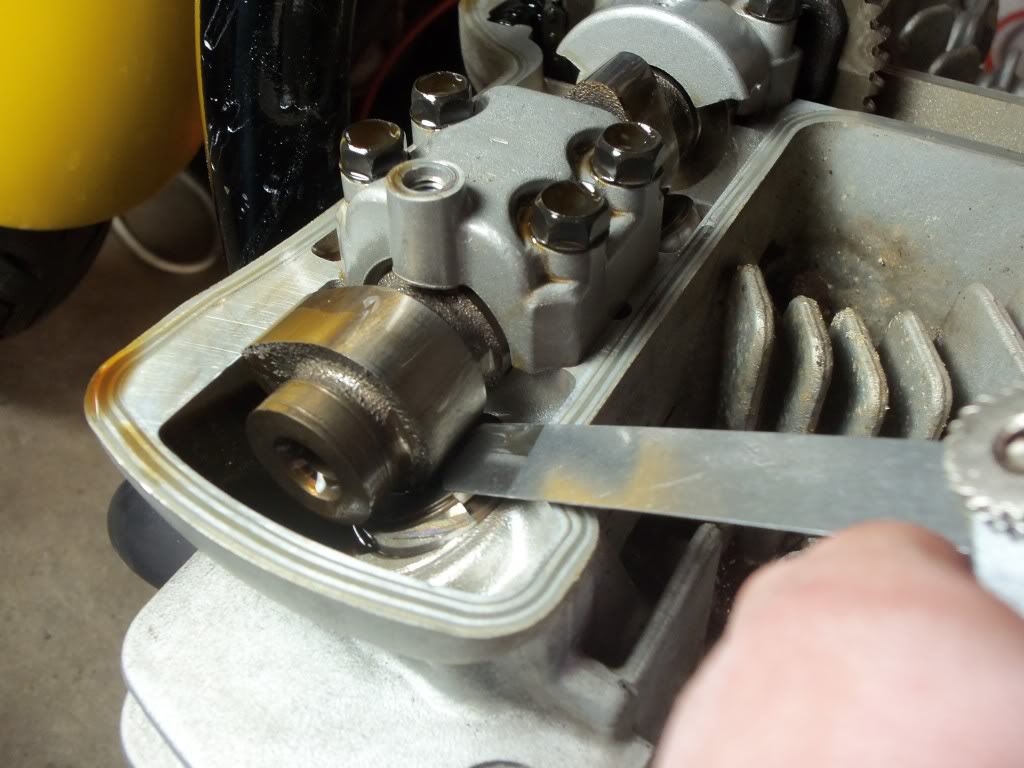
6b. When the engine is at top-dead center, the cam lobes will point away from each other as shown below:

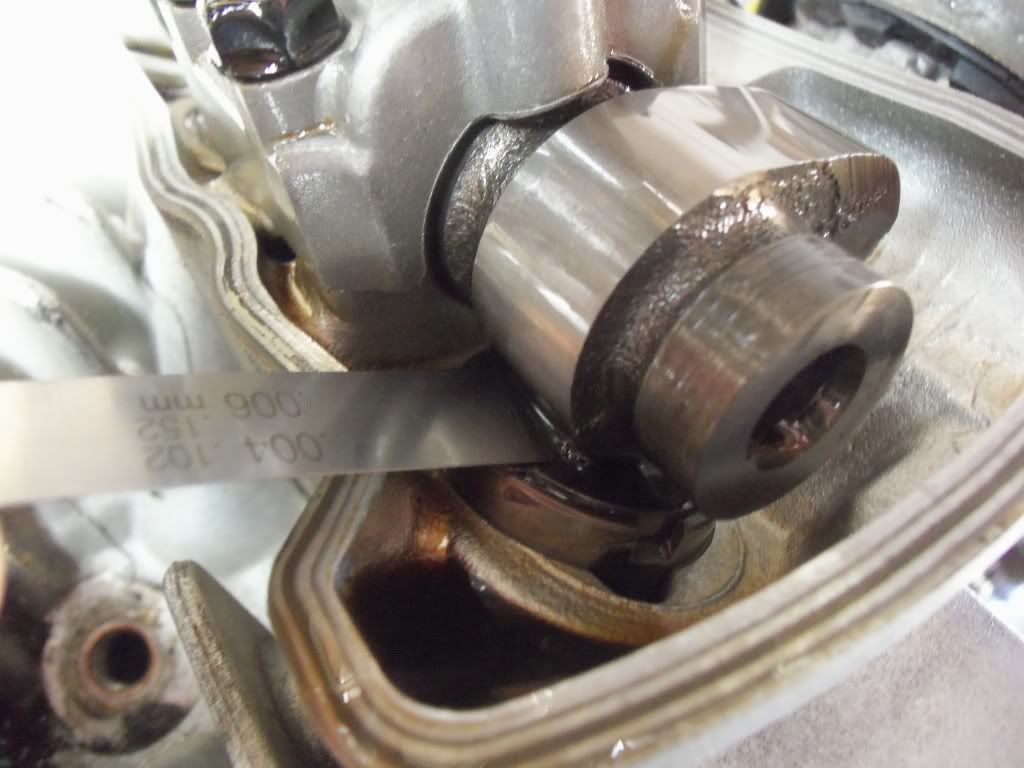
7. Measure the clearance between the camshaft and lifter for the #1 cylinder. Insert the feeler gauge squarely between the two; the feeler gauge should slide in with slight resistance. Record the clearance of both the intake and exhaust valves. Repeat the same process and record the clearances for the #4 cylinder.
8. Rotate the engine until cylinders 2 & 3 are at TDC.
9. Measure the clearance between the camshaft and lifter for the #2 and #3 cylinders. Record the clearance of both the intake and exhaust valves.
10. The factory specs for valve clearance are:
- Intake Valves:
0.11 to 0.15mm (0.004" to 0.006")
Exhaust Valves:
0.21mm to 0.25mm (0.008" to 0.010")
12. Once you have the appropriate shims, remove the existing shim and install the new one. There are two ways to access the shim: Use a shim tool or remove the camshaft. If you have to replace many shims, it may be easier to remove the camshaft.
13. After installing the new shim, measure the clearance and verify that it is within spec.